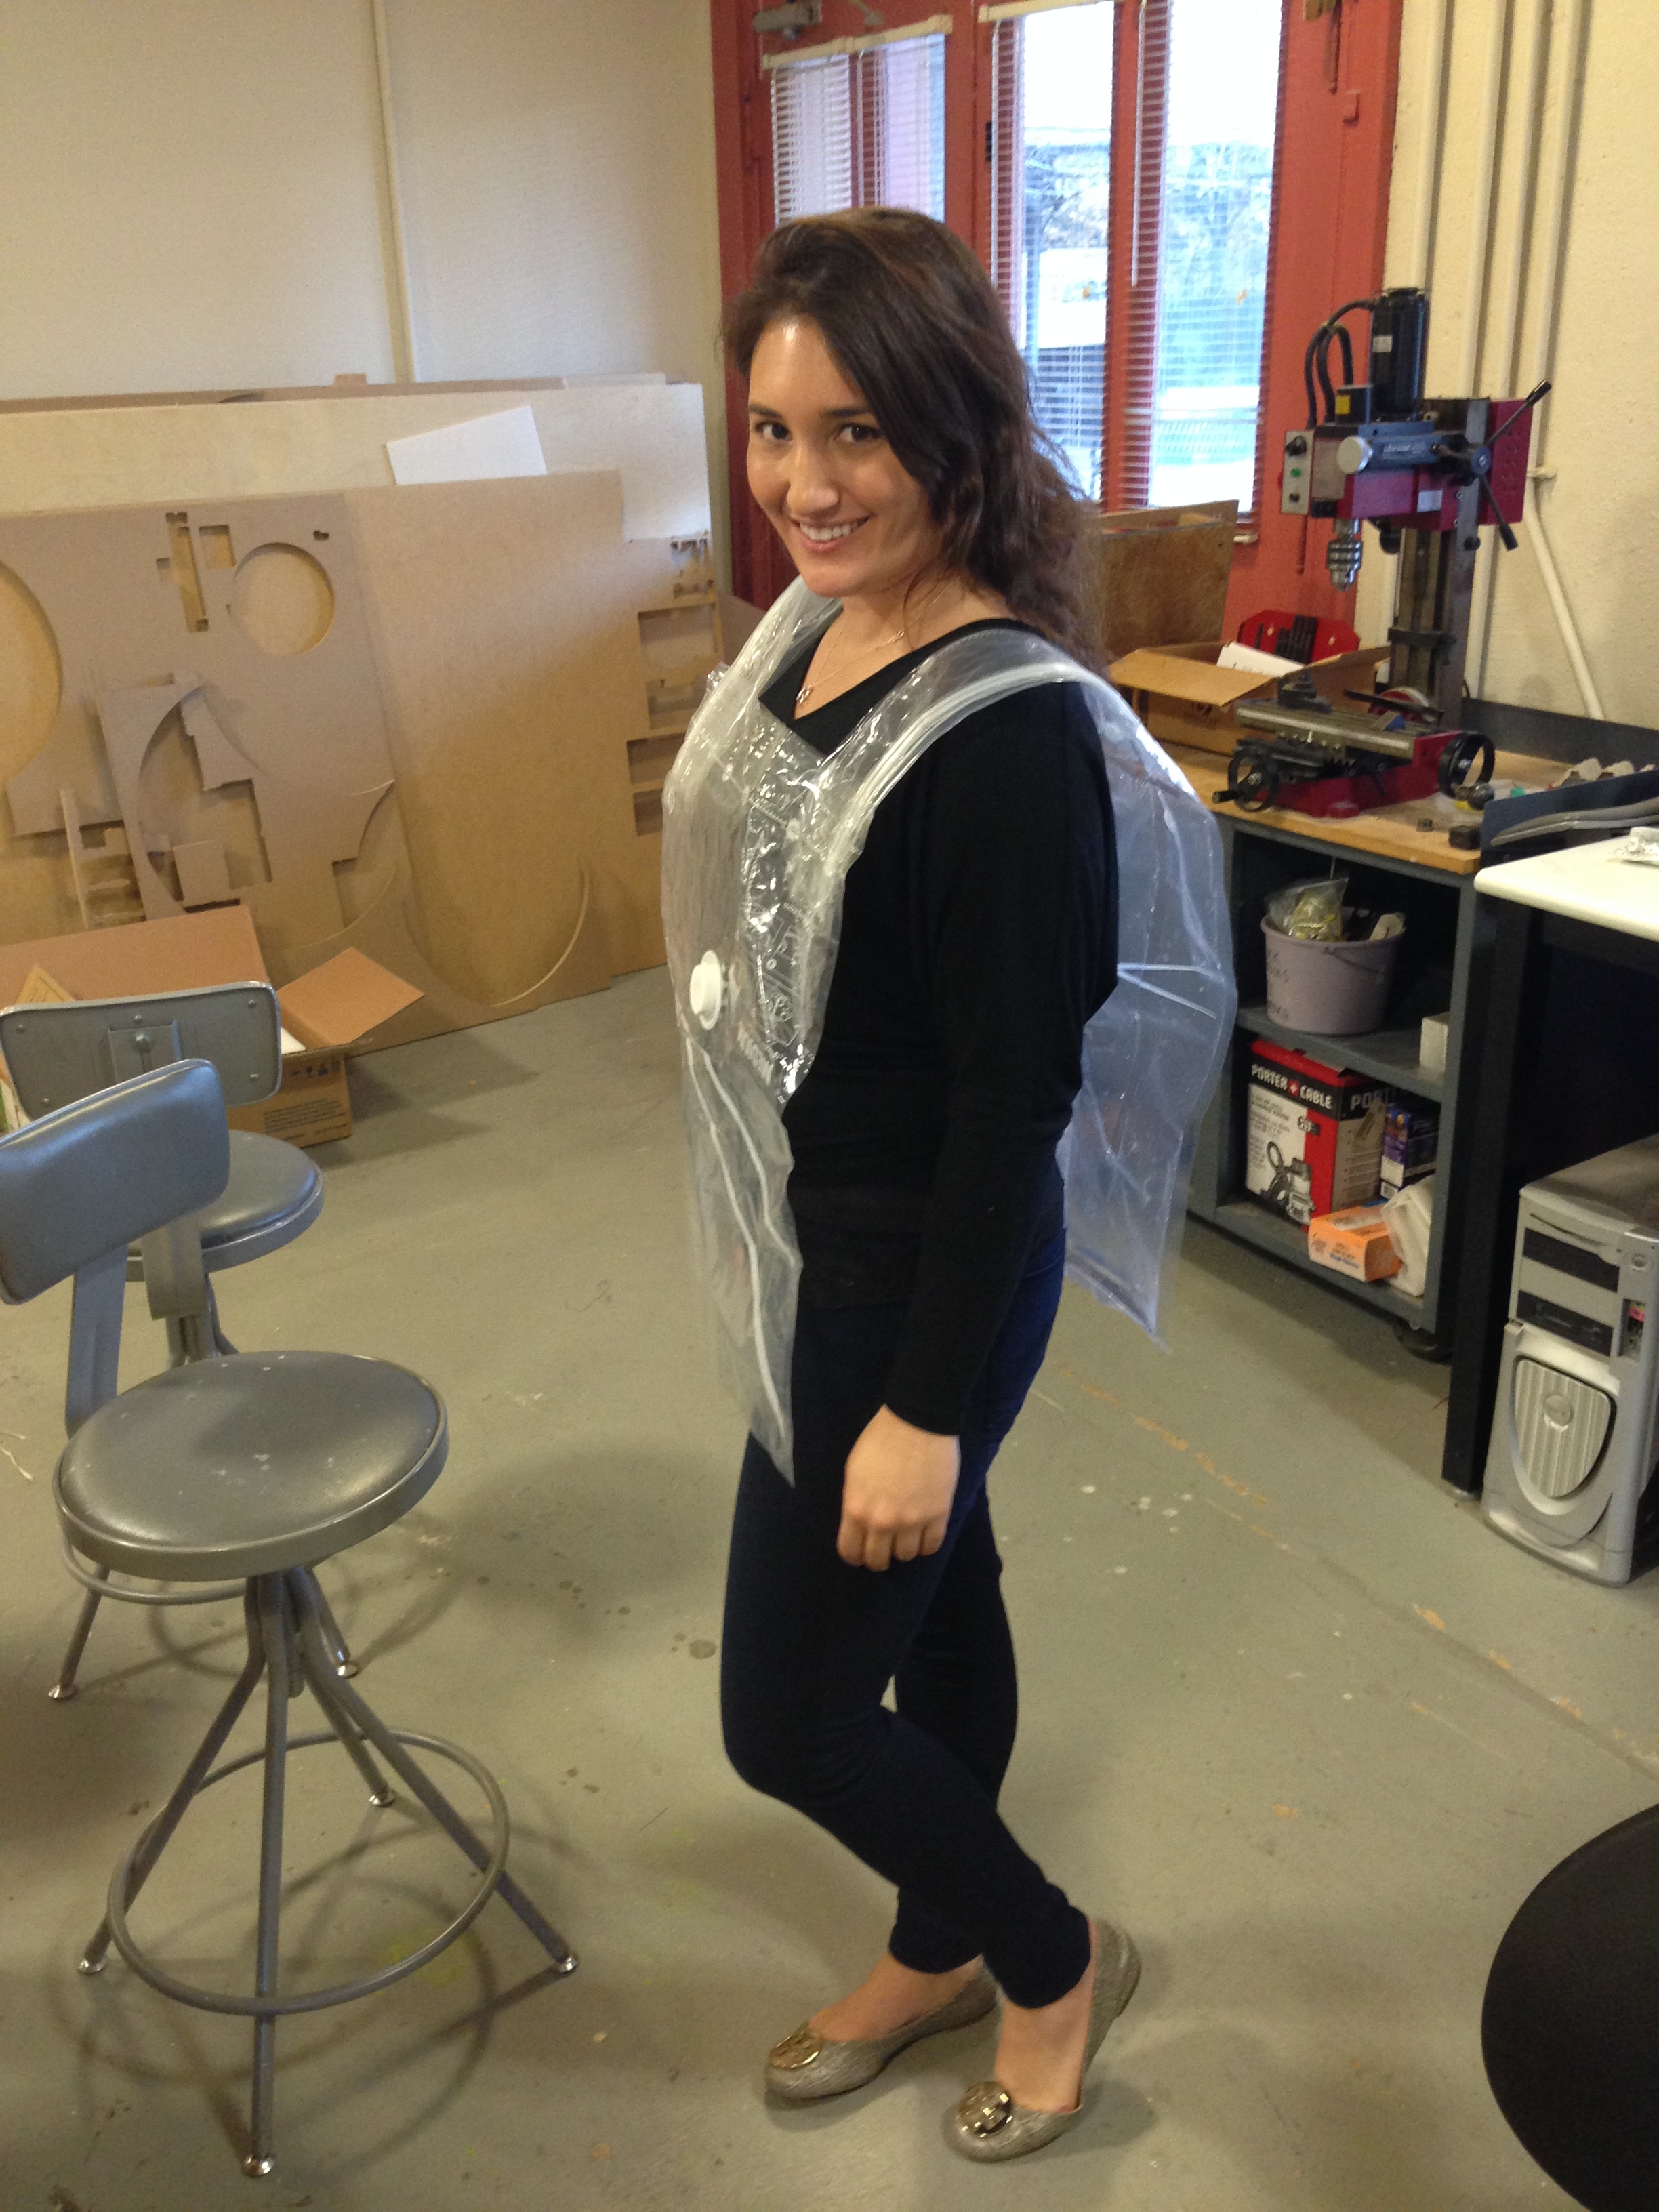
 Elizabeth and Phil met at the studio to work on alternative materials (space bags) for our new prototype using the industrial seam press machine.

Our previous prototype #3 materials choice were nylon shower curtain for its’ waterproof and elasticity properties.
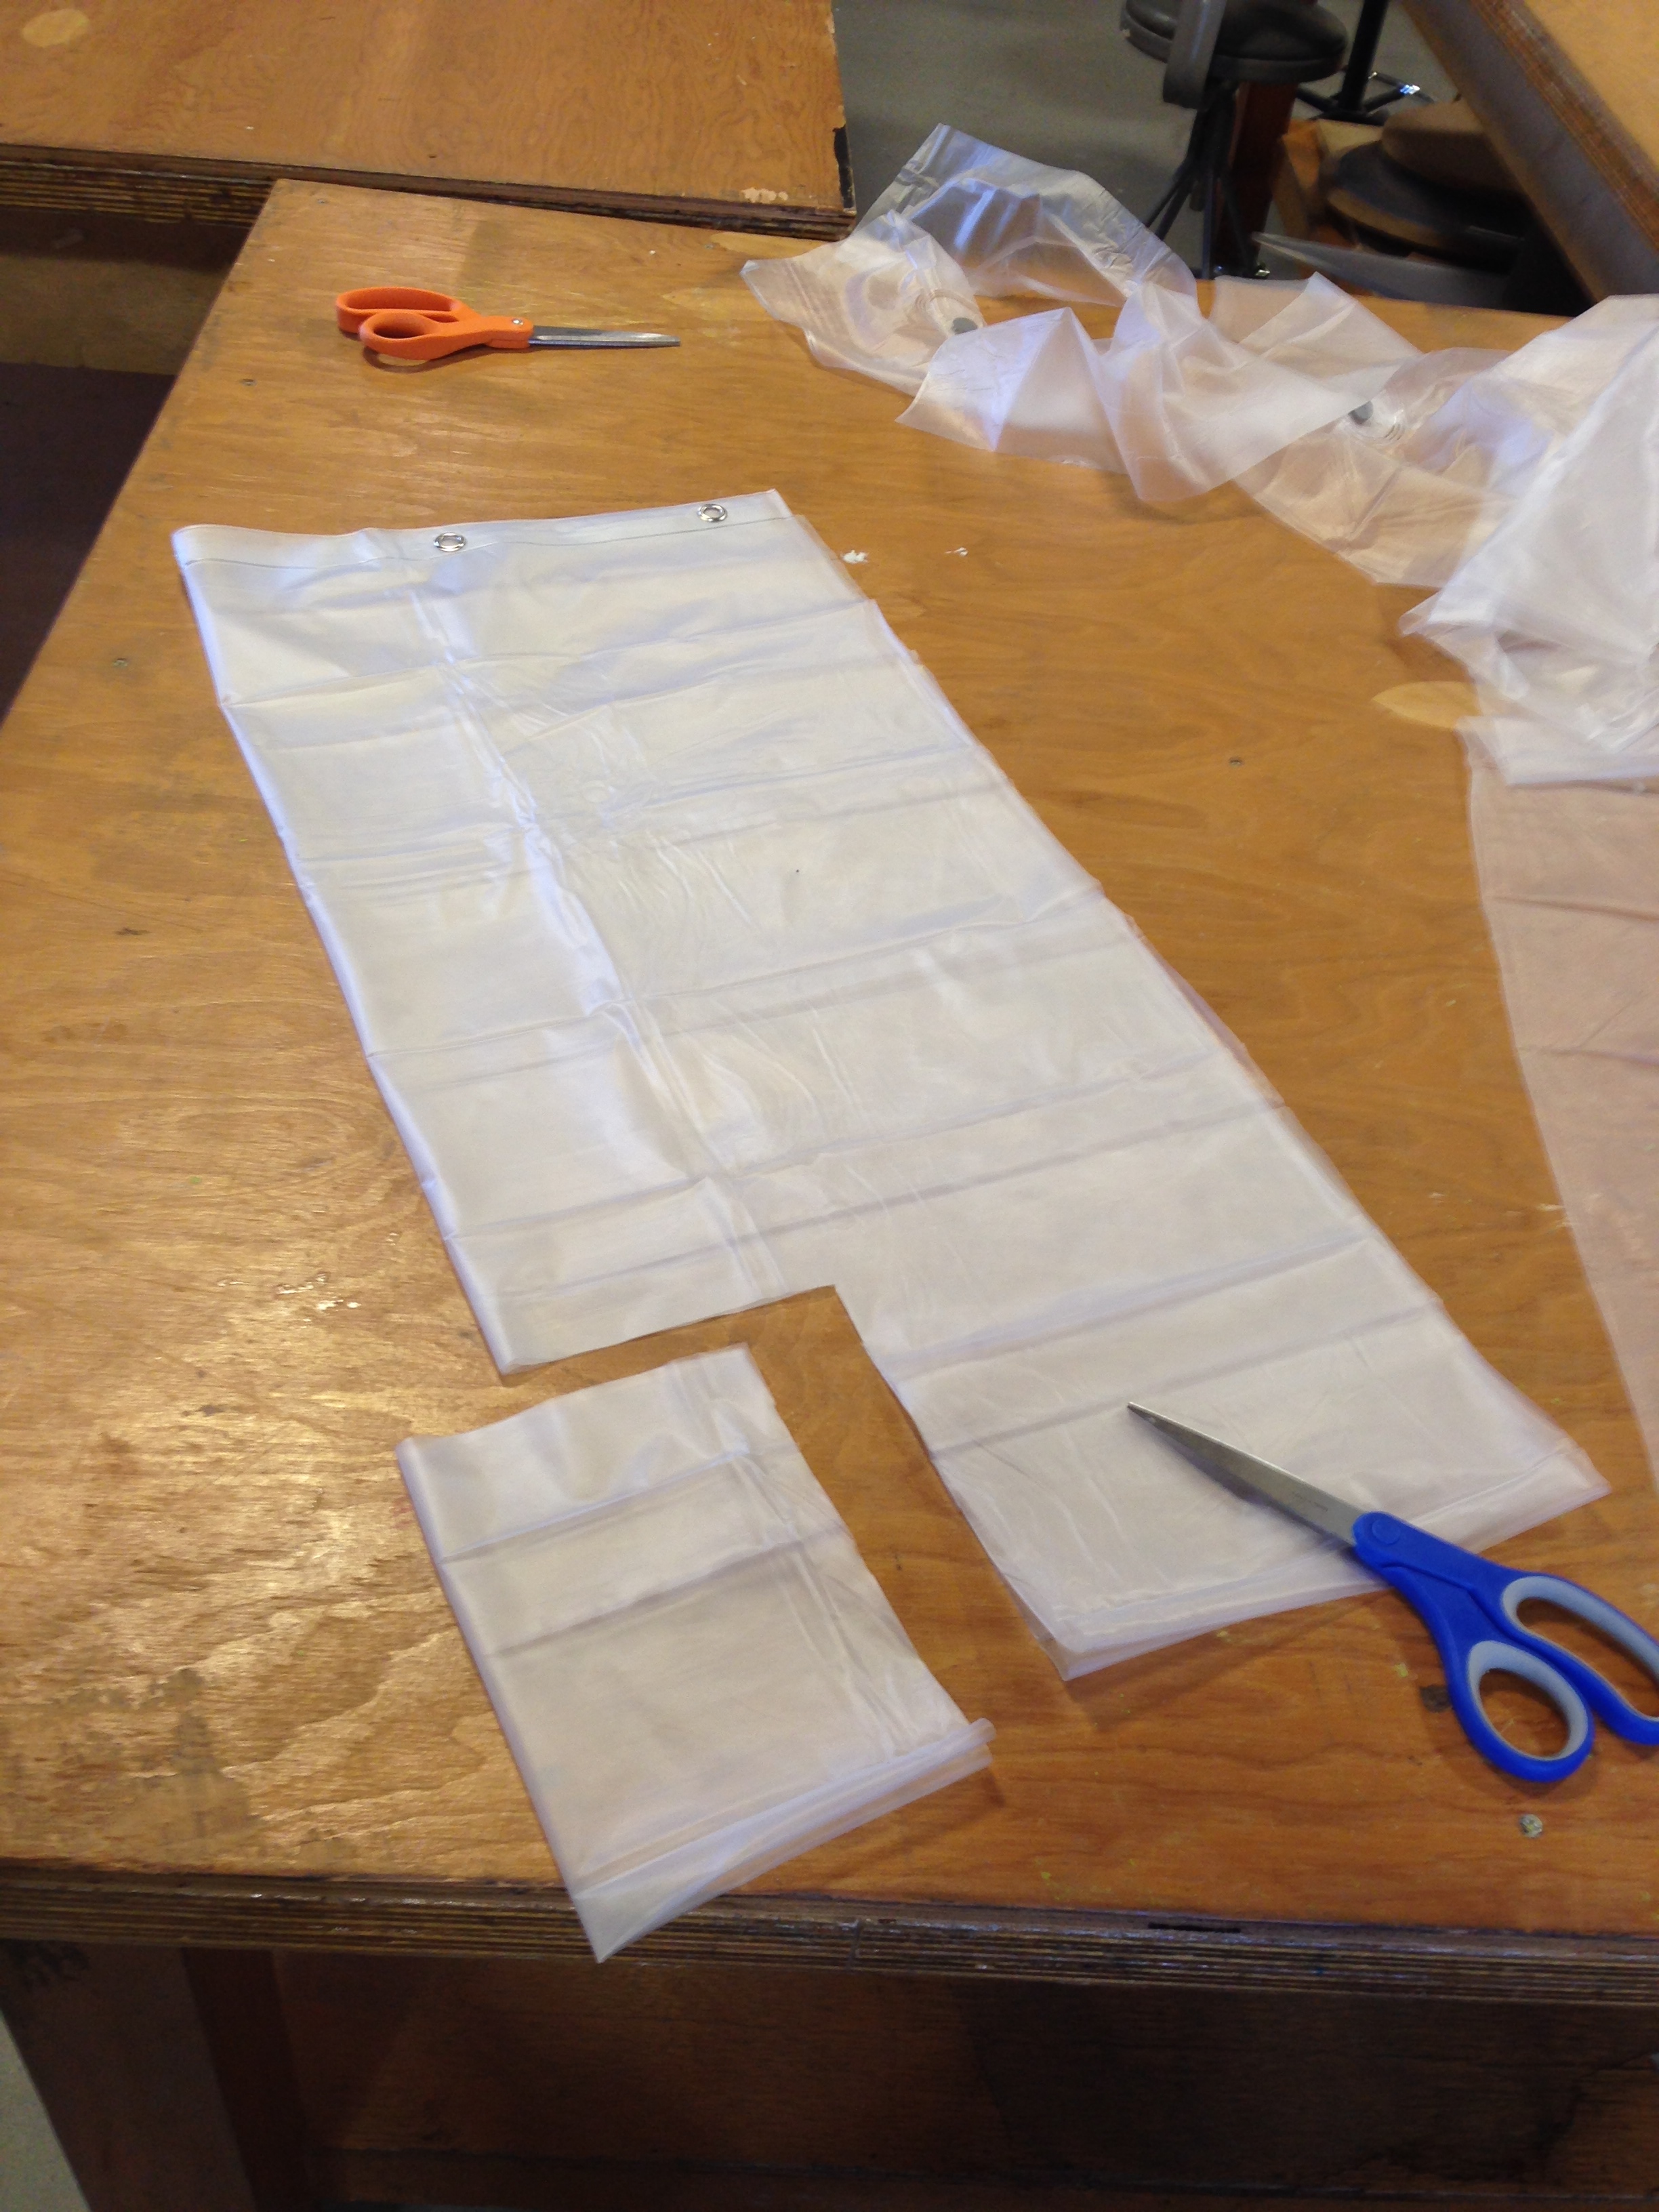
However, with curtain being single ply layer sheet, we need to fold and seal all side edges in order to make it leak-proof all around.

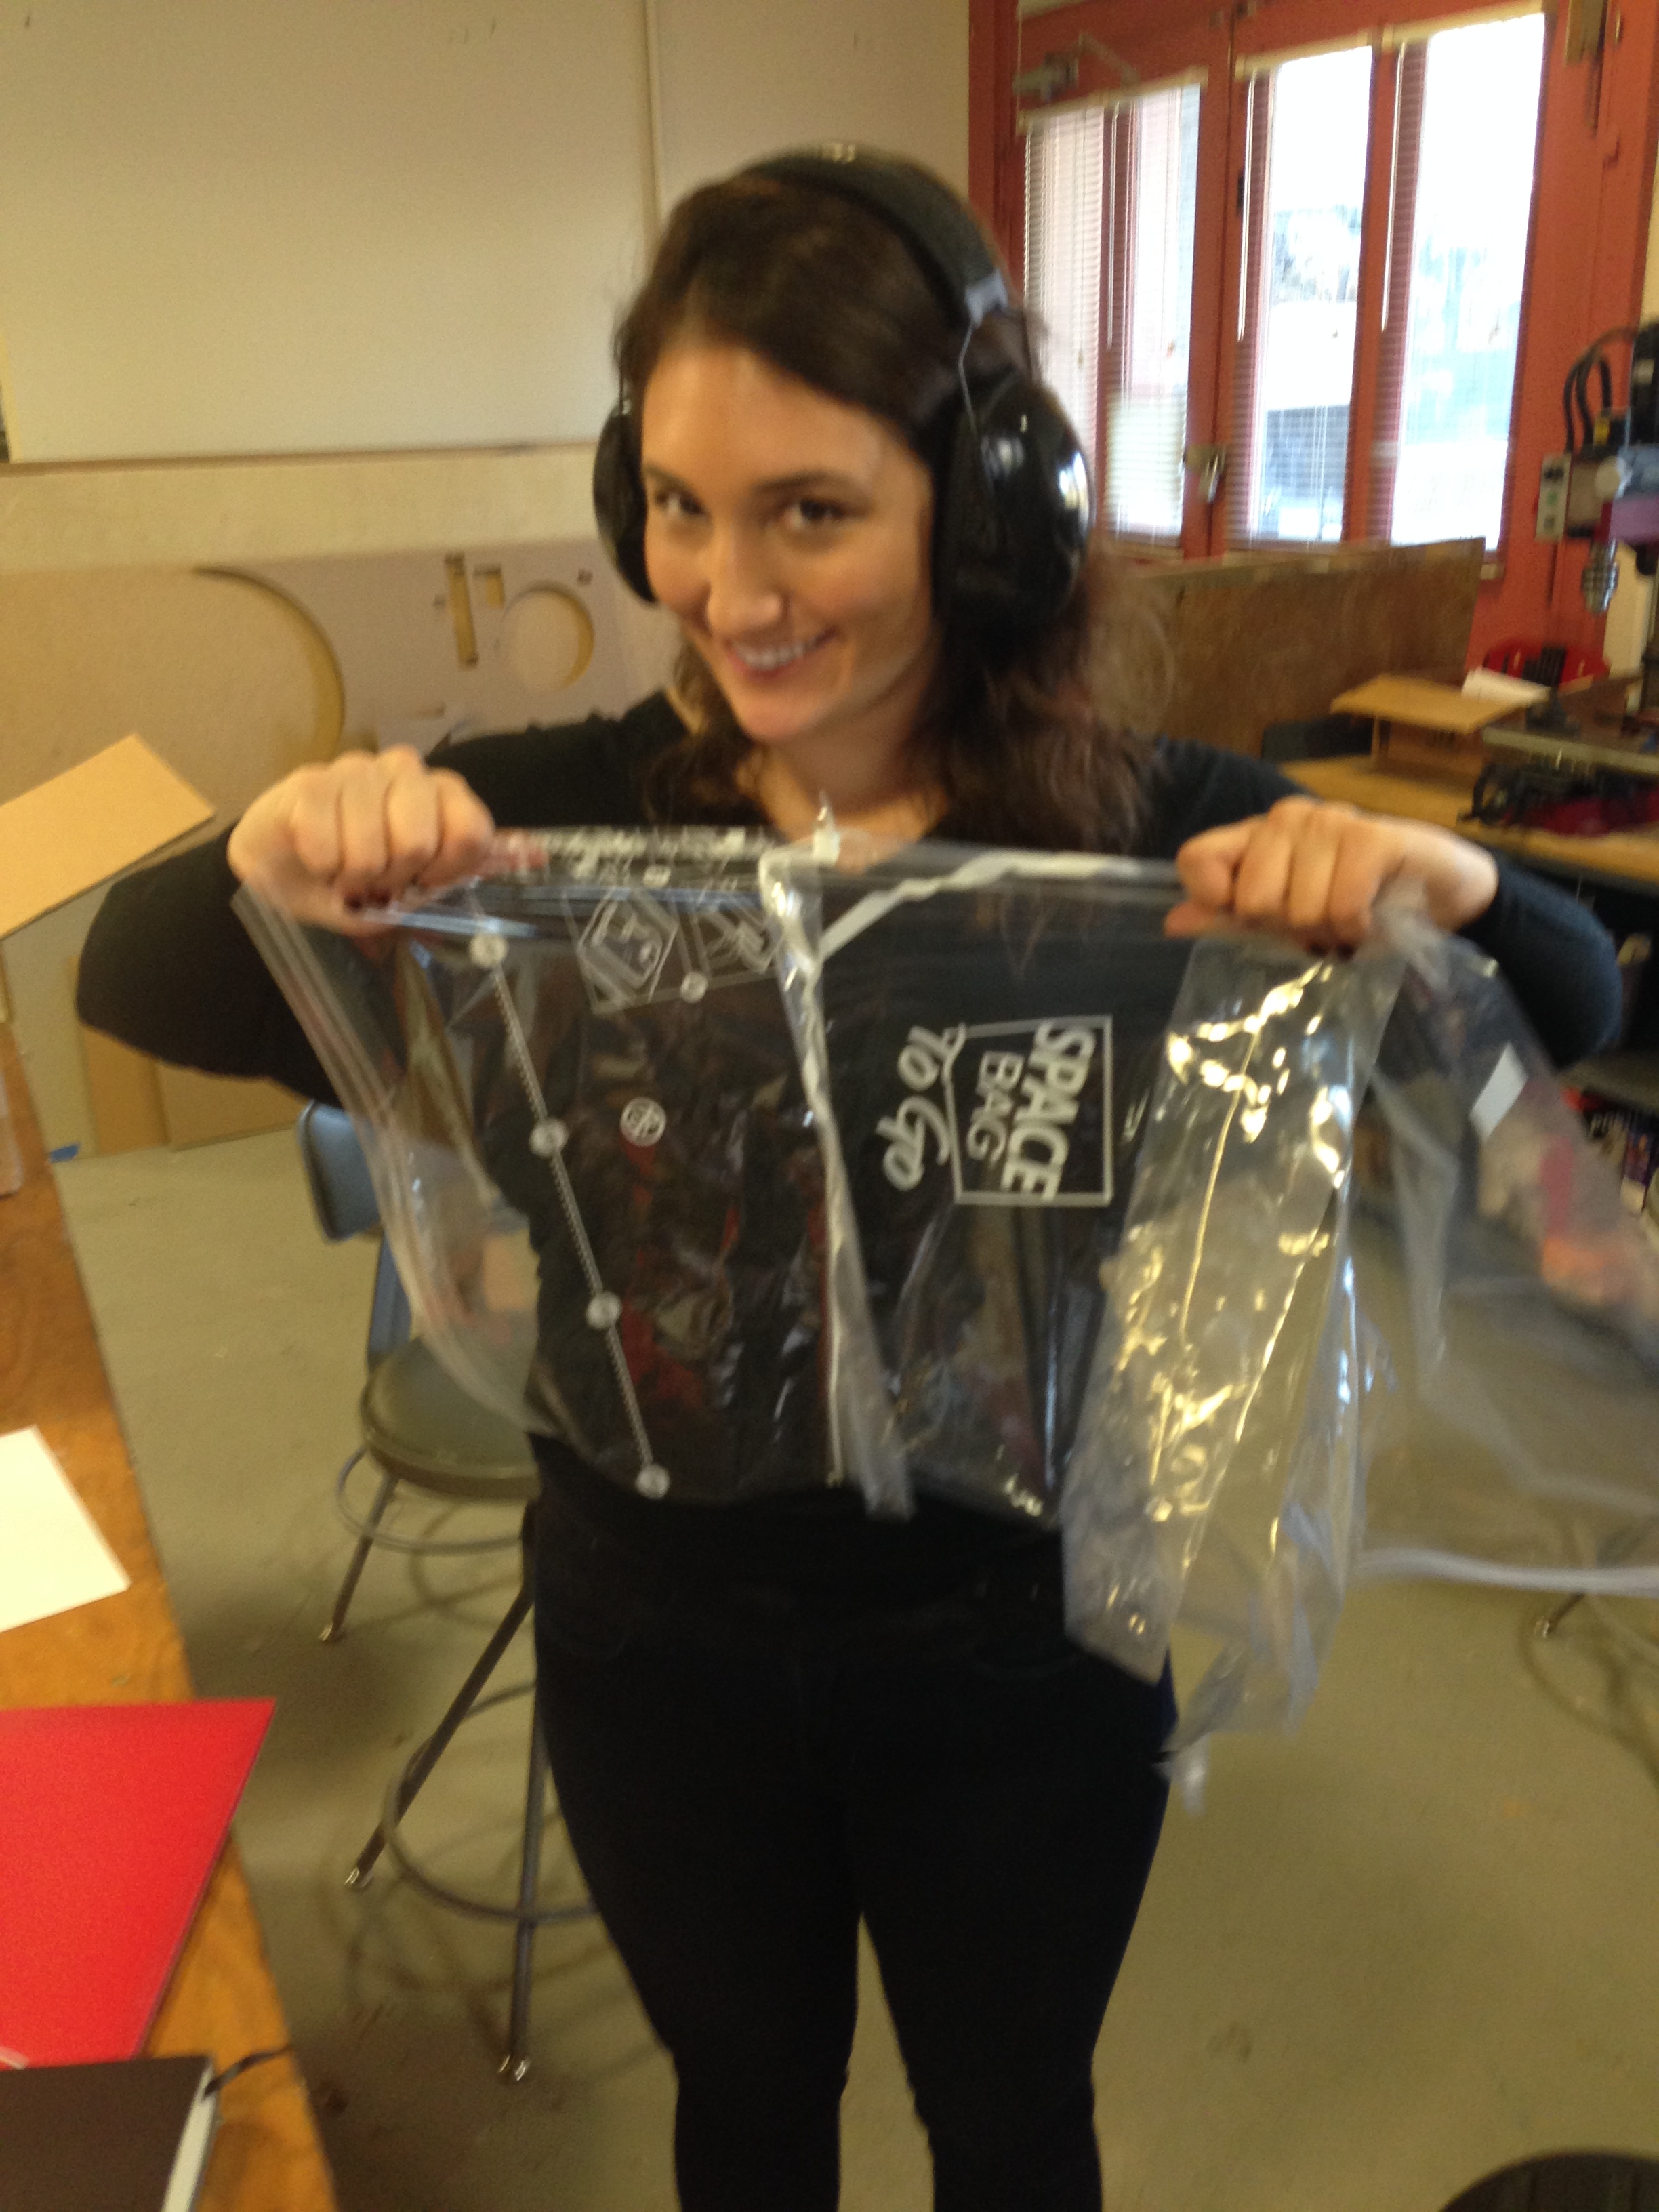
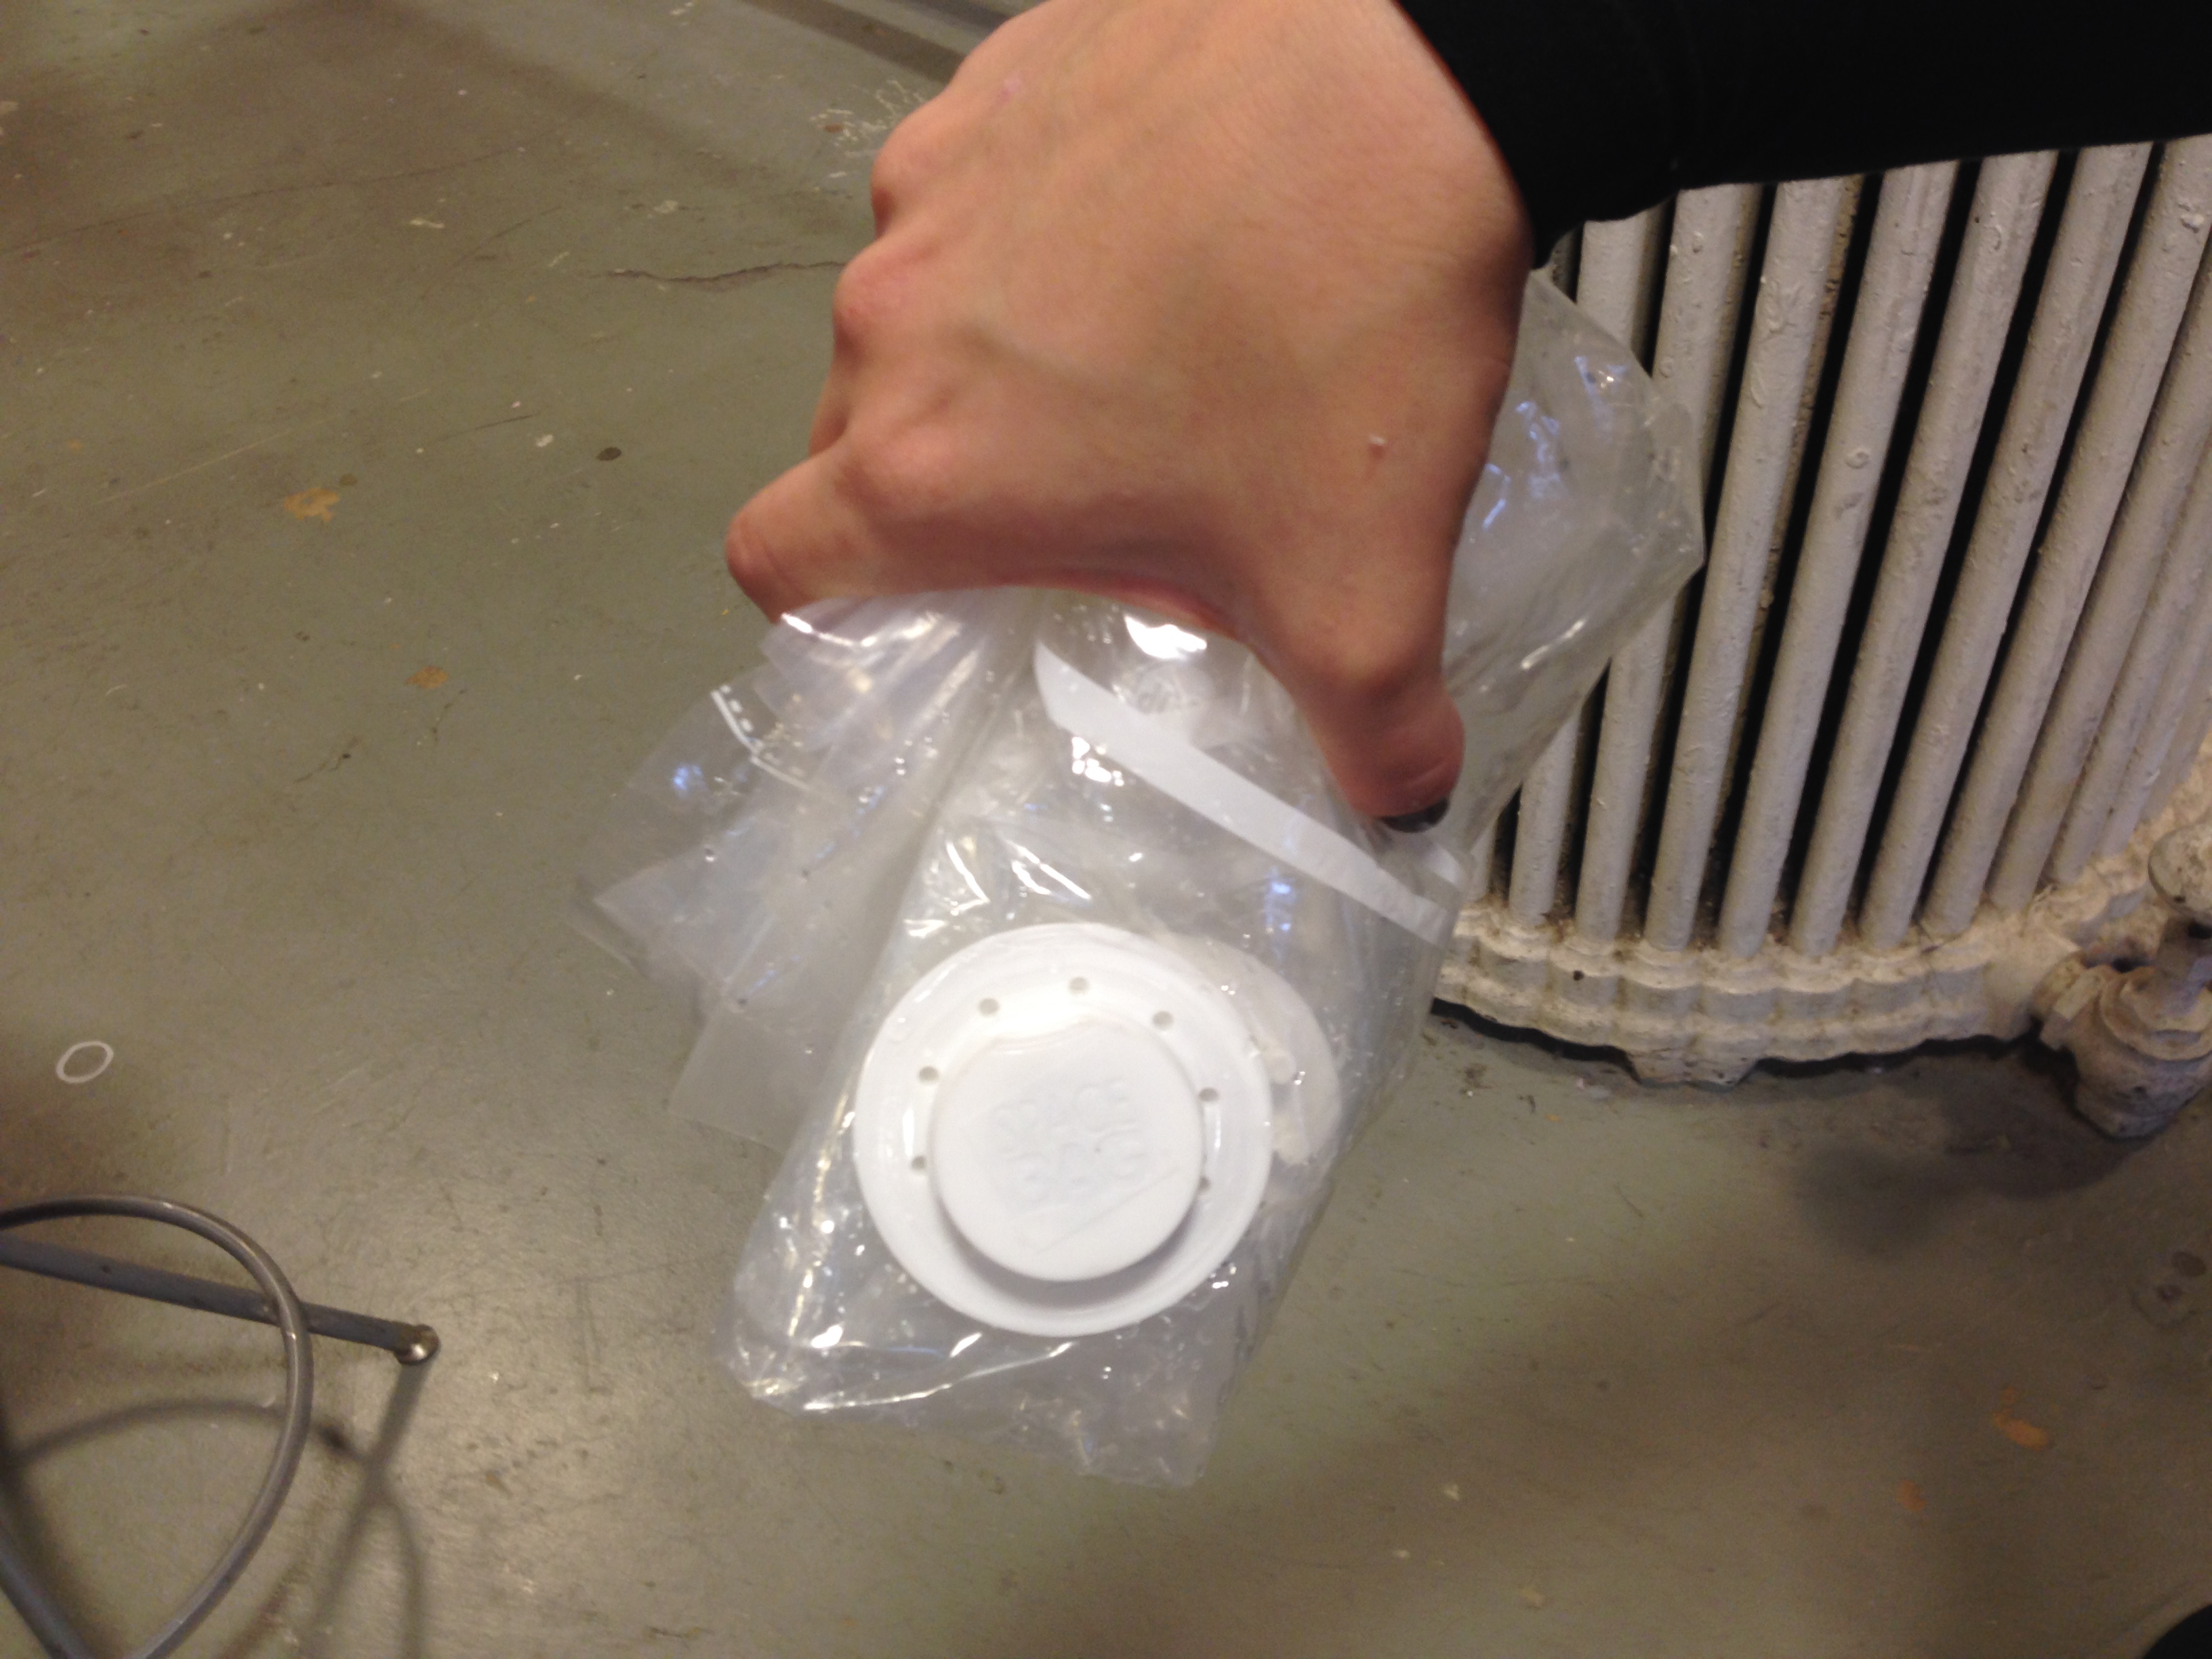
Behold, with thanks to Elizabeth’s brilliance, we found the best materials to use for our new prototype!
(** fanfare **)

This is perfect since we would not have to worry about the complications of embedding filler sprout into vest model (we torn our shower curtain vest model #3 hammering the grommet into place).

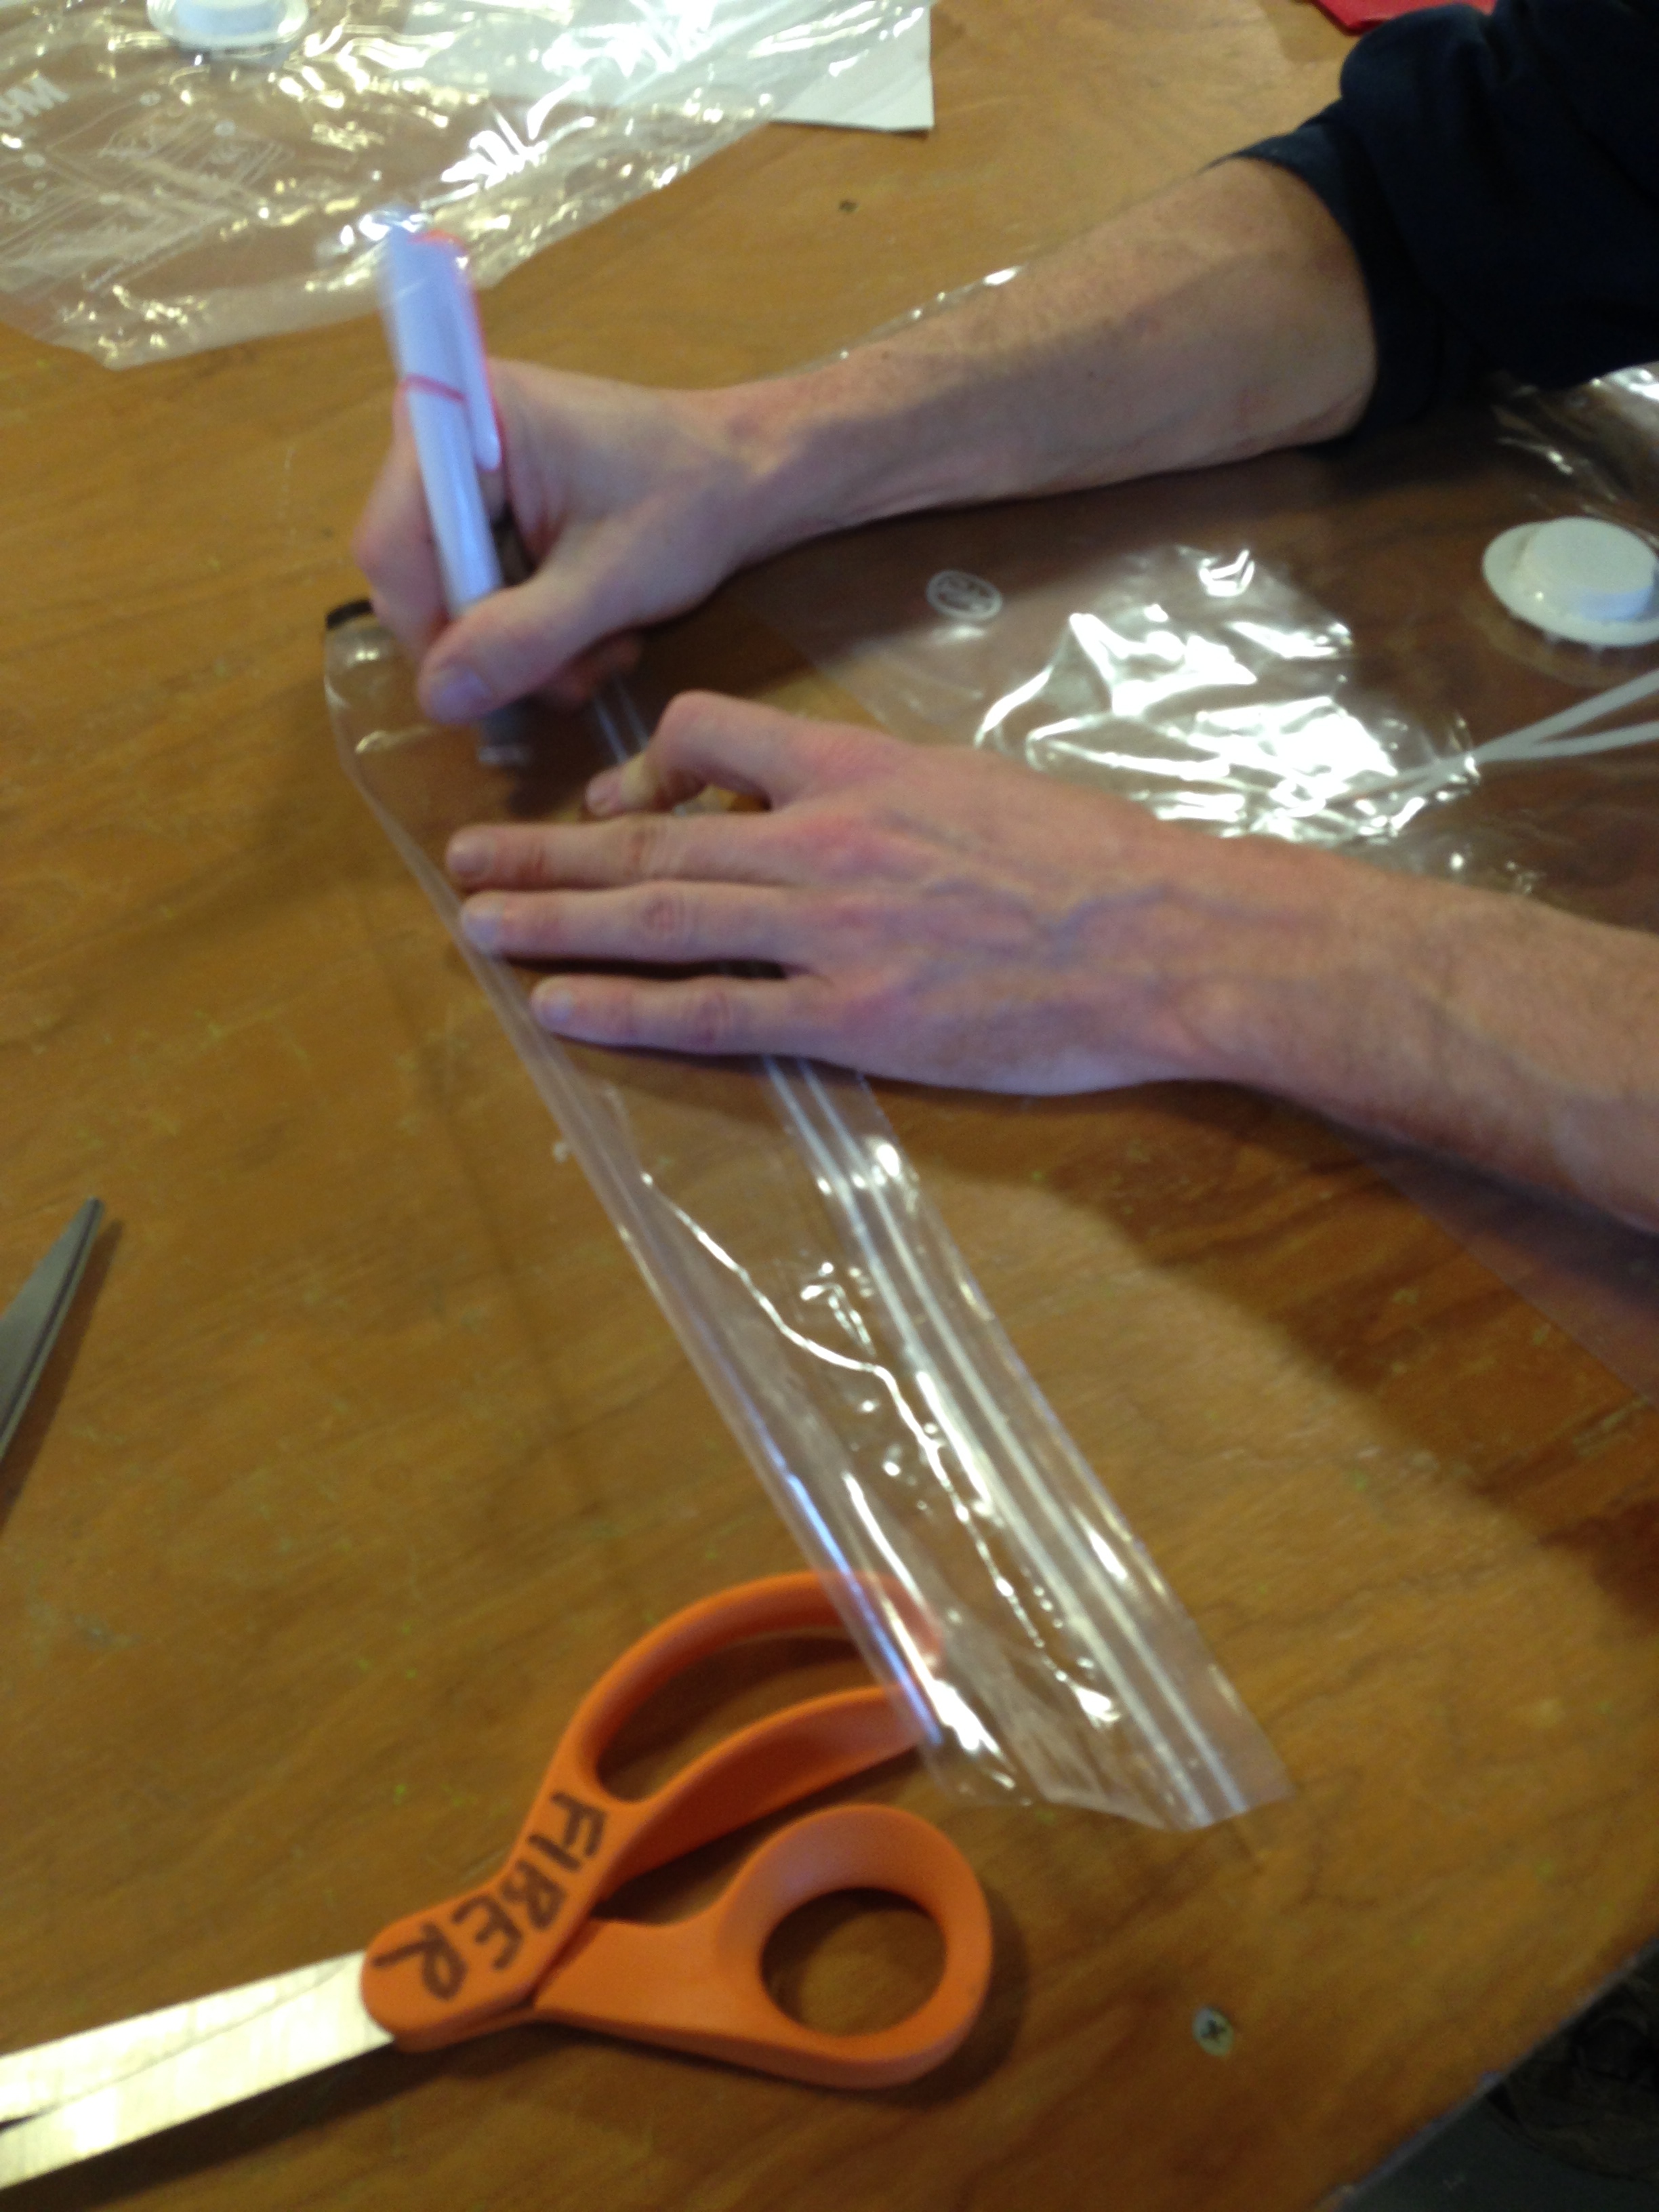
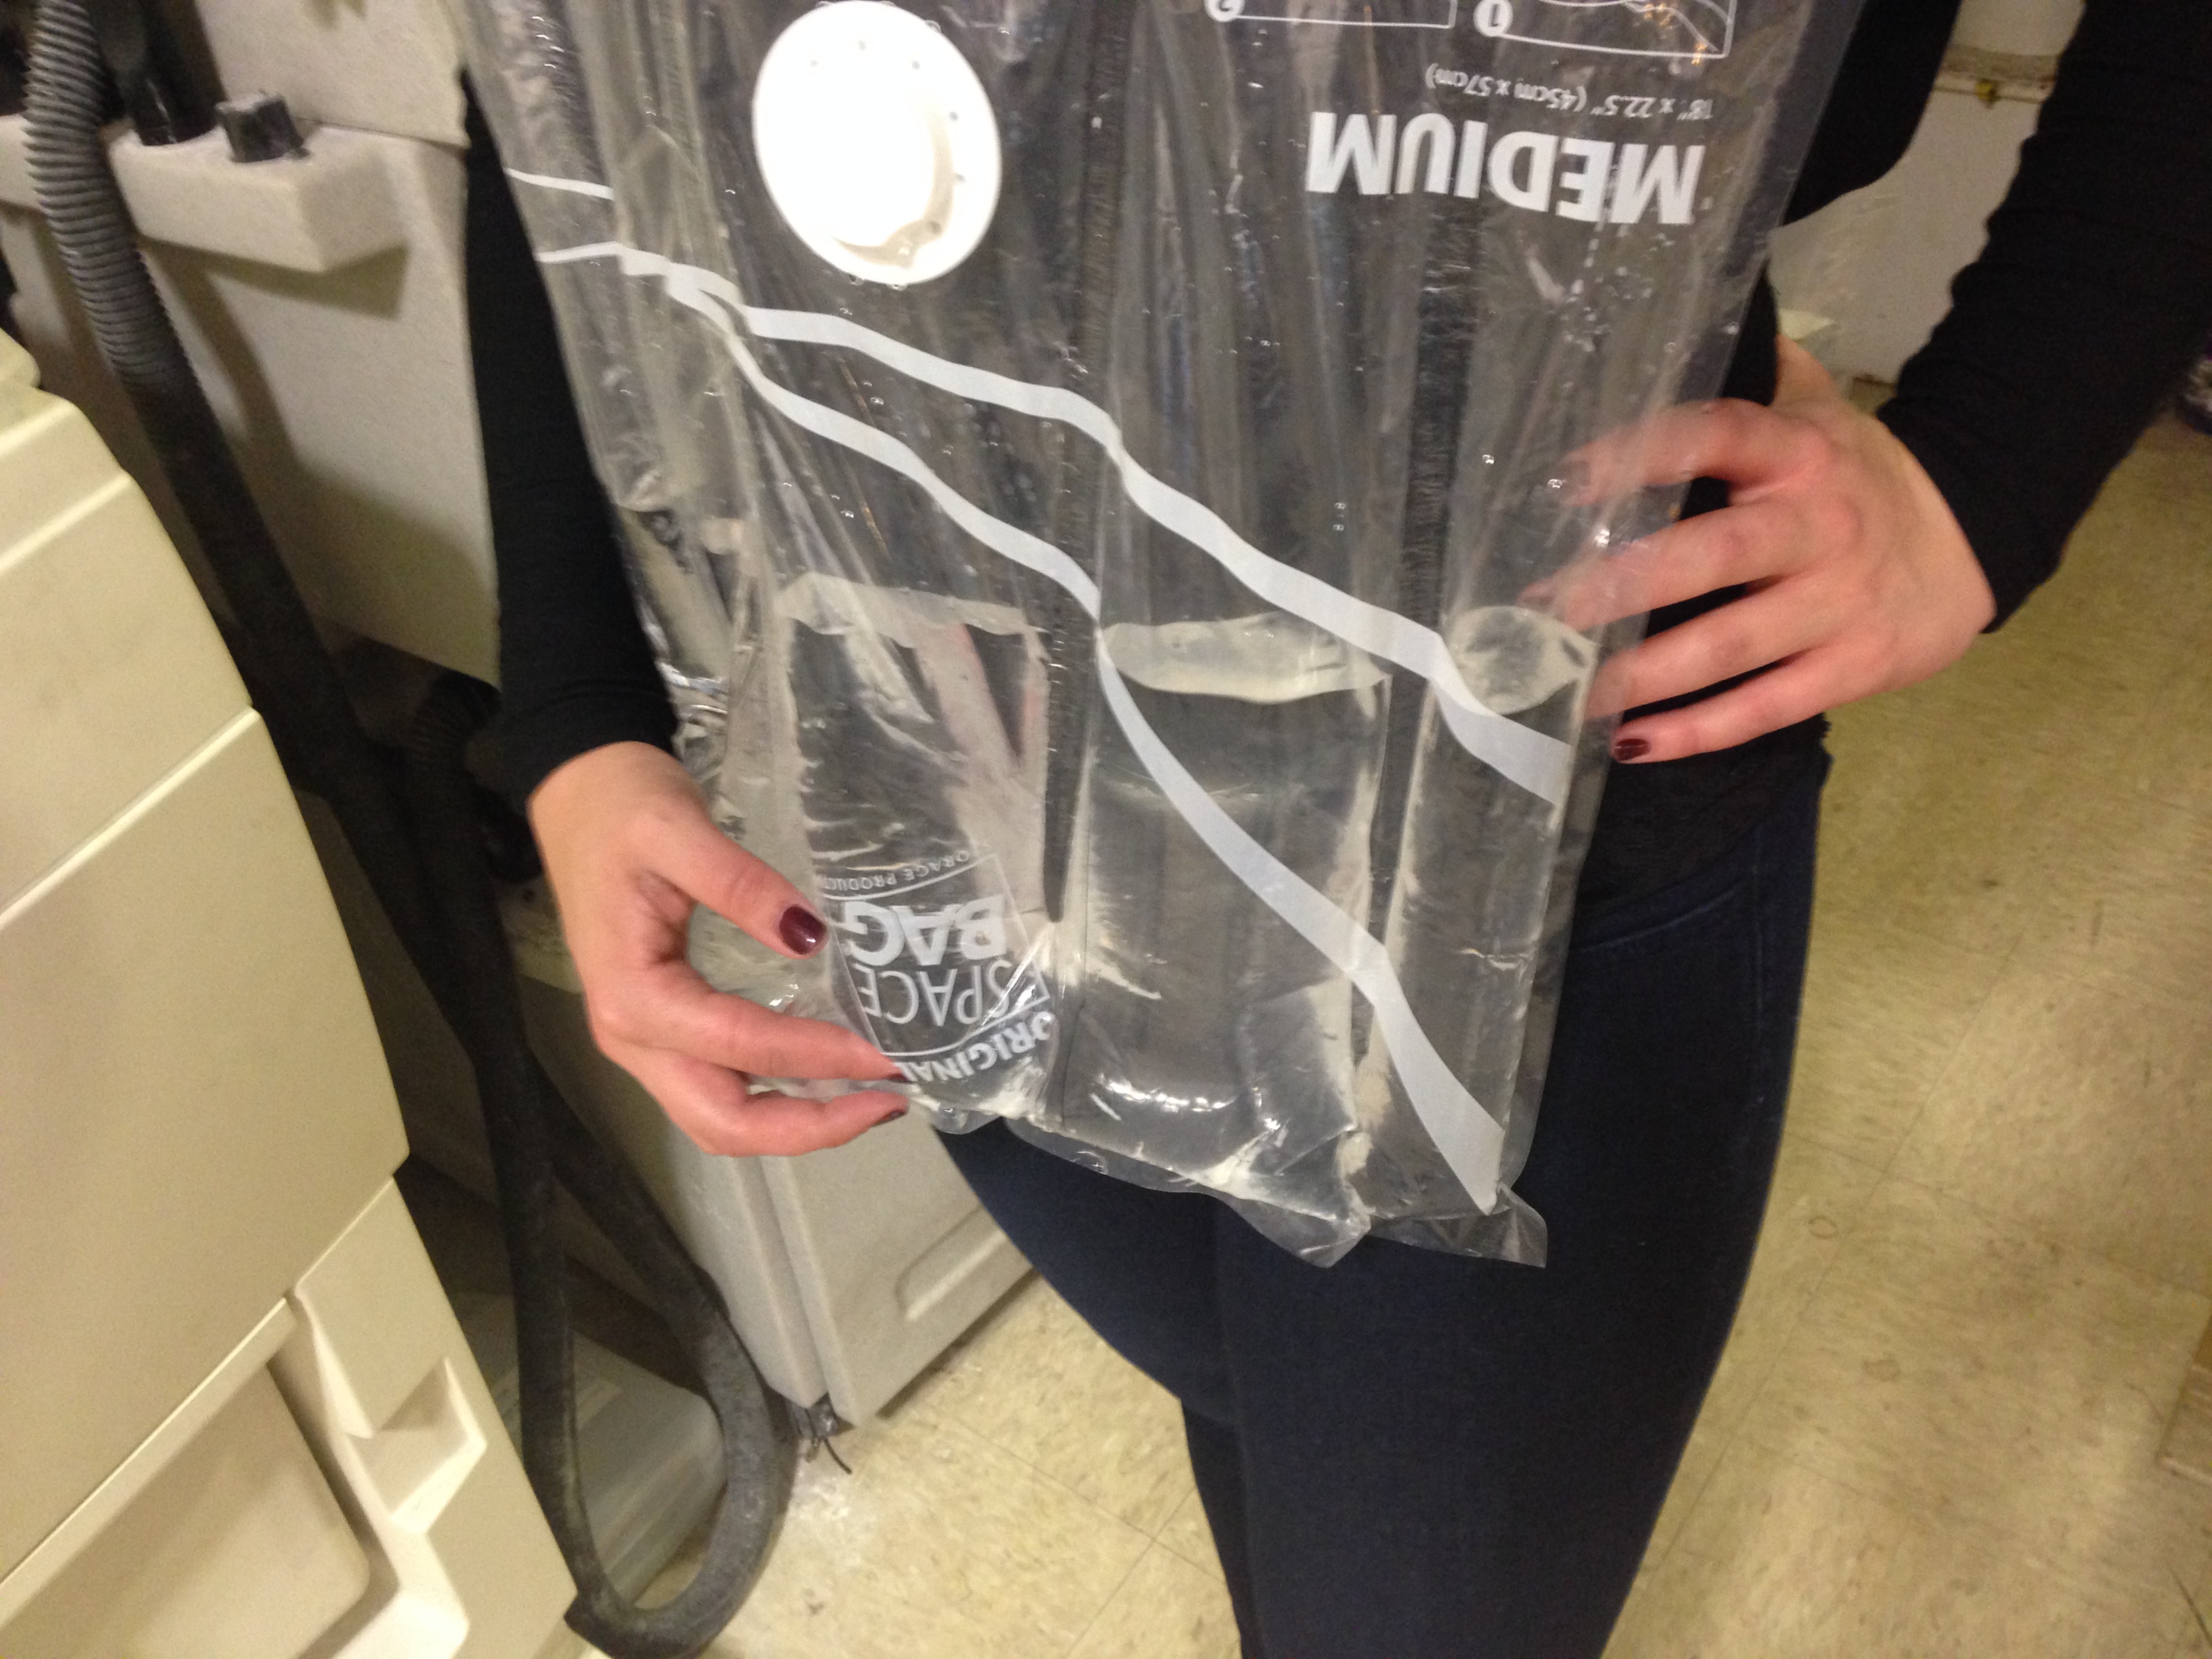
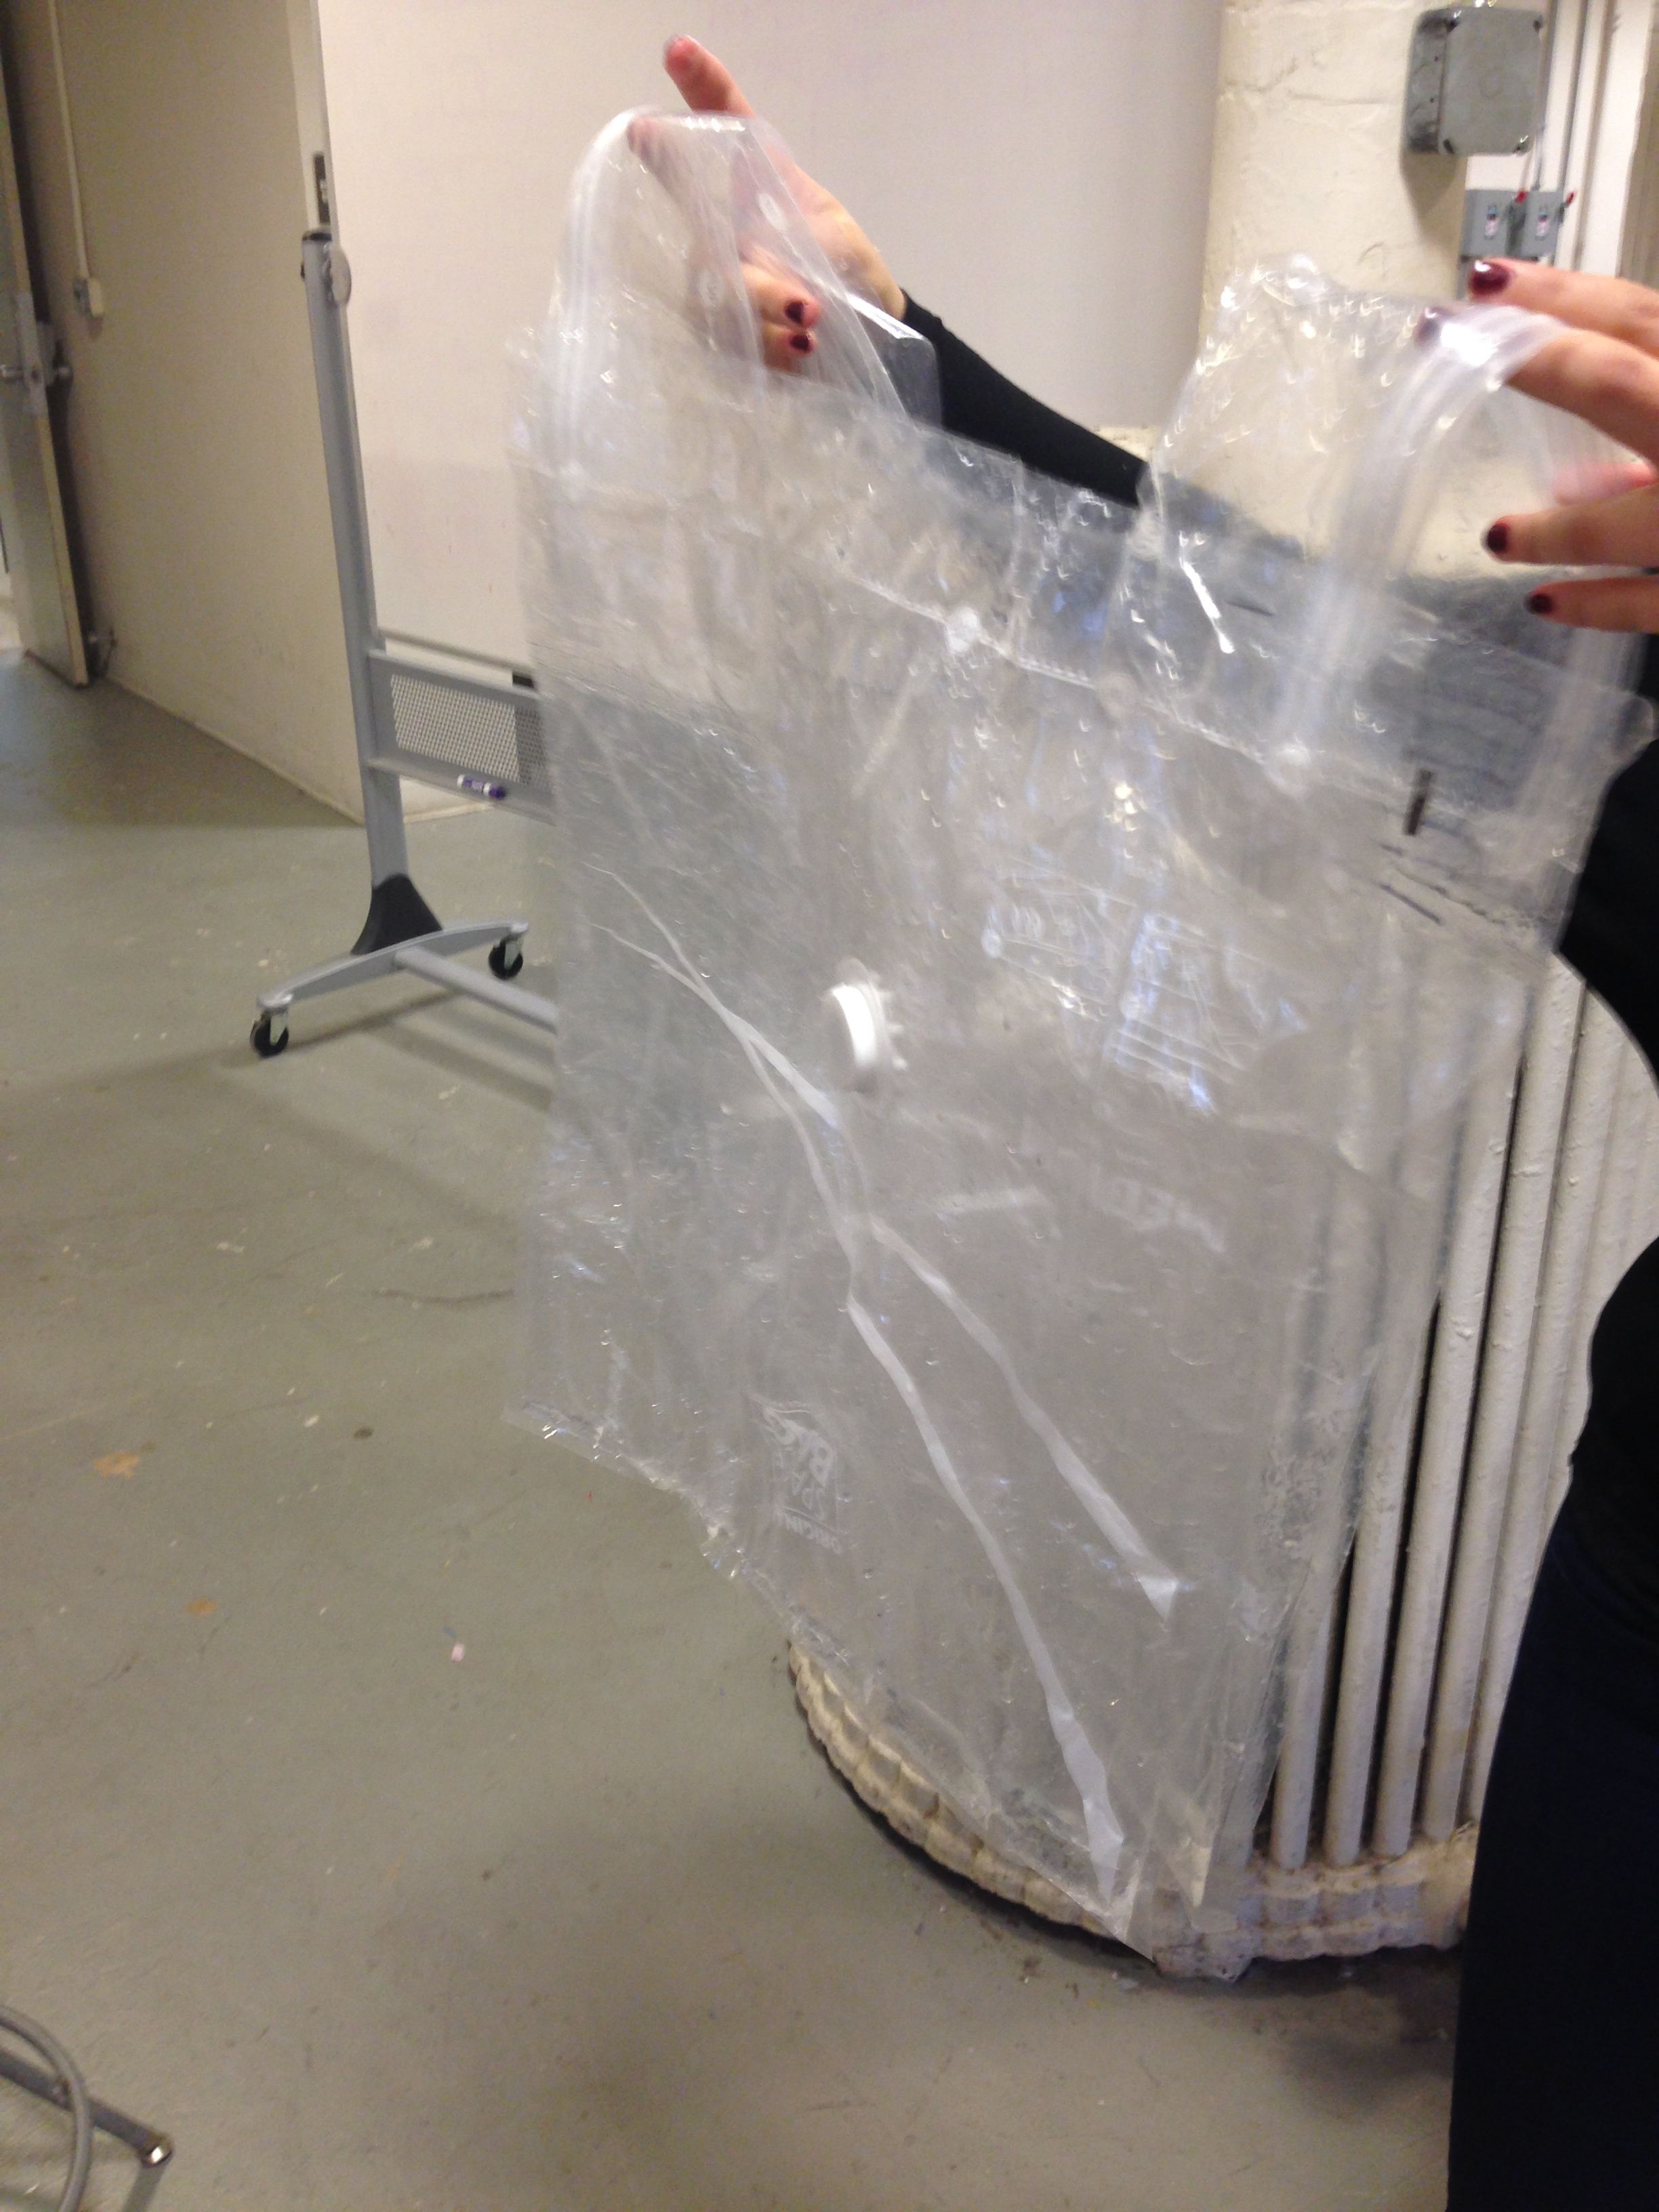
But the question is, can this space bags be iron-pressed together using seam machine?

Yep, it does! (But then we realized only the internal layers seal with heat (not heat resistant), as opposed to the outside sheet which does not stick with addition of heat sealer… good to know!
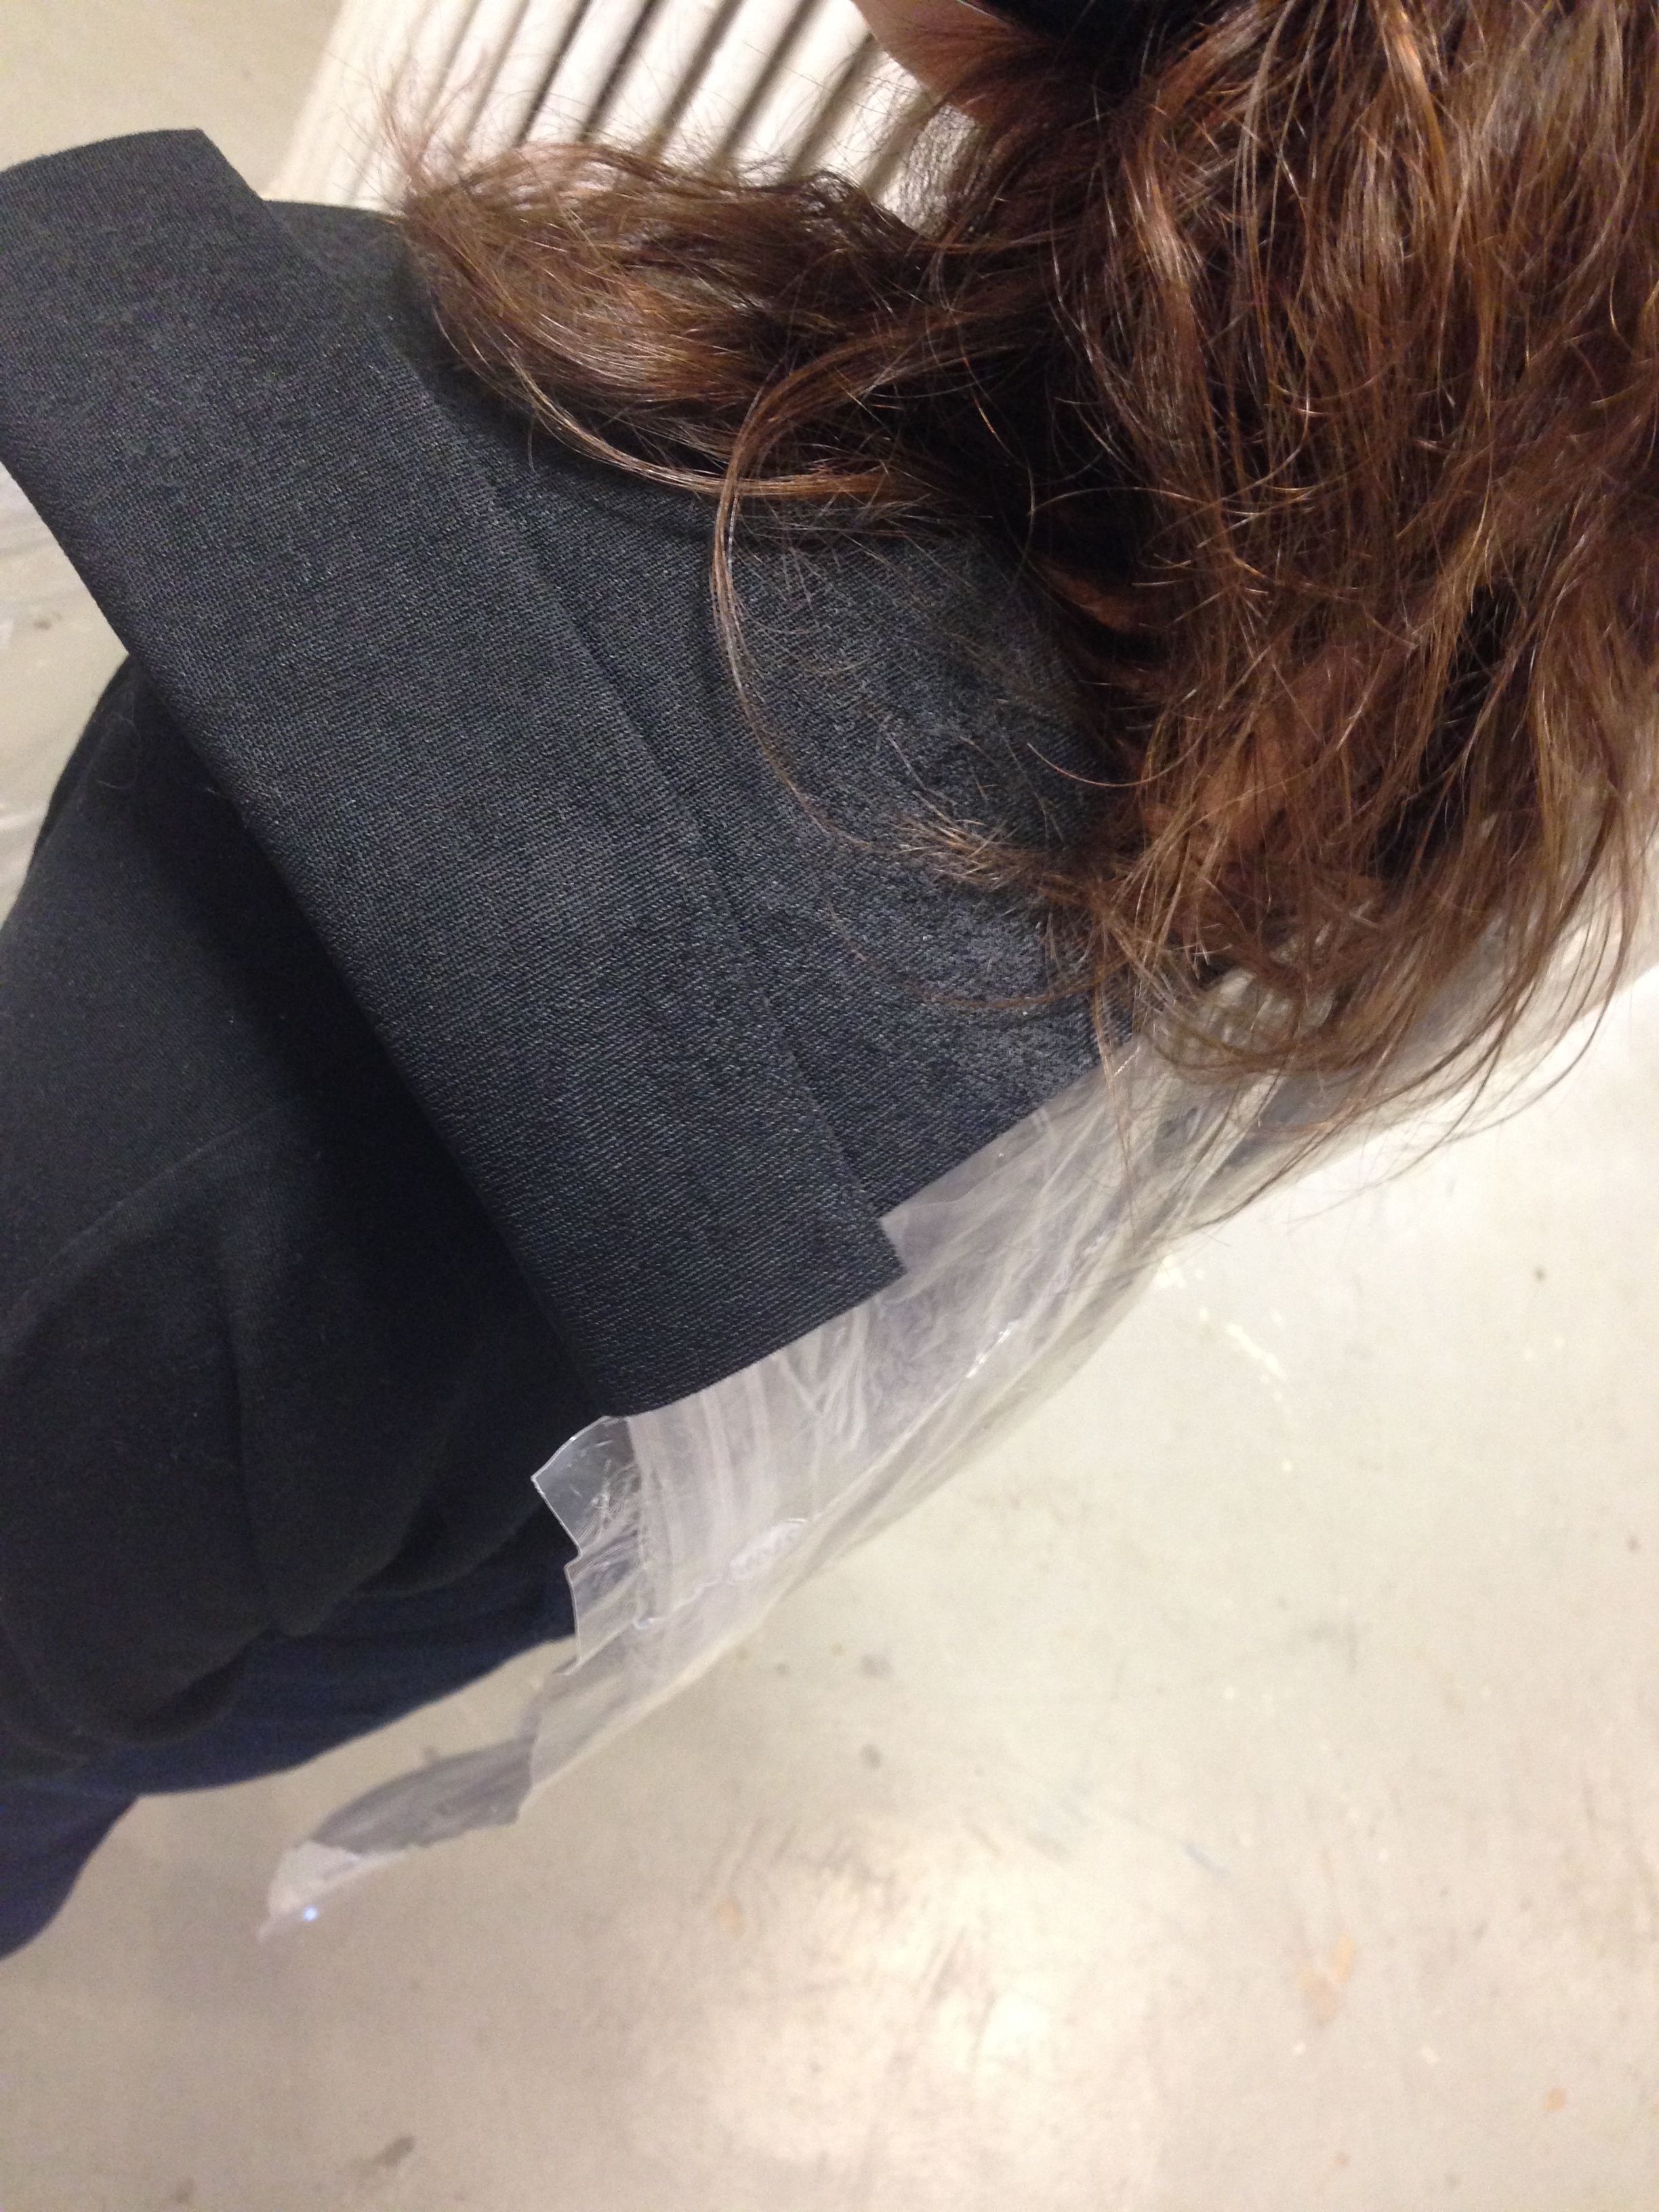
Front vest and both shoulder straps pegged in place and ready for the heat sealer!


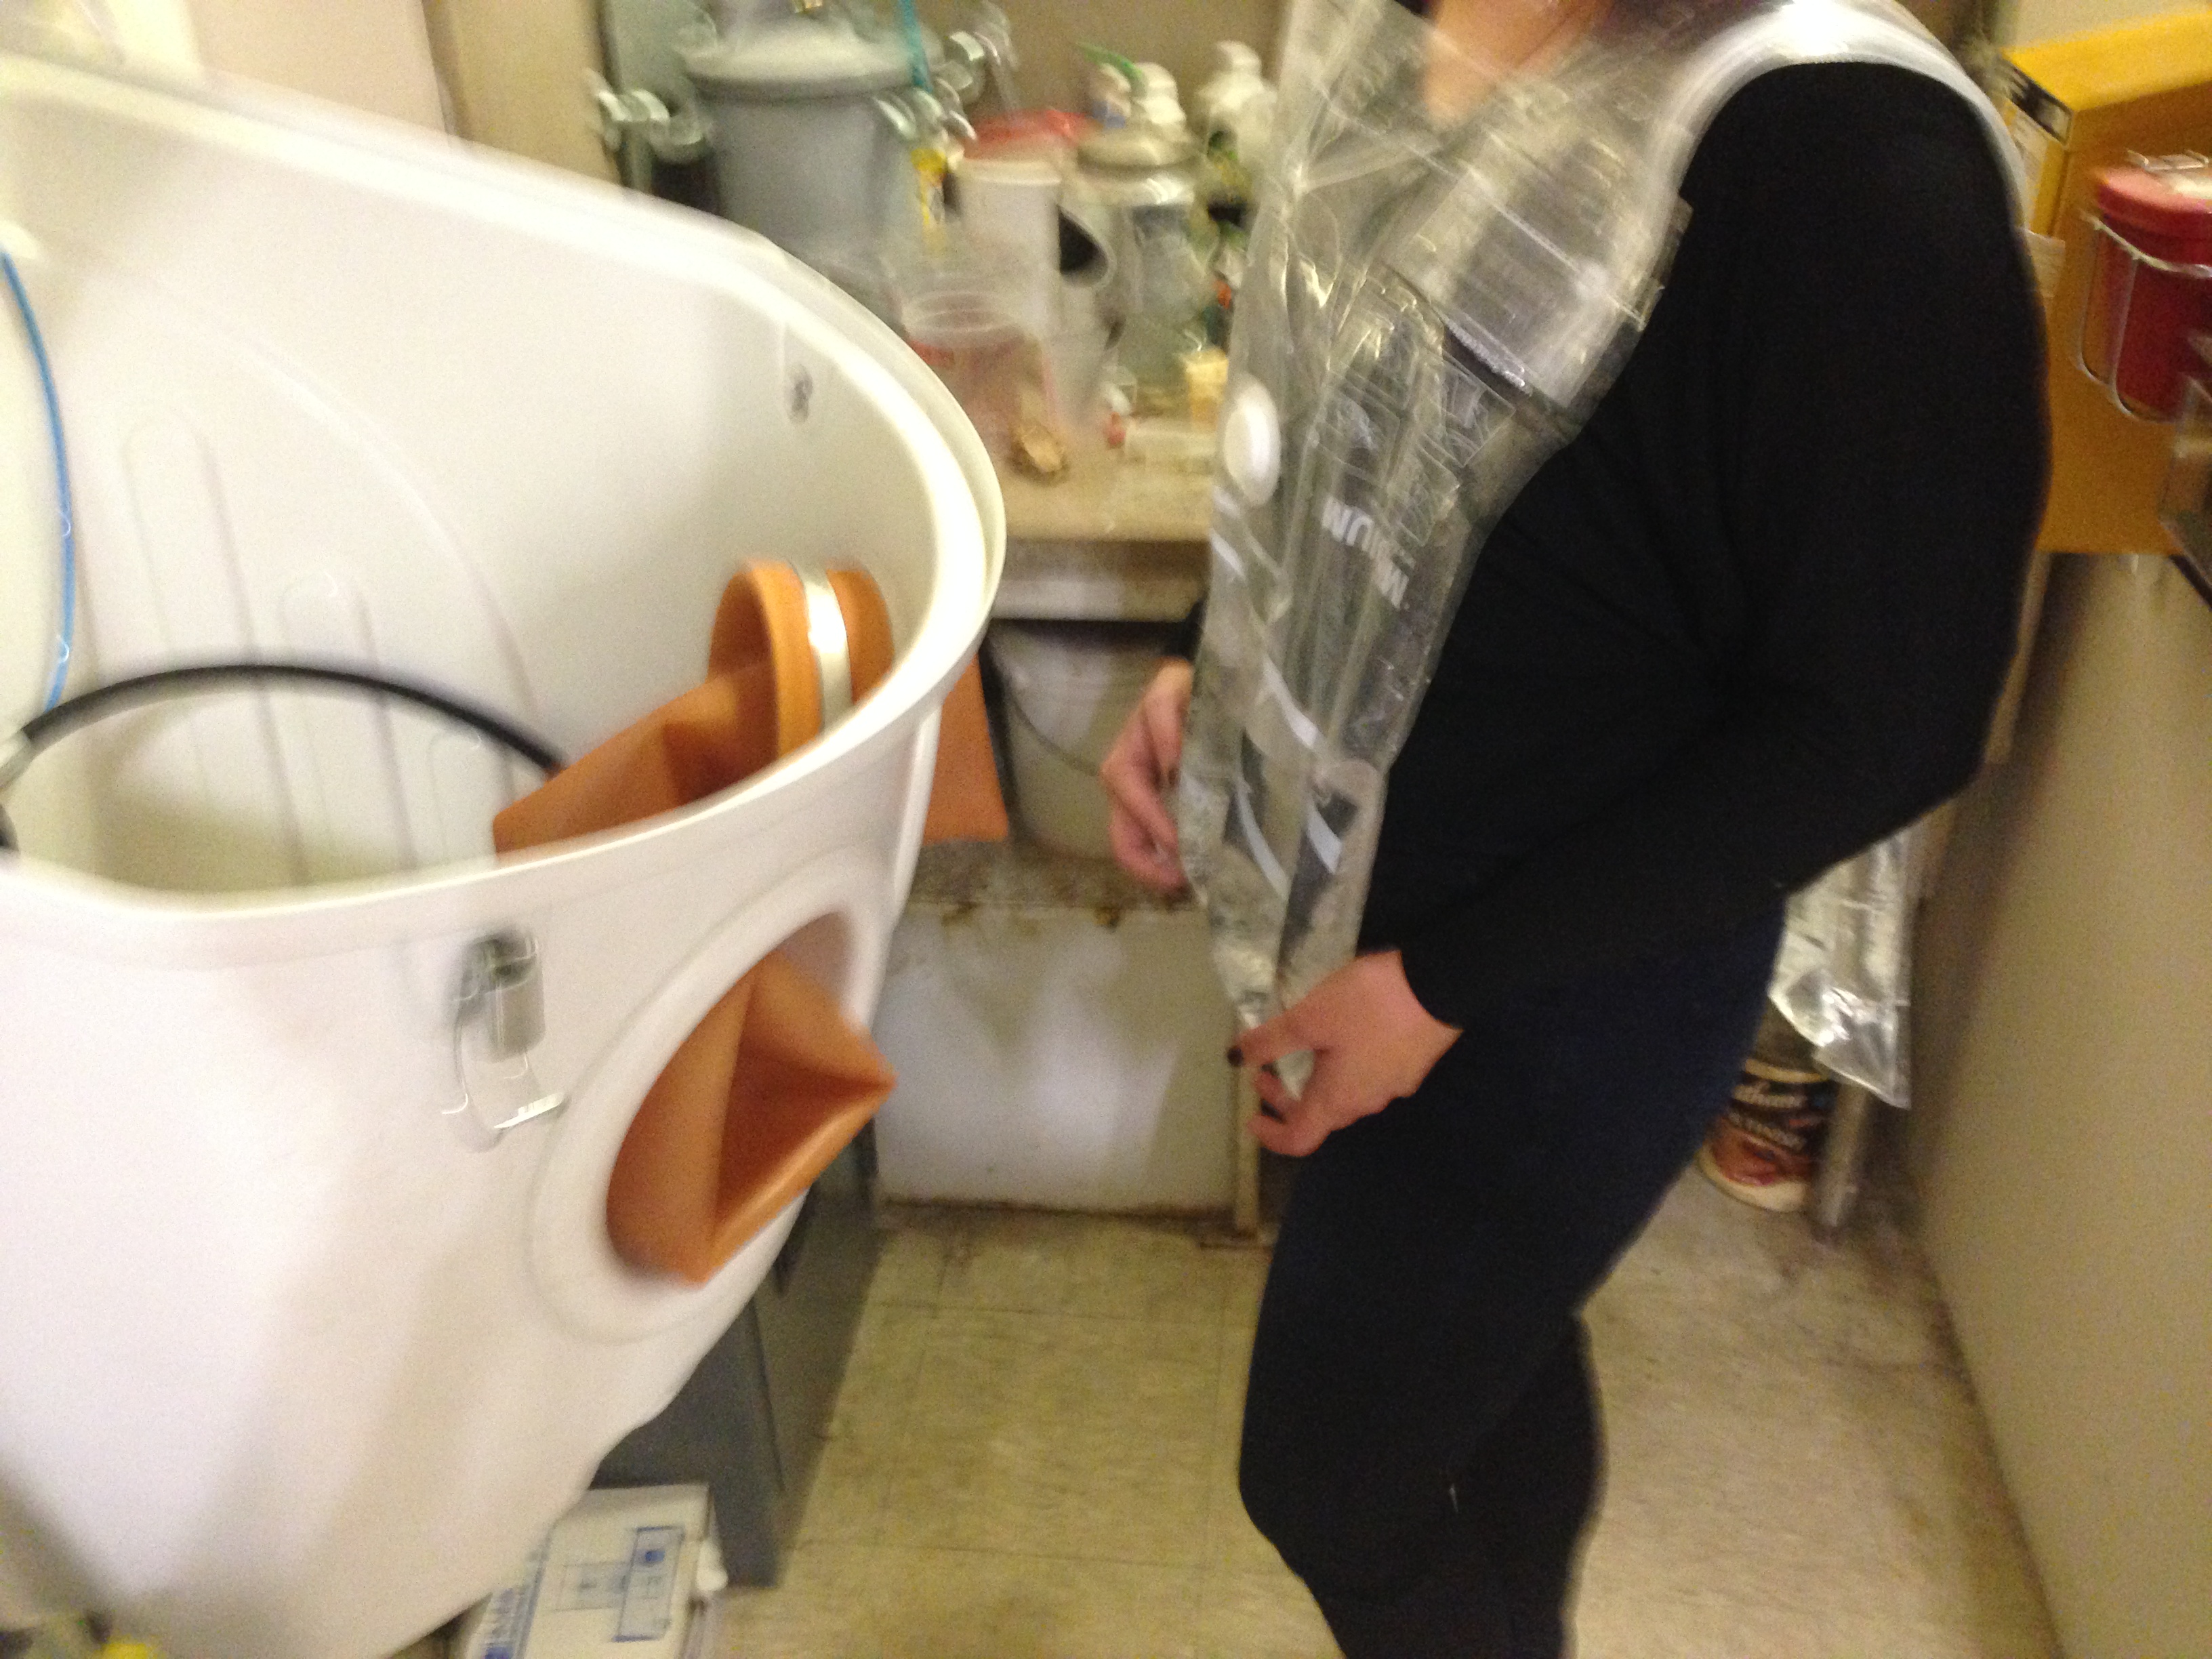
We decided we wanted to test the front with water before creating the identical back design. So we went to fill our mock-up with water.


No leaks when worn as a vest. But we wanted to know, would it leak if turned upside down?

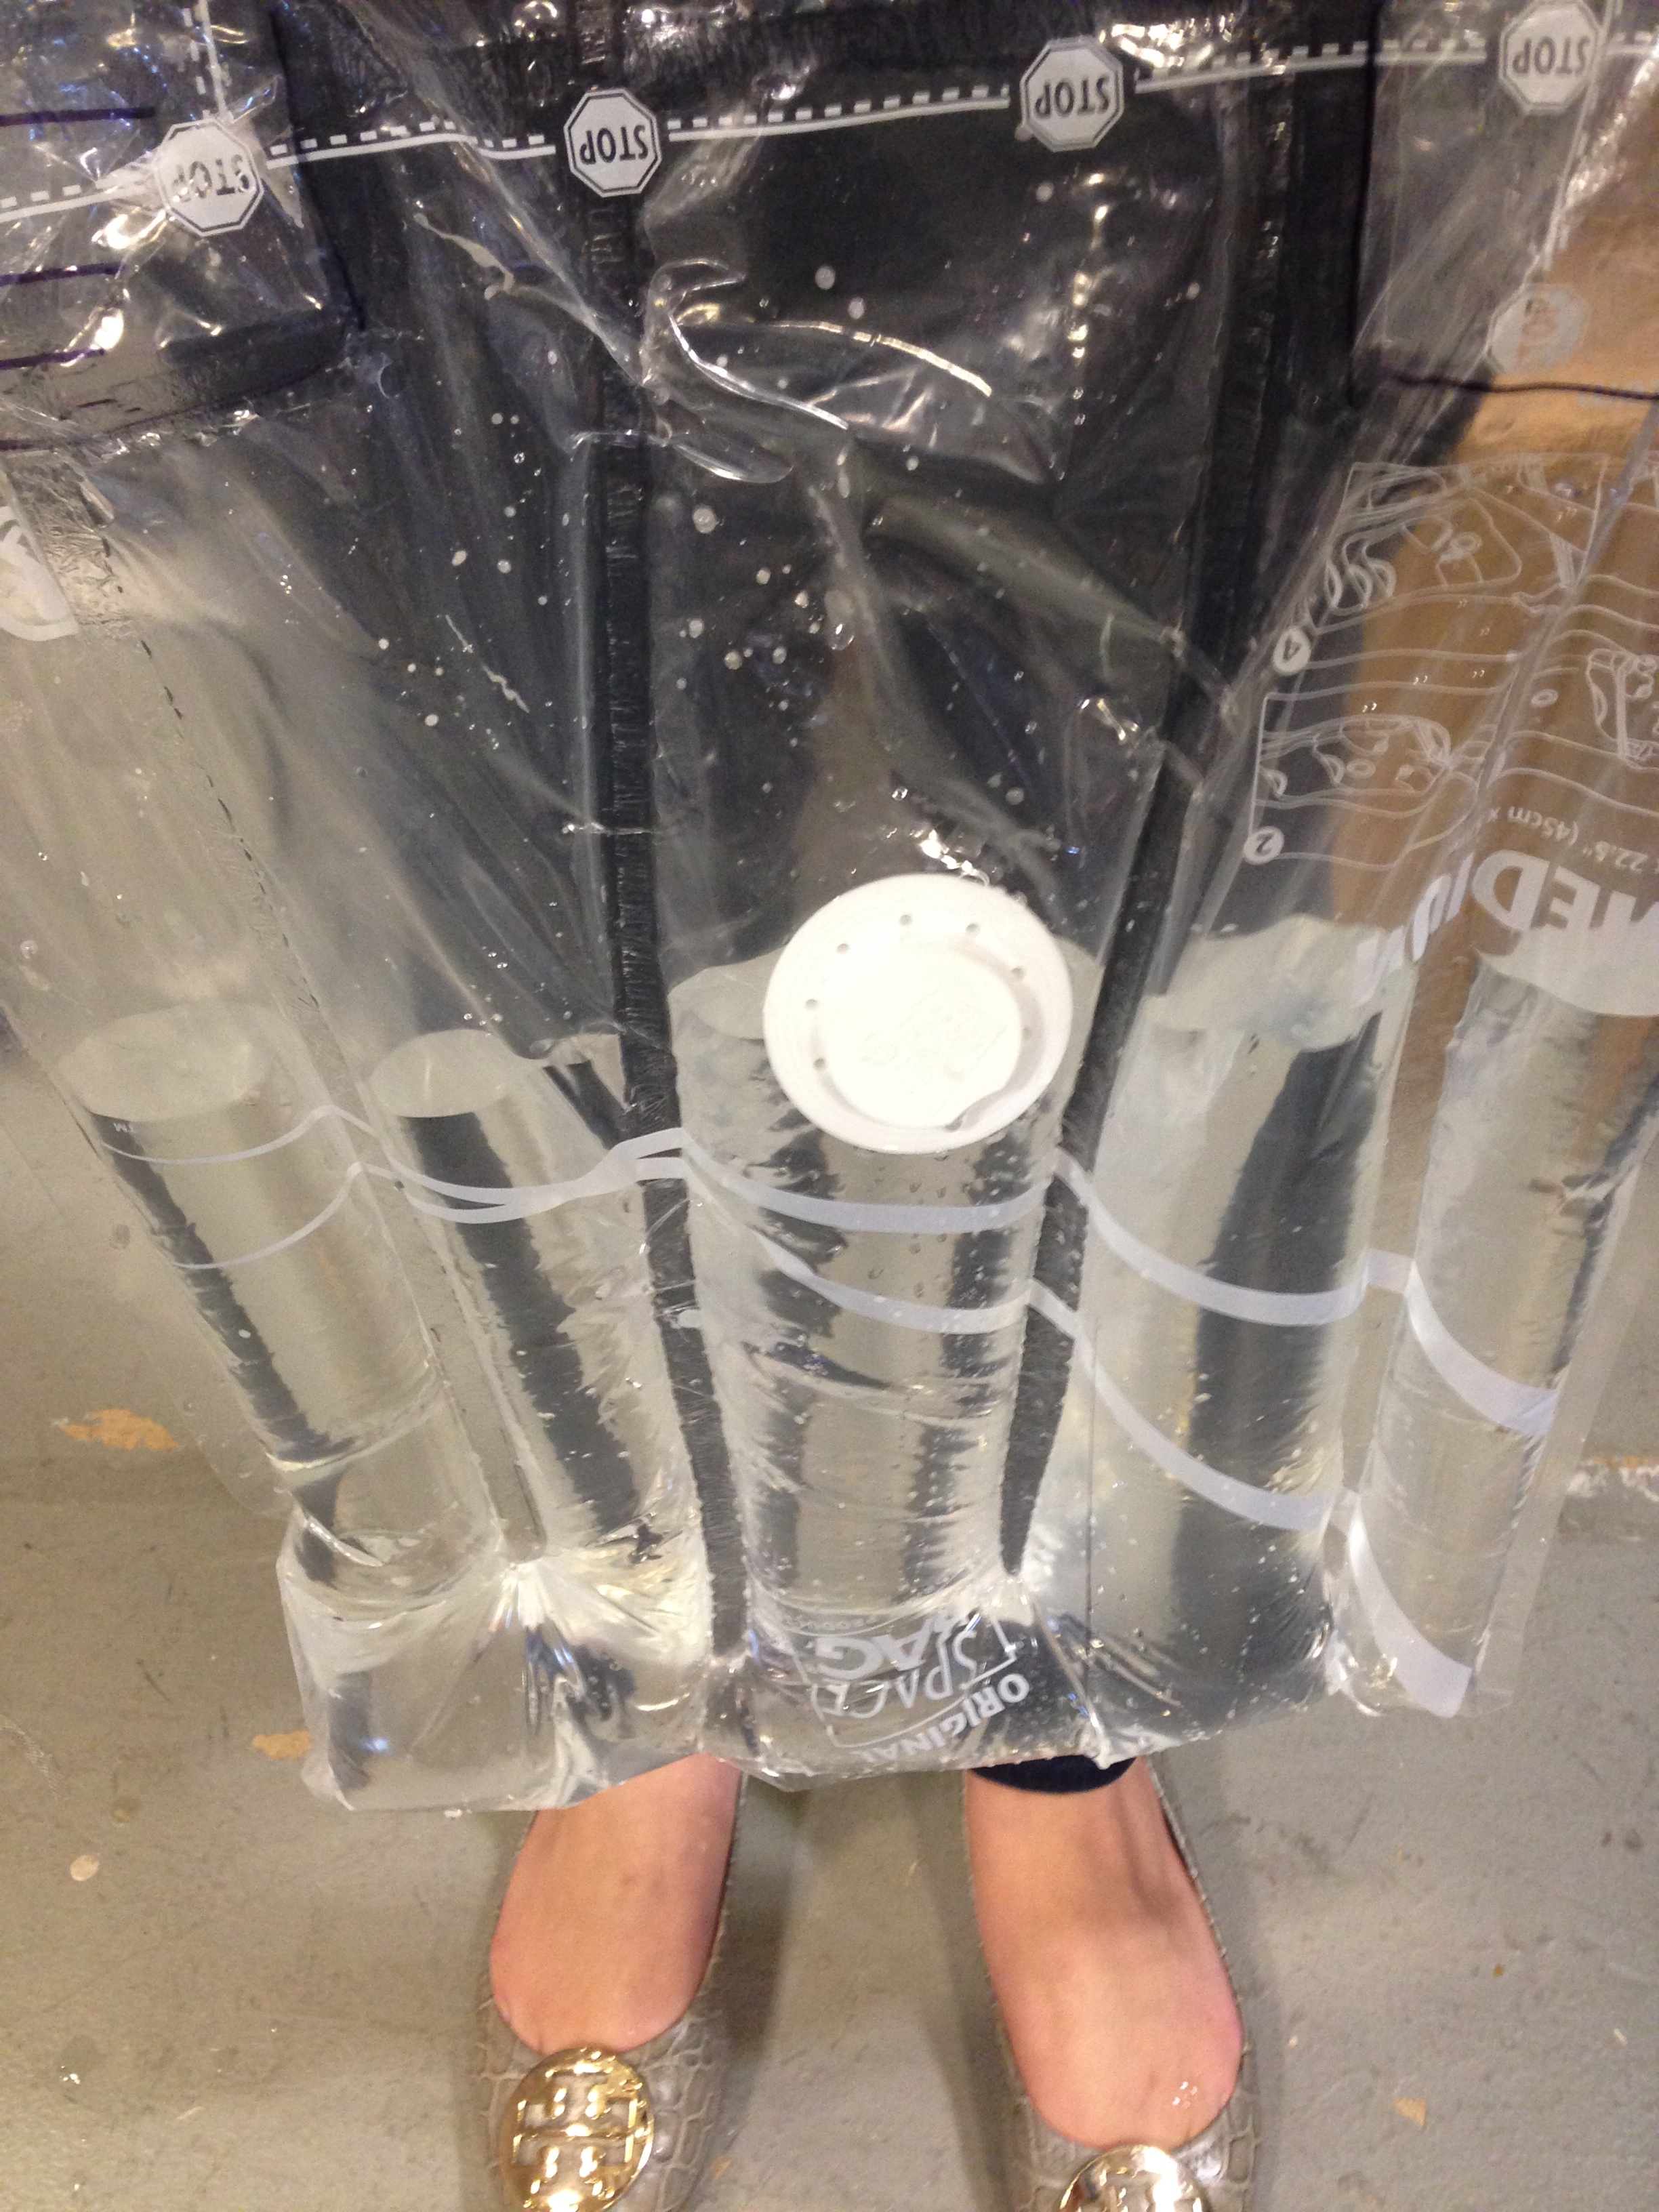

We’re glad we tested it, because there was a leak when held upside down. The shoulder straps had created a space that was not fully sealed, so we needed to remediate this before proceeding to creating the back, and modify our process to ensure we sealed the top perfectly.
We proceeded and fixed the front and made an identical back. We then attached the back to the should straps to create a single water vest garment.

An interesting step we realized we needed to take, was to find a material that would not seal the inner plastics together. Due to the configuration of the heat sealer, if we wanted open space at the bottom of the vest so that the water could flow freely despite the sealed compartments above, we needed to segment sections of it off. We tested paper and cardboard, and determined that cardboard would serve as our intermediary to protect the bottom insides of the vest from sealing.


After completion we went to test our design in its entirety. After filling both sides and all compartments, Elizabeth tried the vest on. It was amazingly comfortable and the weight was distributed due to the wider shoulder straps. Elizabeth was incredibly impressed with the ease of wear and how little weight it felt like on.
With my hands free, I was able to walk around and could potentially carry other groceries or items with my free hands.
Next we wanted to look at its collapsability and ensure that it was easy to carry to the water source.

The mock-up was extremely collapsible and much smaller than currently used methods to carry water. It also expanded in one easy swoop and maintained the necessary shape.
One last addition we desired, was detachable neoprene straps for additional comfort and carrying options. With larger and smaller neoprene velcro covers, the user can add these onto the vest for extended carrying. Smaller covers can be used to carry the water in a similar fashion to a shopping bag.

For a video of the process in action and the completed mock-up, see our video post https://design4innov8.com/2013/12/06/mock-up-2-video/
