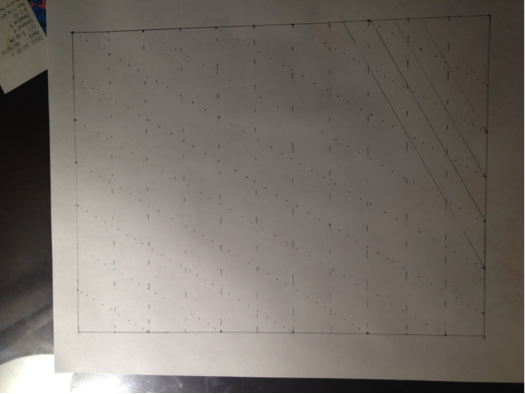
The one of the primary attributes of the measuring cup that we are re-designing is the collapsibility. When contemplating the collapsible functionality, I wanted to explore different fold patterns that would produce a collapsible effect. I started with a square to reproduce a complicated fold pattern I discovered on line. The online version had a pattern, but I wanted to produce this from scratch to understand the precision of the pattern.

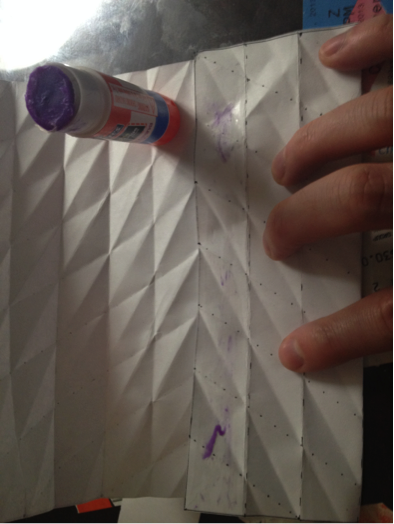
After I completed the square, I drew dotted lines ¾ inches a part. These lines would later be folded upward in the same direction. These liens were drawn vertically, but also diagonally across the page.

After completing the cross section of lines that would also be folded in the same direction as the horizontal lines, I focused on the final set of lines that were drawn ½ inch apart. These lines would ultimately be folded in the opposite direction of the original dotted lines.

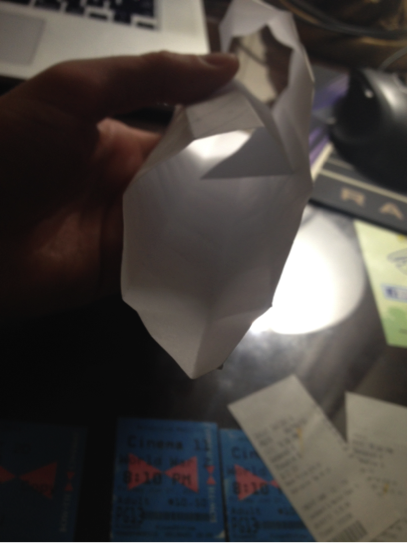
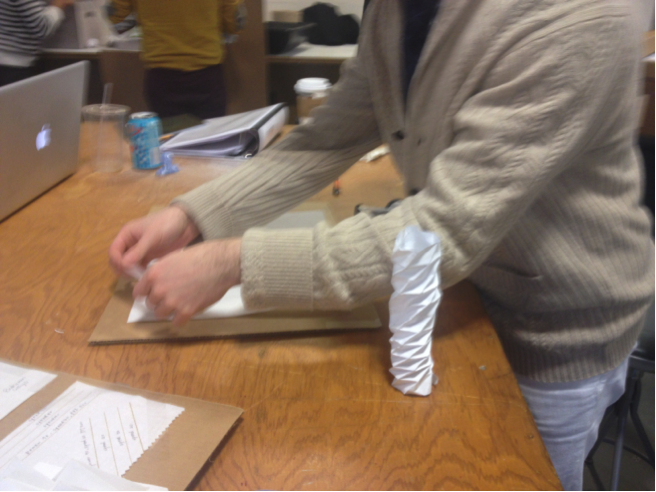
I then started folding the first set of lines folding in the same direction for each fold.
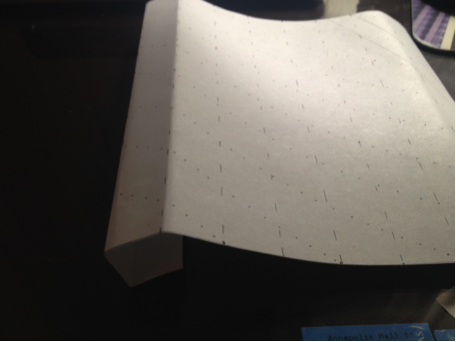
Ultimately it creates a tube.
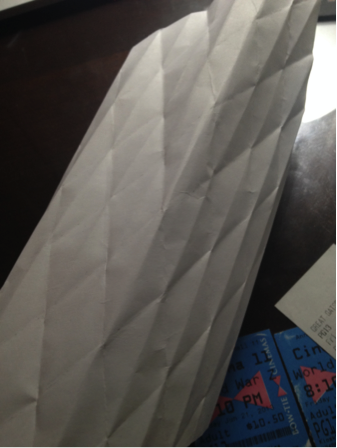
Next, I have to go fold the lines that are ½ inches apart in the opposite direction of the other folds.
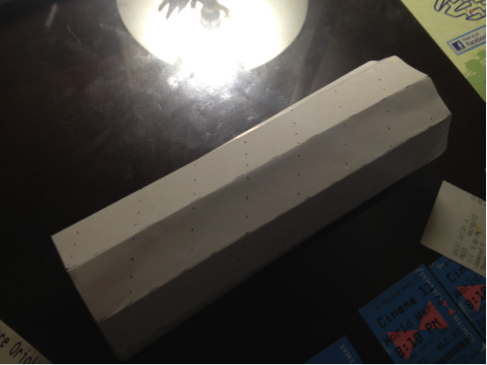
The final set of folds looks like this:
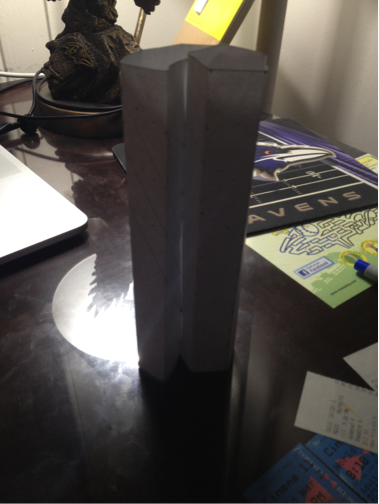
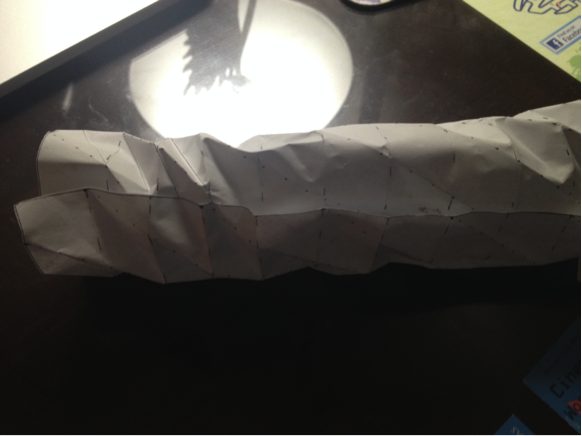
I then glued the ends together to complete the cylindrical structure.
The final product was difficult to fold and did not turn out as cleanly as intended.
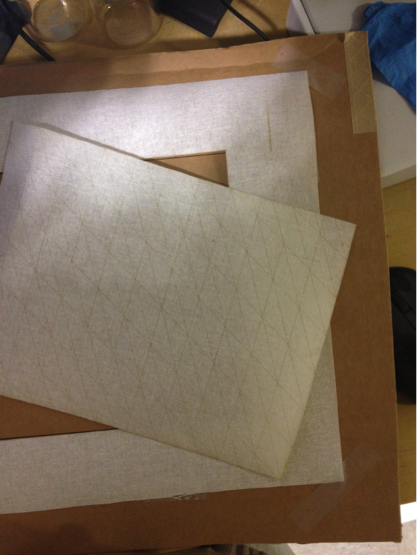
I tried to recreate the process using buckram. I was able to use an adobe illustrator file that contained the line pattern that I manually created in the first prototype. This file allowed me to use the laser cutter to cut perforations in the buckram. I wanted to use buckram because it is much sturdier than the printer paper I originally used. I have also listed the settings I used for the laser cutter below.
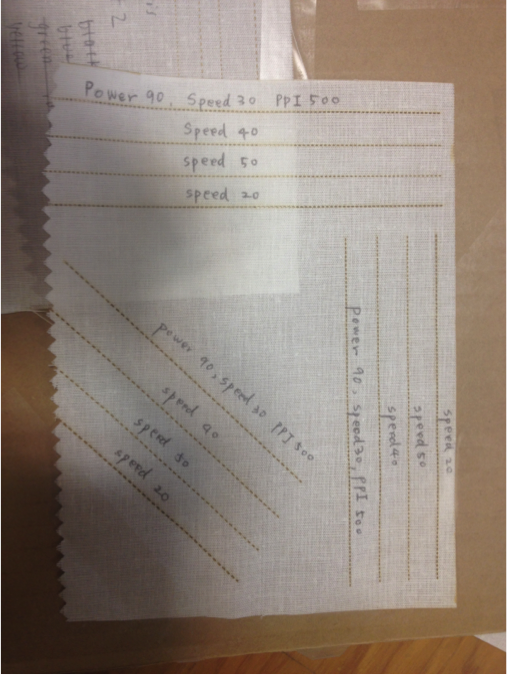
Ultimately the settings I chose were not correct because it only slightly engraved the pattern on the buckram. The next step is to make a second attempt with different laser cutter settings.

(Kyle Bodt)
