After Ryan’s mold making workshop a couple of weeks ago, I began to think more about mold making as a way to prototype, given metal 3D printing is a bit cost and time prohibitive given our course coming to an end so soon.
I began looking into ways to cast metal at home which my research pointed me towards silicone mold making and then casting with low melt metals such as Wood’s Metal, Field’s Metal or Bismuth. Instructables had a few good explanations and tutorials.
Instructables – Fun with Bismuth
Instructables – Pouring Bismuth into Molds
Given many low melt metals have high concentrations of lead, and I wanted to do these experiments at home, I thought I’d do a few experiments with chocolate before making the splurge on Field’s Metal for $80/0.25 lb = $320/lb (also cost prohibitive…)
Additionally, I actually would like the handles to be some sort of comfort grip material, rather than metal which is heavy and rough on the hand, so I still need to explore different options for materials before making the plunge for additional prototyping runs.
Long-term Vision: For the final version, I would 3D model the cane handle and print it with a 3D printer from the dFab lab. I would then use silicone to make the mold and a casting material to then make the working handle for my cane.
Silicone Mold Attempt #1
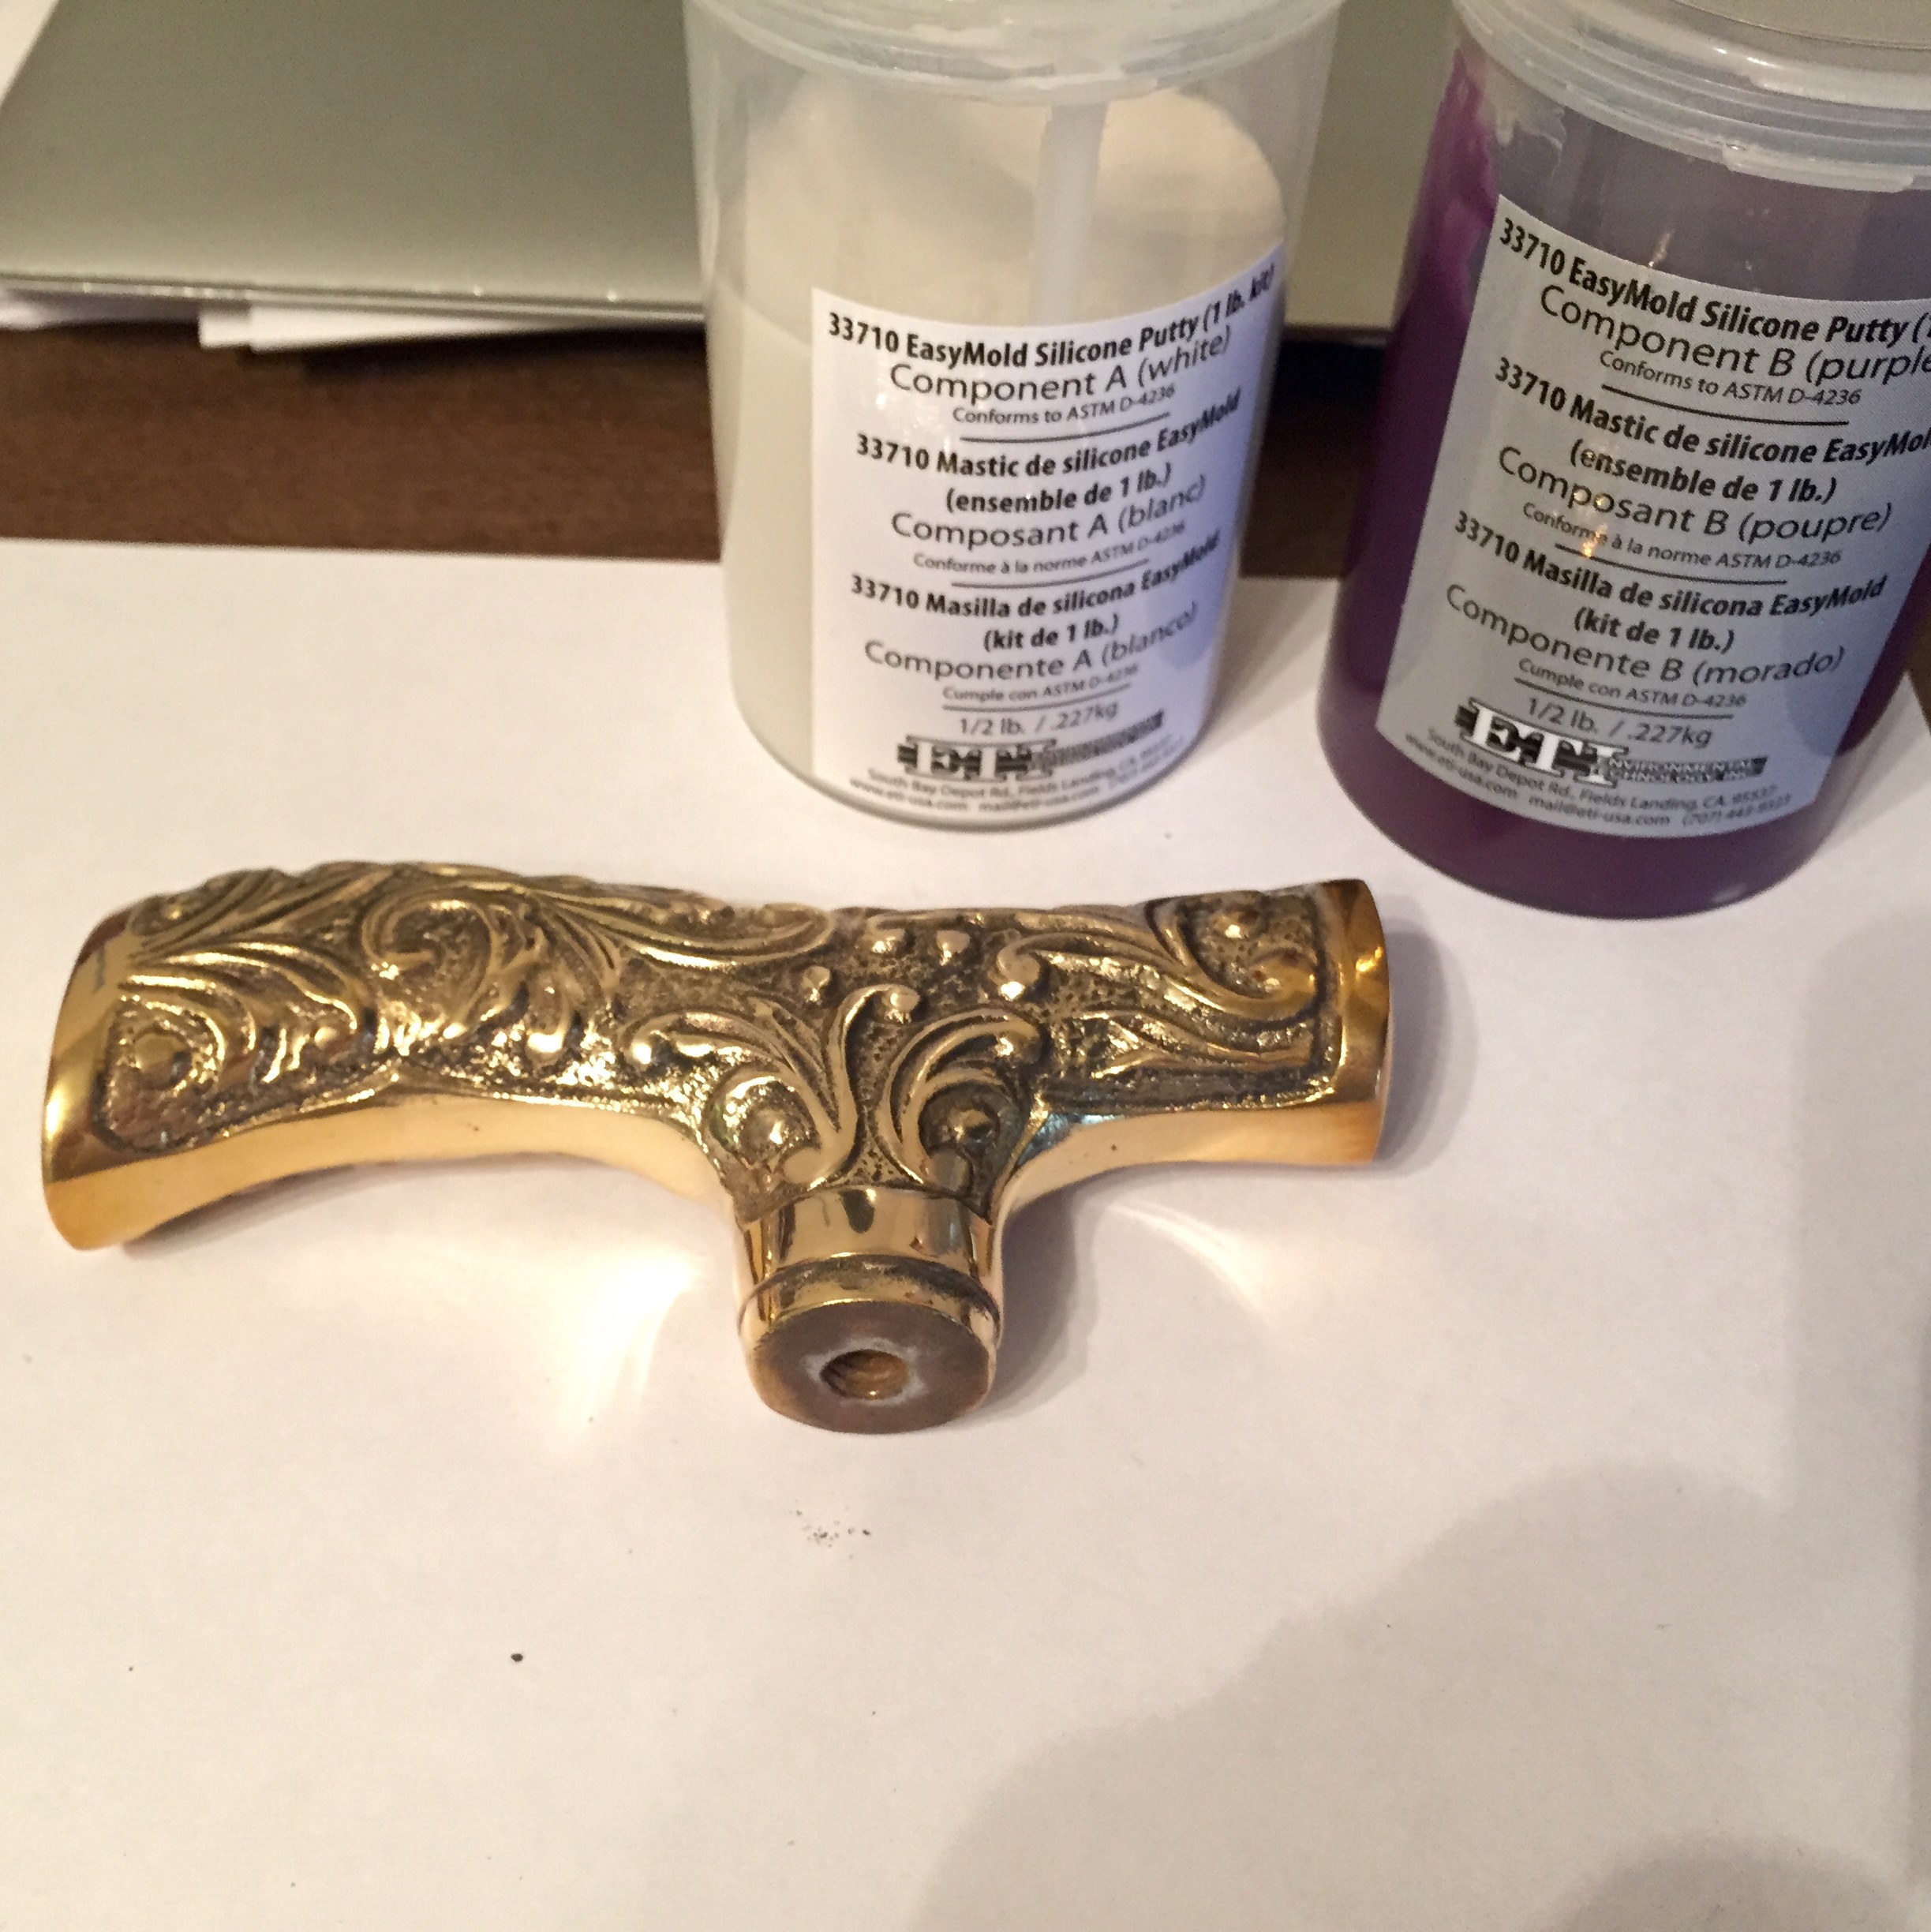
Silicone putty mold kit purchased off amazon

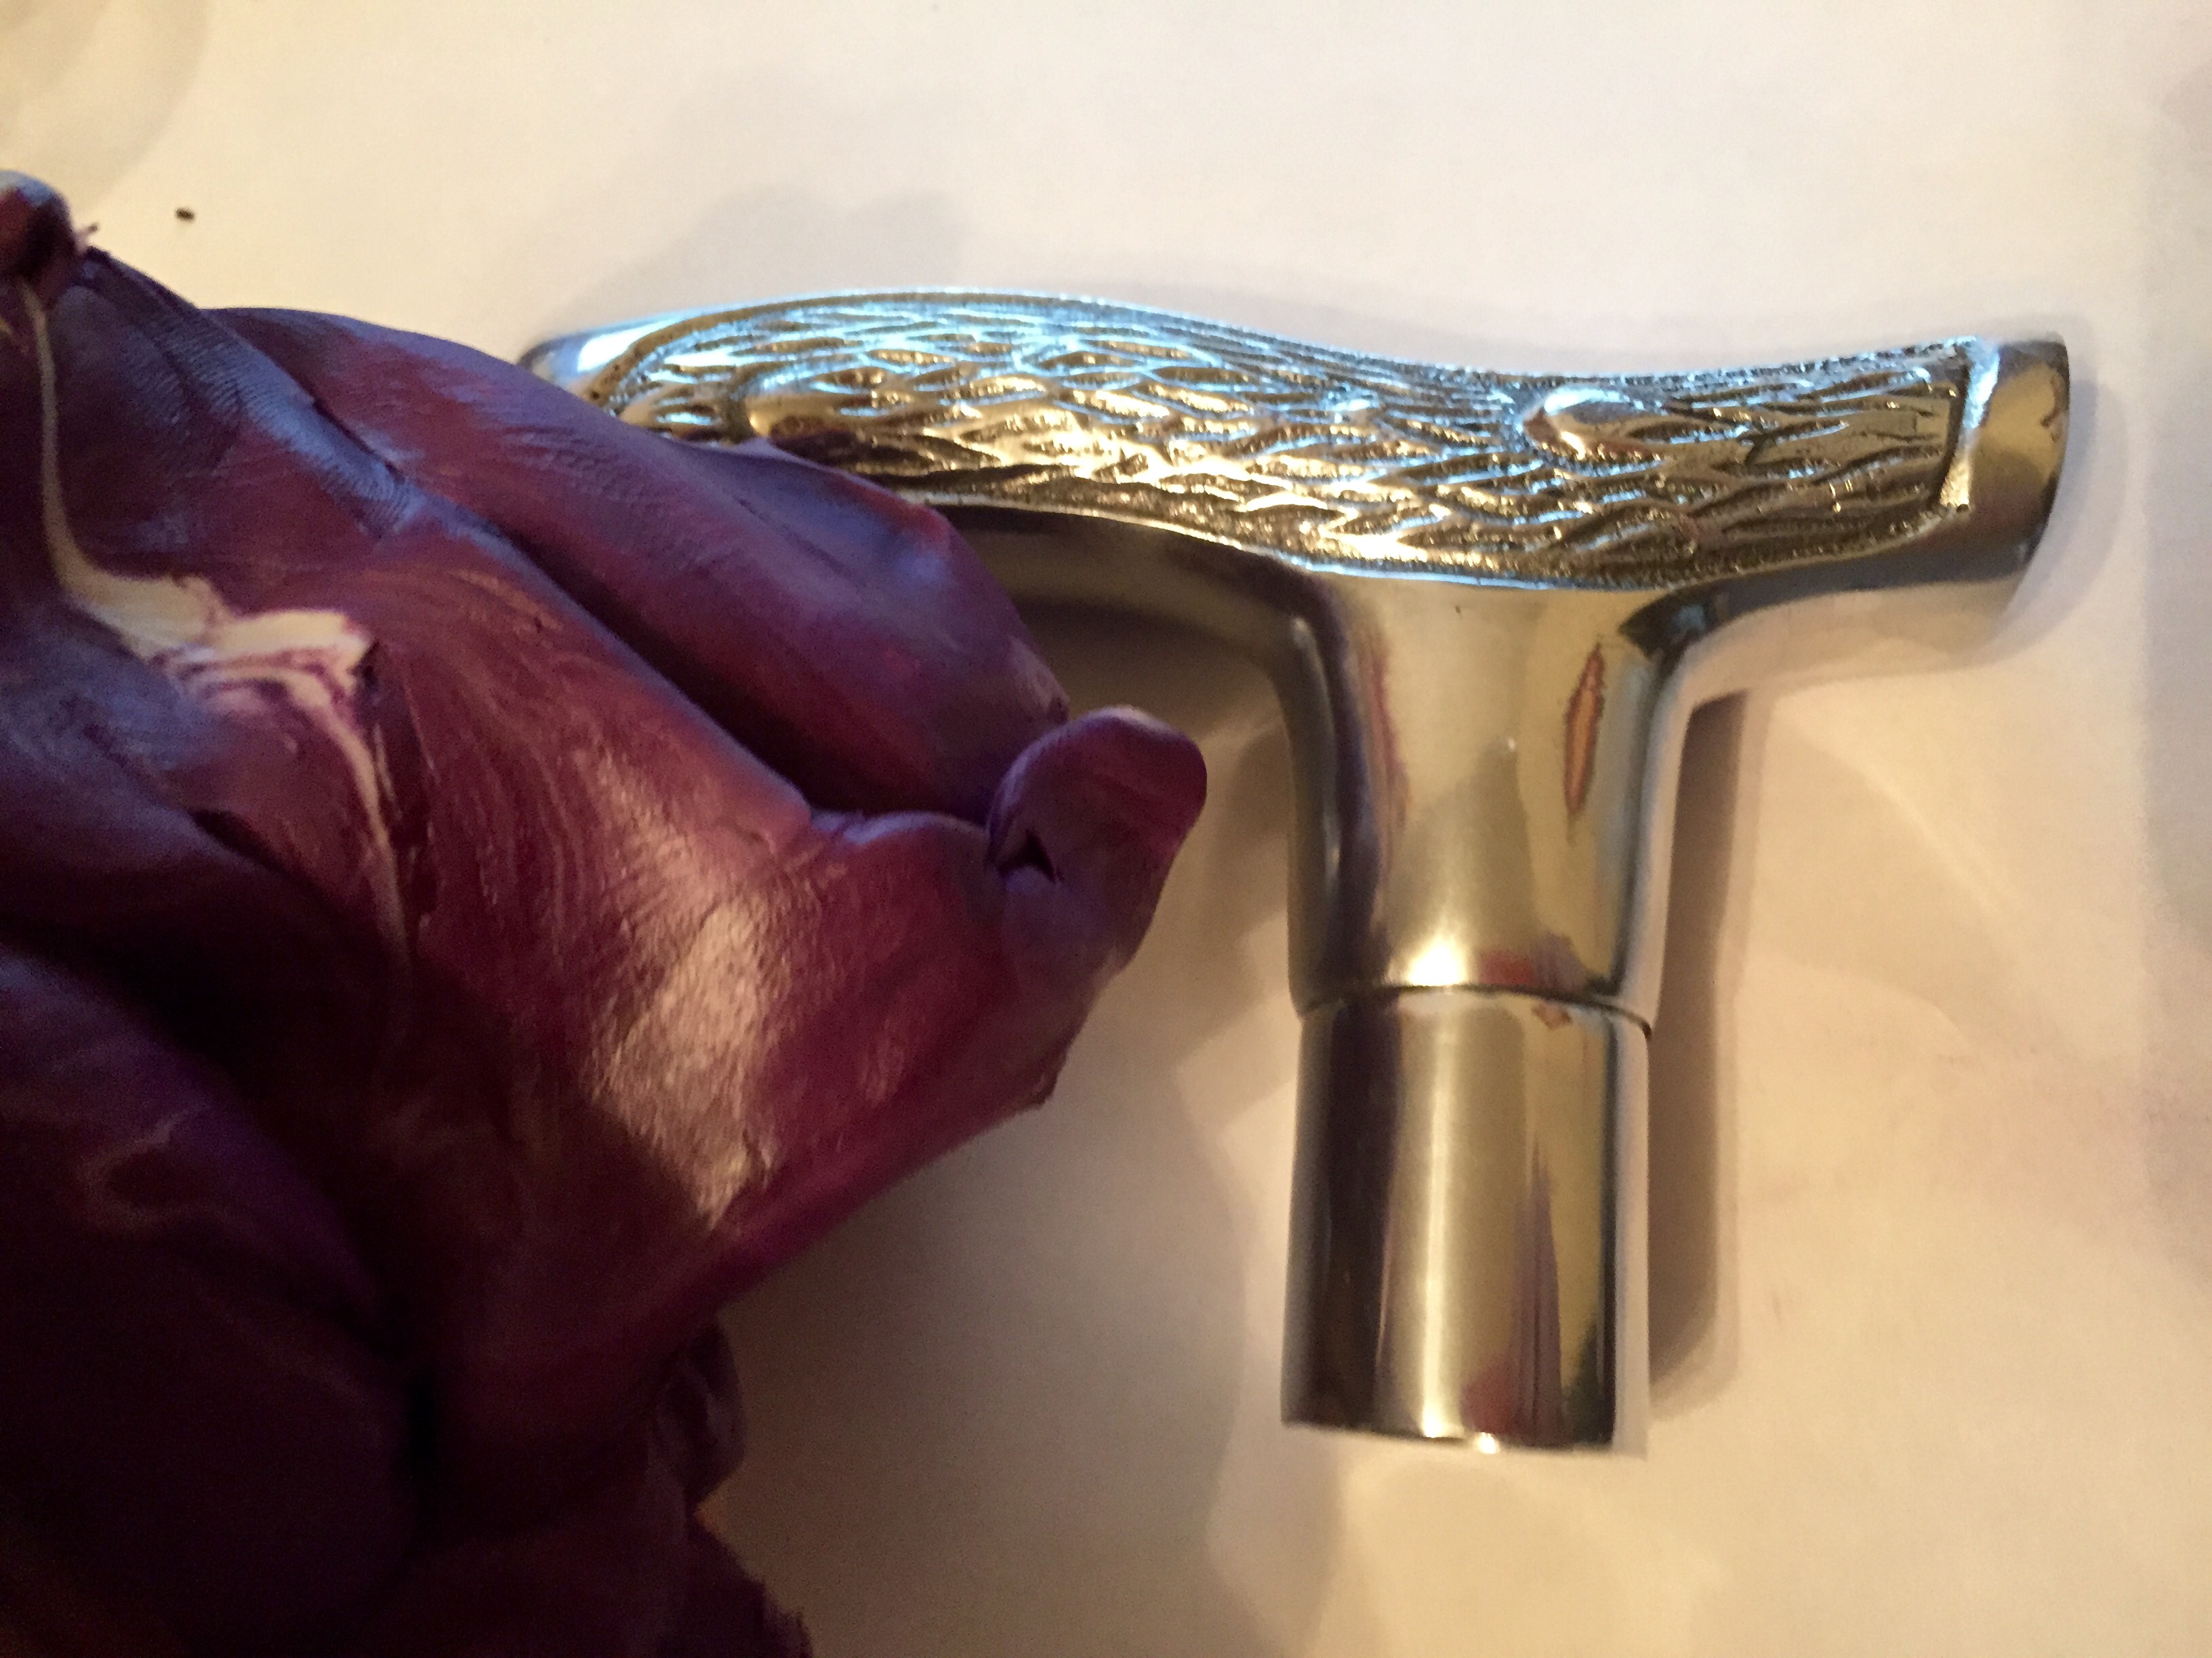
Preparing metal cane handle for silicone putty application
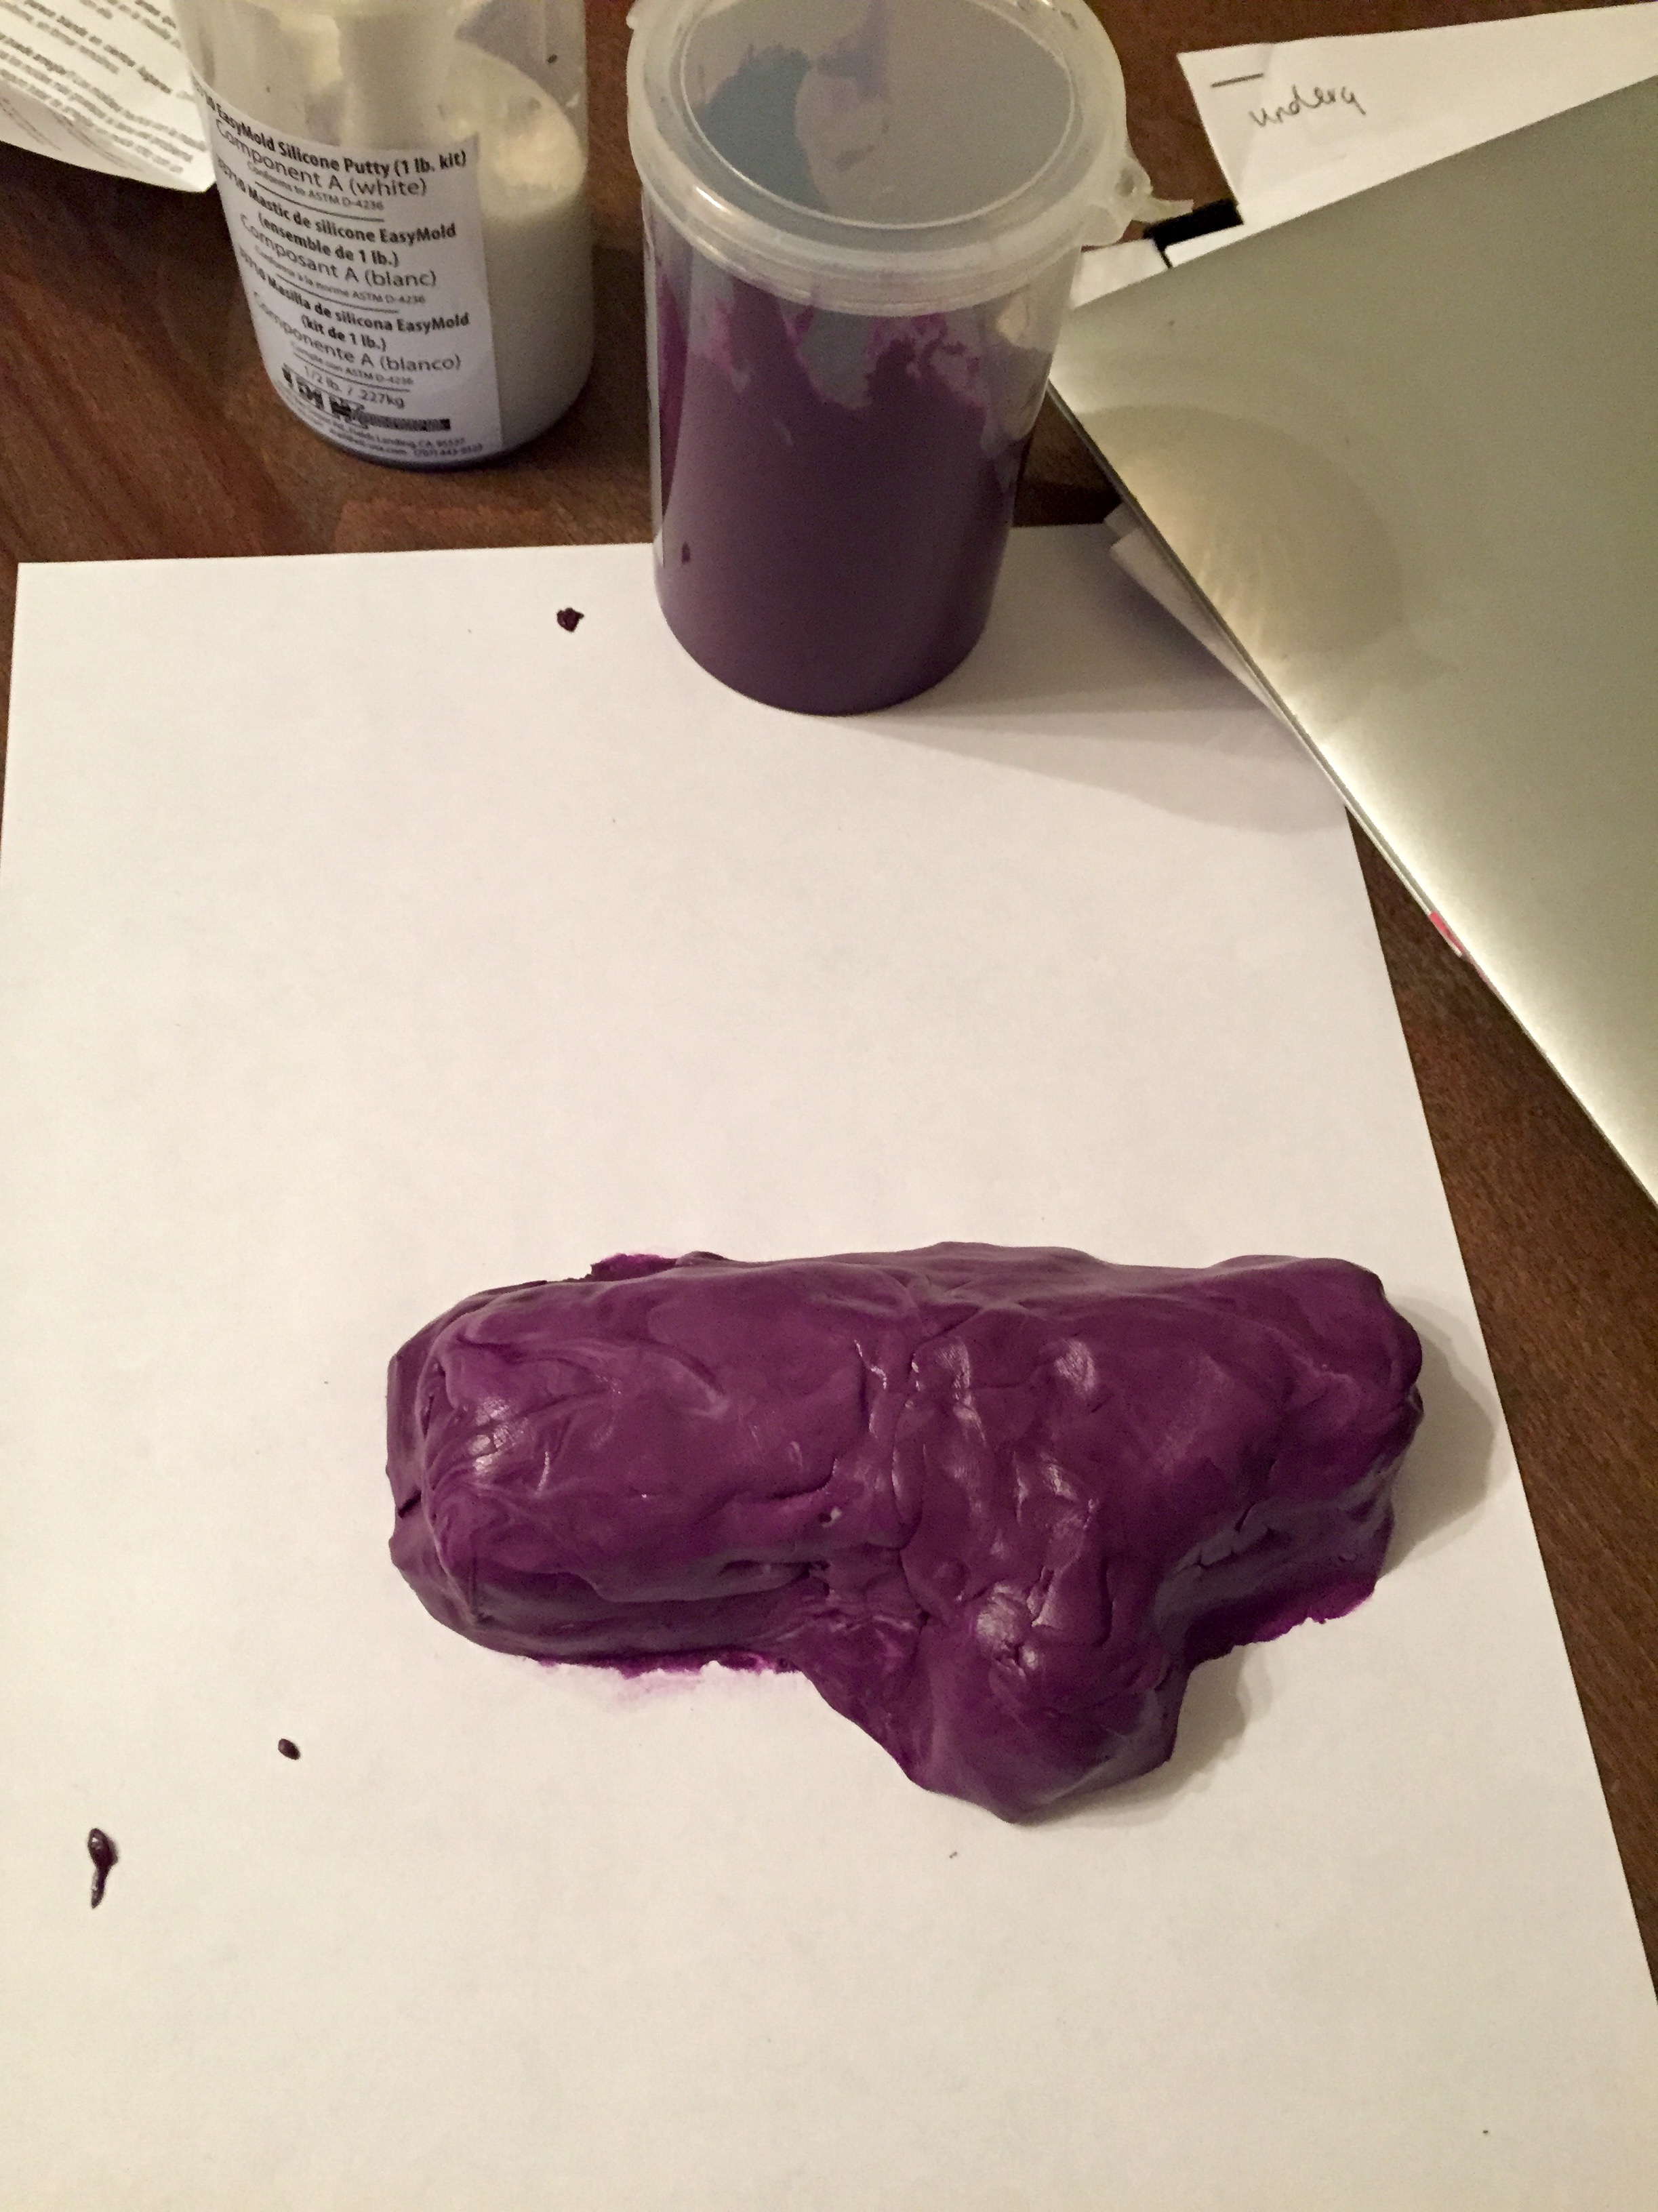
After mixing the two putties, I had 3 minutes working time to get the mold exactly as I liked it. Because I was trying to conserve putty, I made the initial mold a bit thinner than I think is optimal, so it kept tearing on the sharp almost right angles of the cane handle. I tried to patch it up and make it as smooth as possible, but I knew there could be potential for a small tear in the mold.
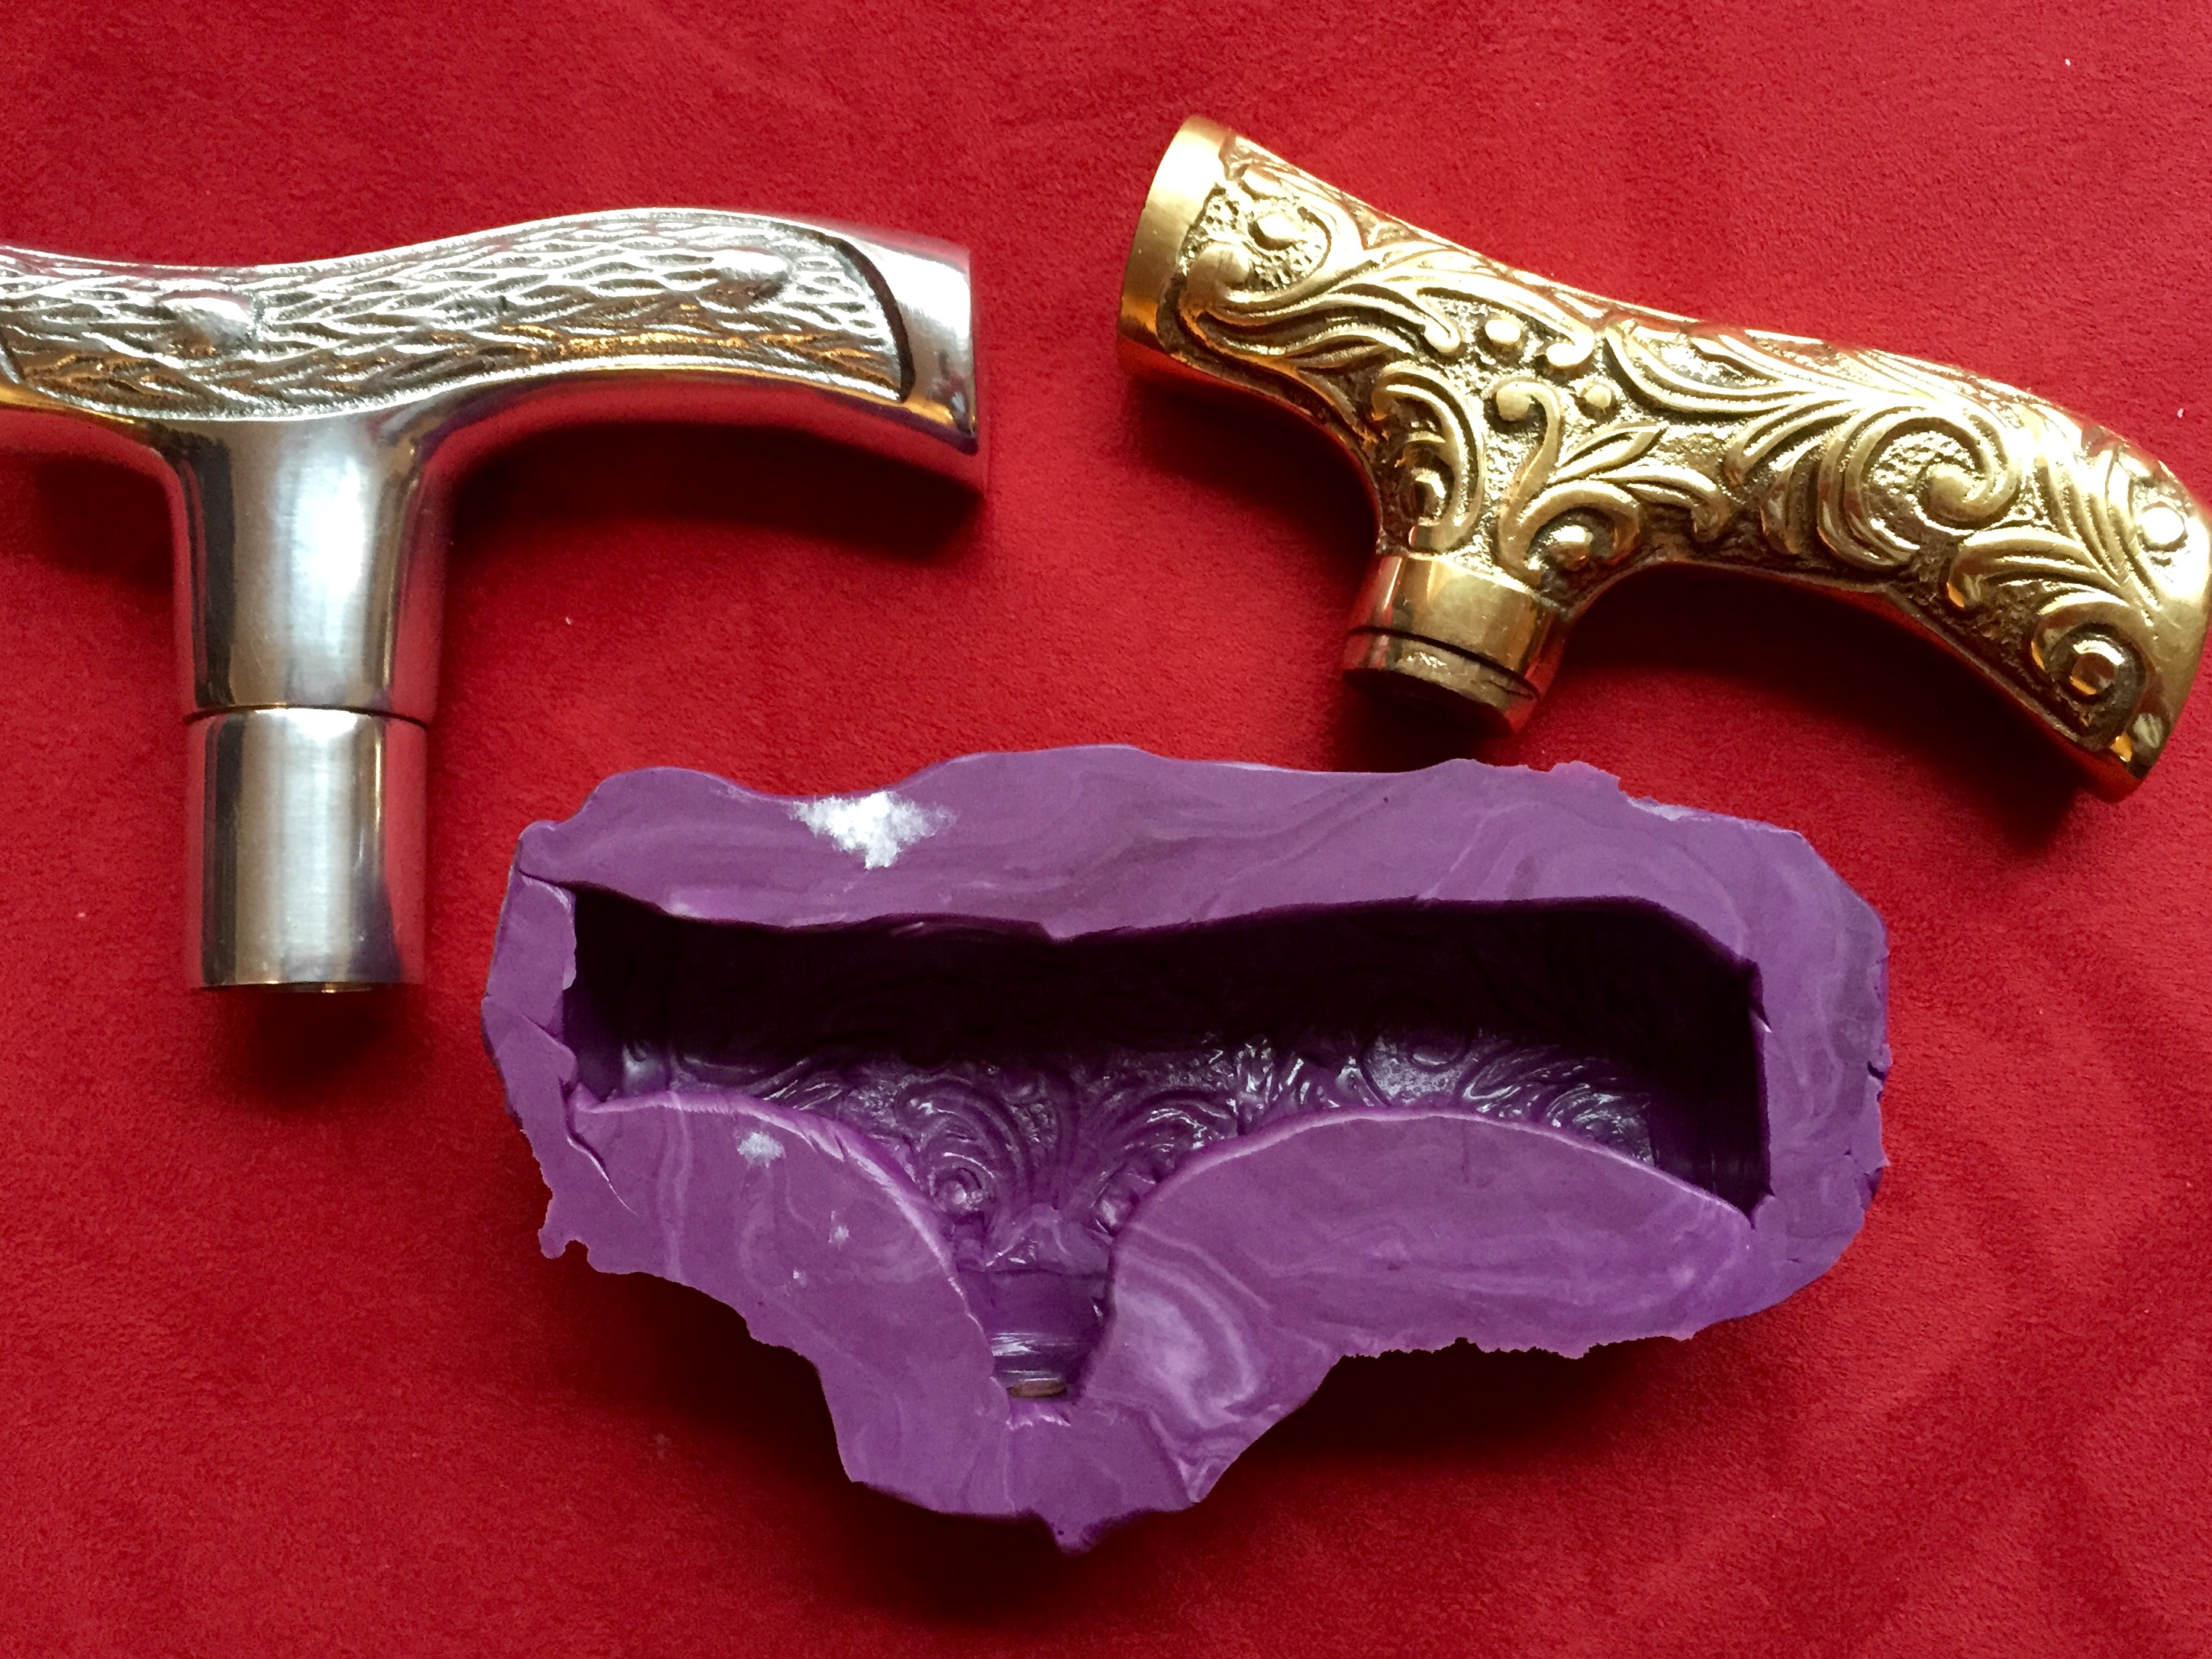
Mold after being lifted off sheet of paper after the 25 minute cure time. Excited to see what it looks like once I take the metal handle out!
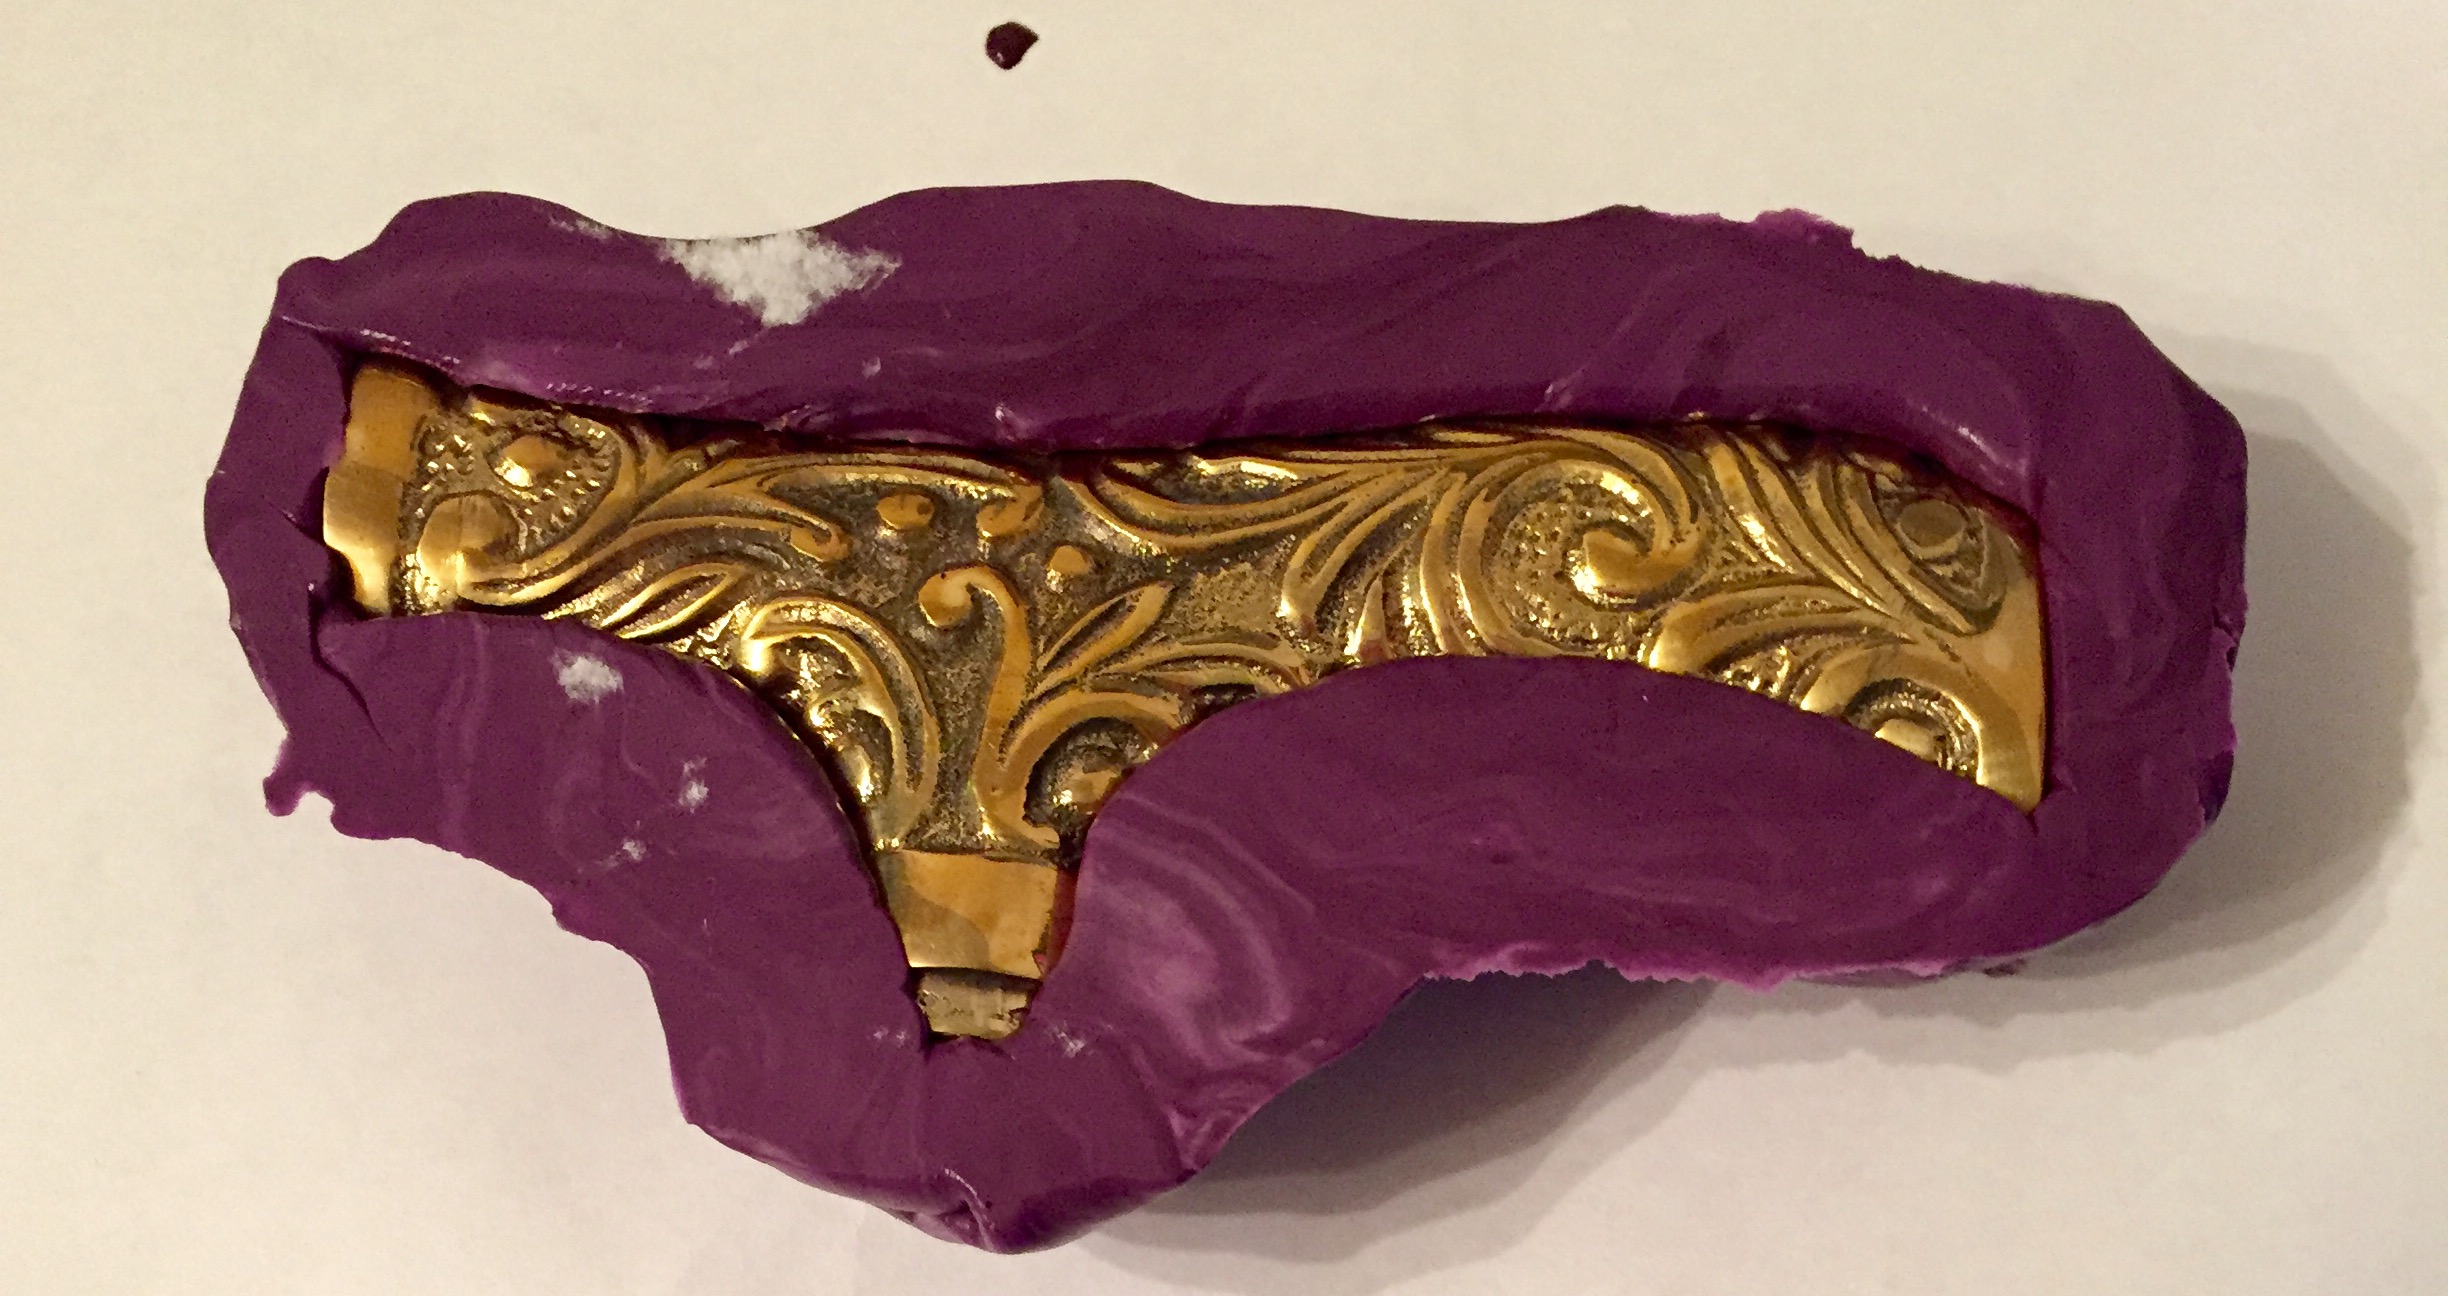
Resulting silicone mold that is flexible and looks fairly detailed inside. I can already tell though there are a few areas where the silicone wasn’t exactly aligned and the mold was a bit rough.

Chocolate melting materials for the chocolate prototype casting. A main reason i wanted to try with chocolate first was to see if there were indeed any tears in the mold. Additionally, since I’ve never done casting before, I wanted to practice on something a bit more safe before pouring molten metal in my apartment kitchen.
Chocolate Casting Attempt #1
Getting ready to microwave the chocolate melts. Instructions read 50% power for 1 minute and 30 second intervals until fully melted. It took about two minutes in my microwave. The coffee mug was extremely hot to the touch though, so I needed to use a hot mitt and be careful. I also positioned a plate under the mold to catch any excess chocolate in case there was a tear in the mold or if I overpoured the molten chocolate. 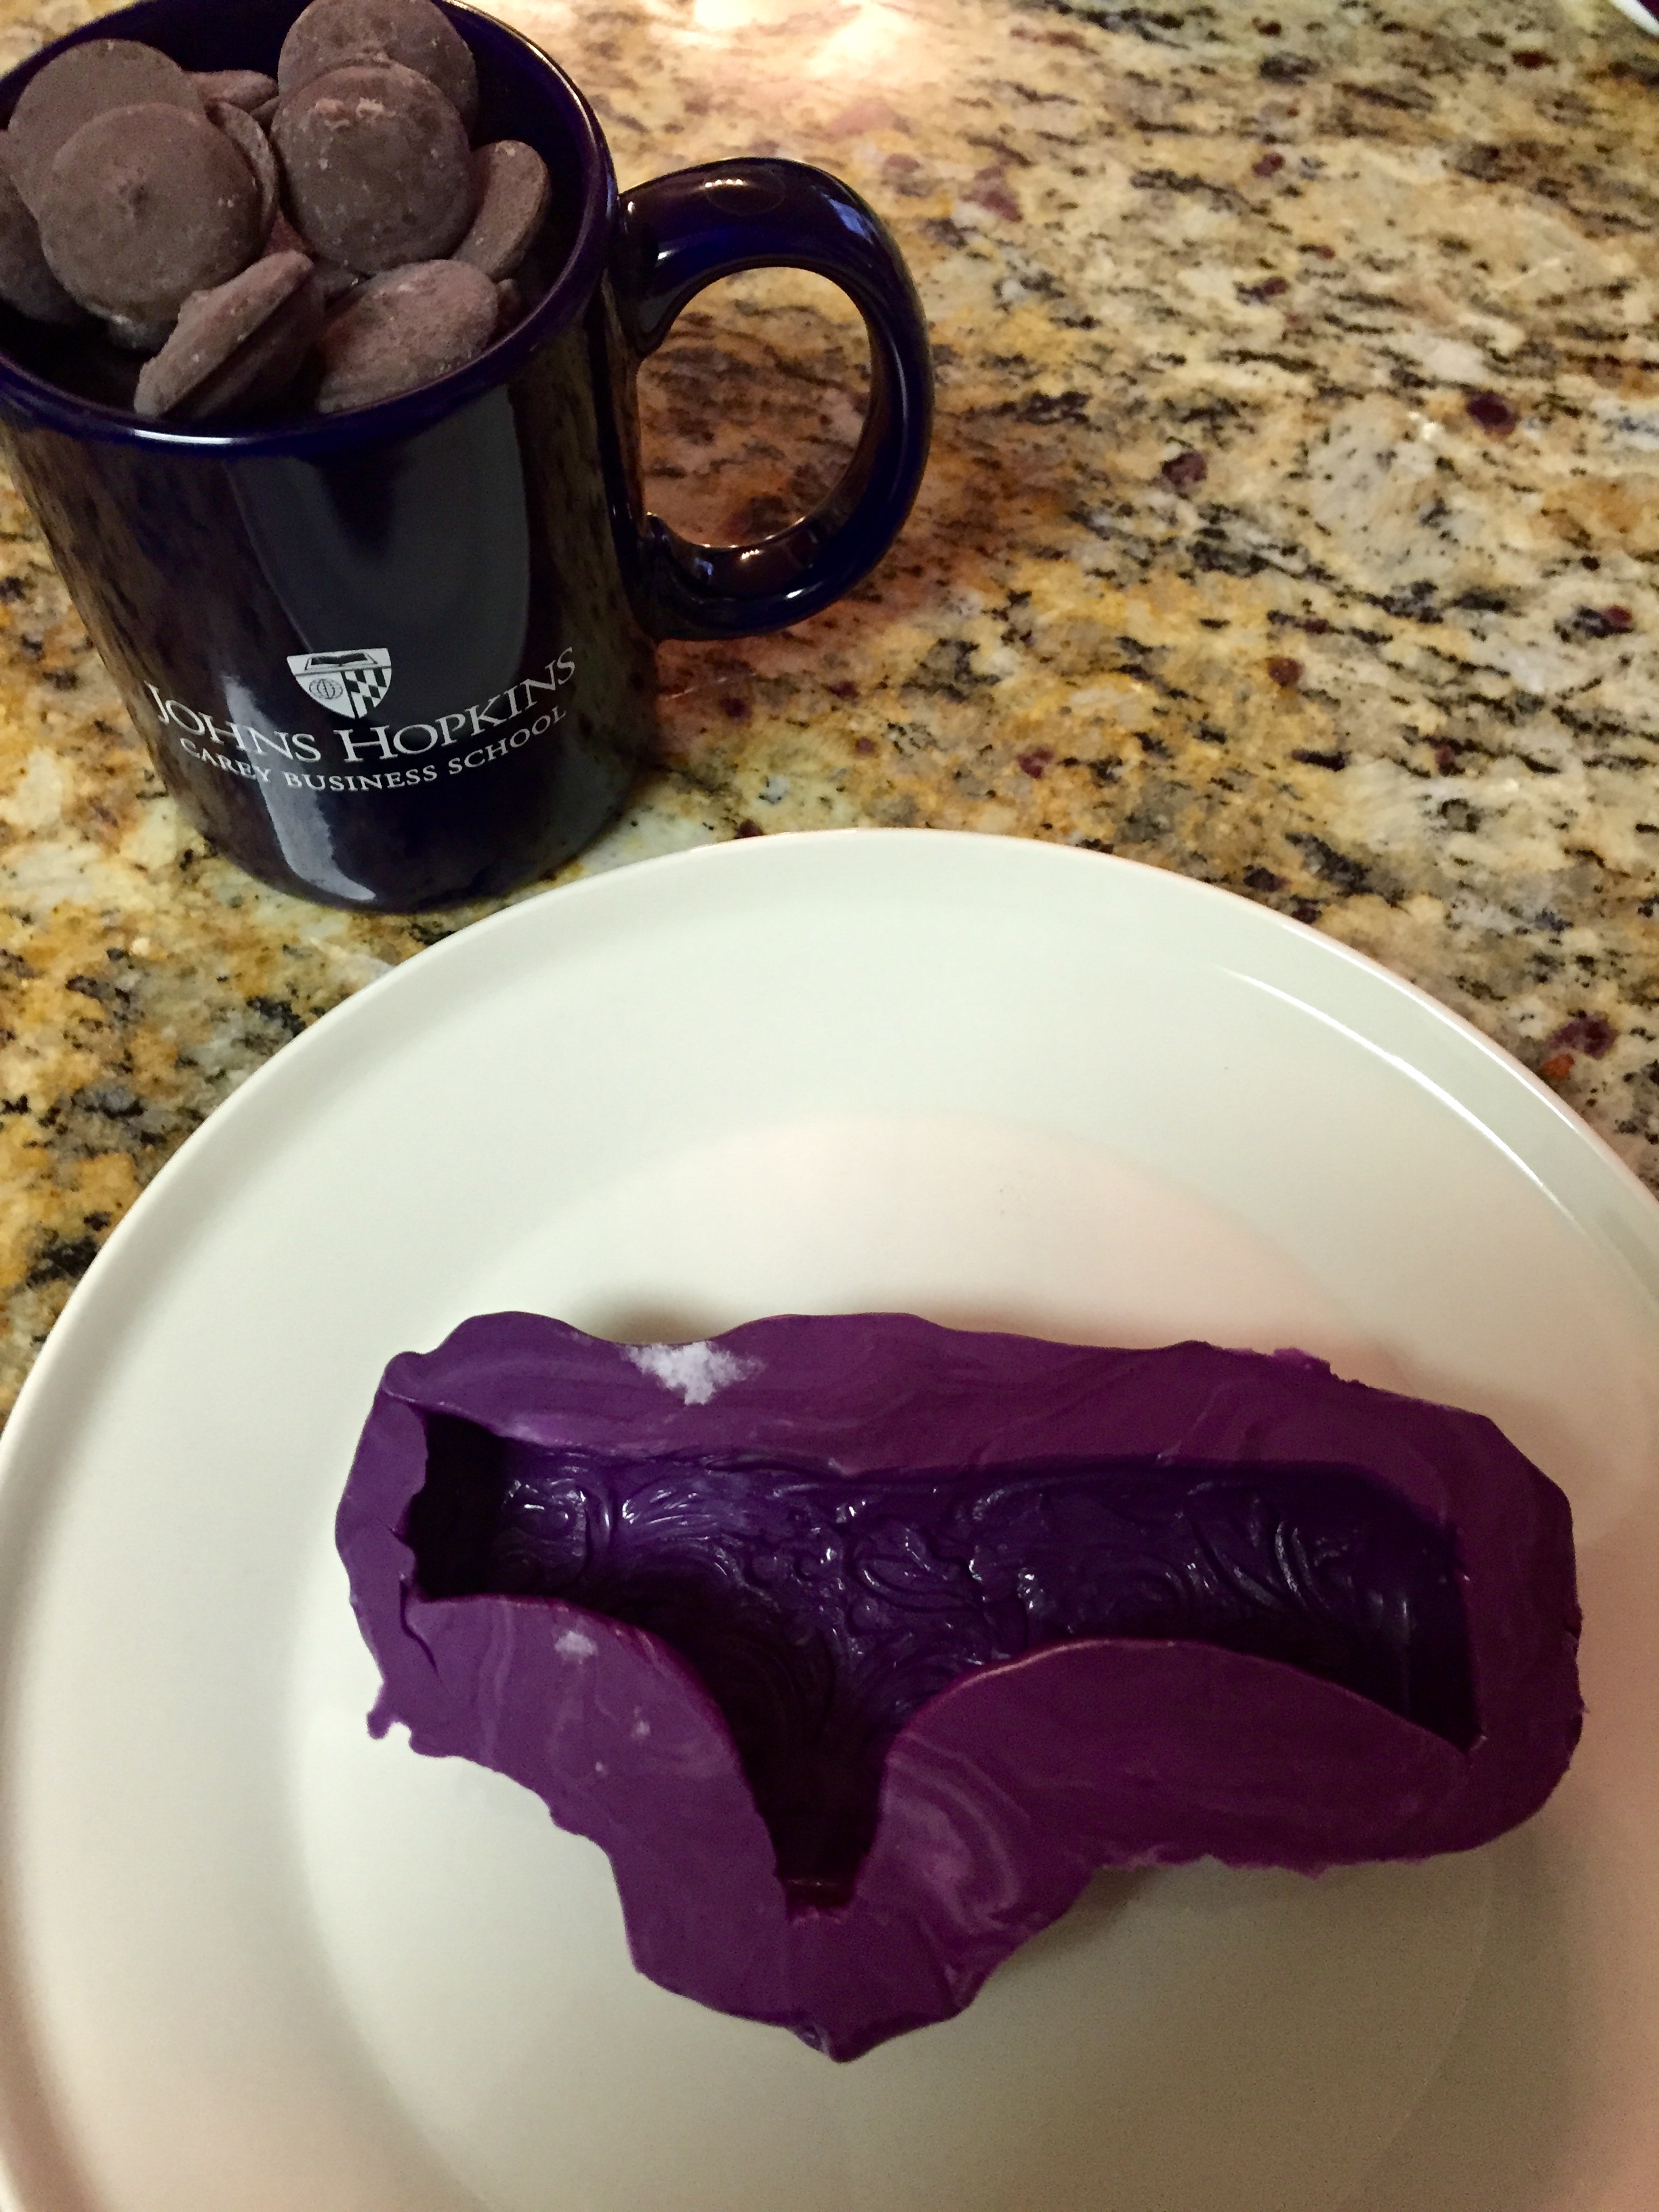
Pouring the chocolate in. The consistency was a bit thicker than I expected, and I’m guessing dealing with metal would be a lot different in that it’d be much hotter, pour faster, and I’d need to take many more additional precautions when casting.

Very easily overfilled the mold with chocolate due to the thicker consistency. Since metal would likely be much more liquified, I doubt this would be a problem.
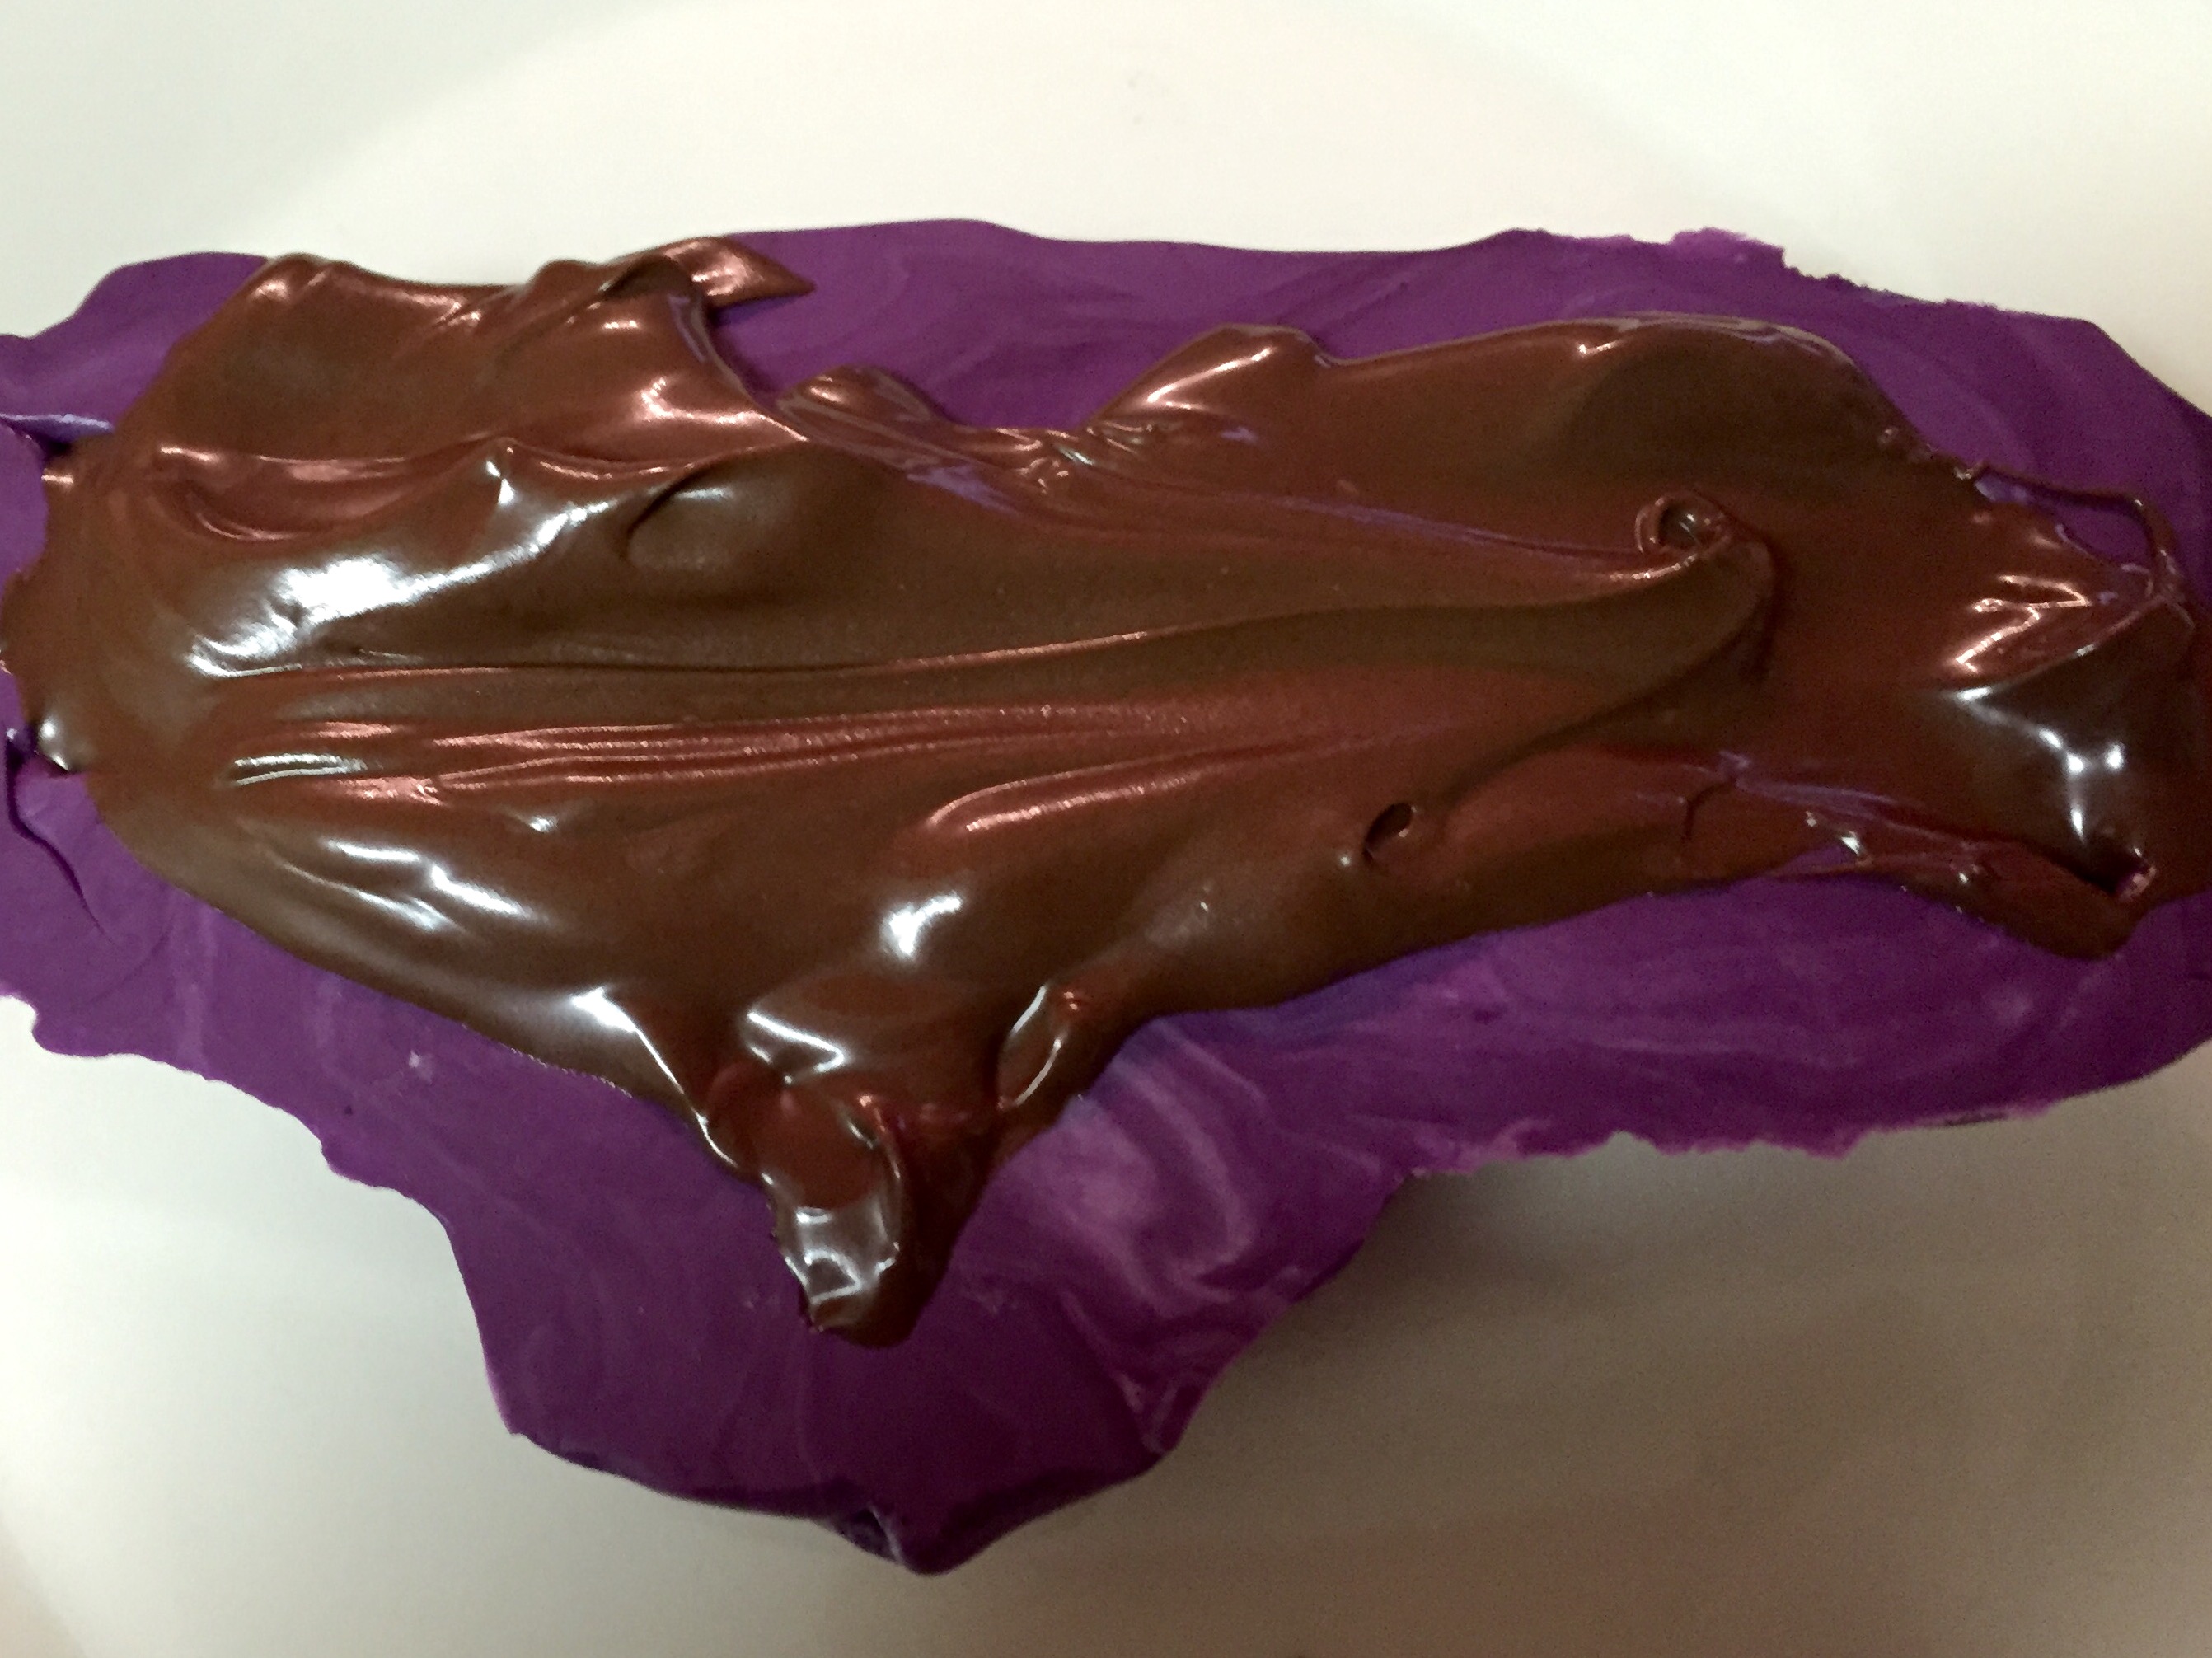
Tapping and lightly moving the mold around to get rid of air bubbles.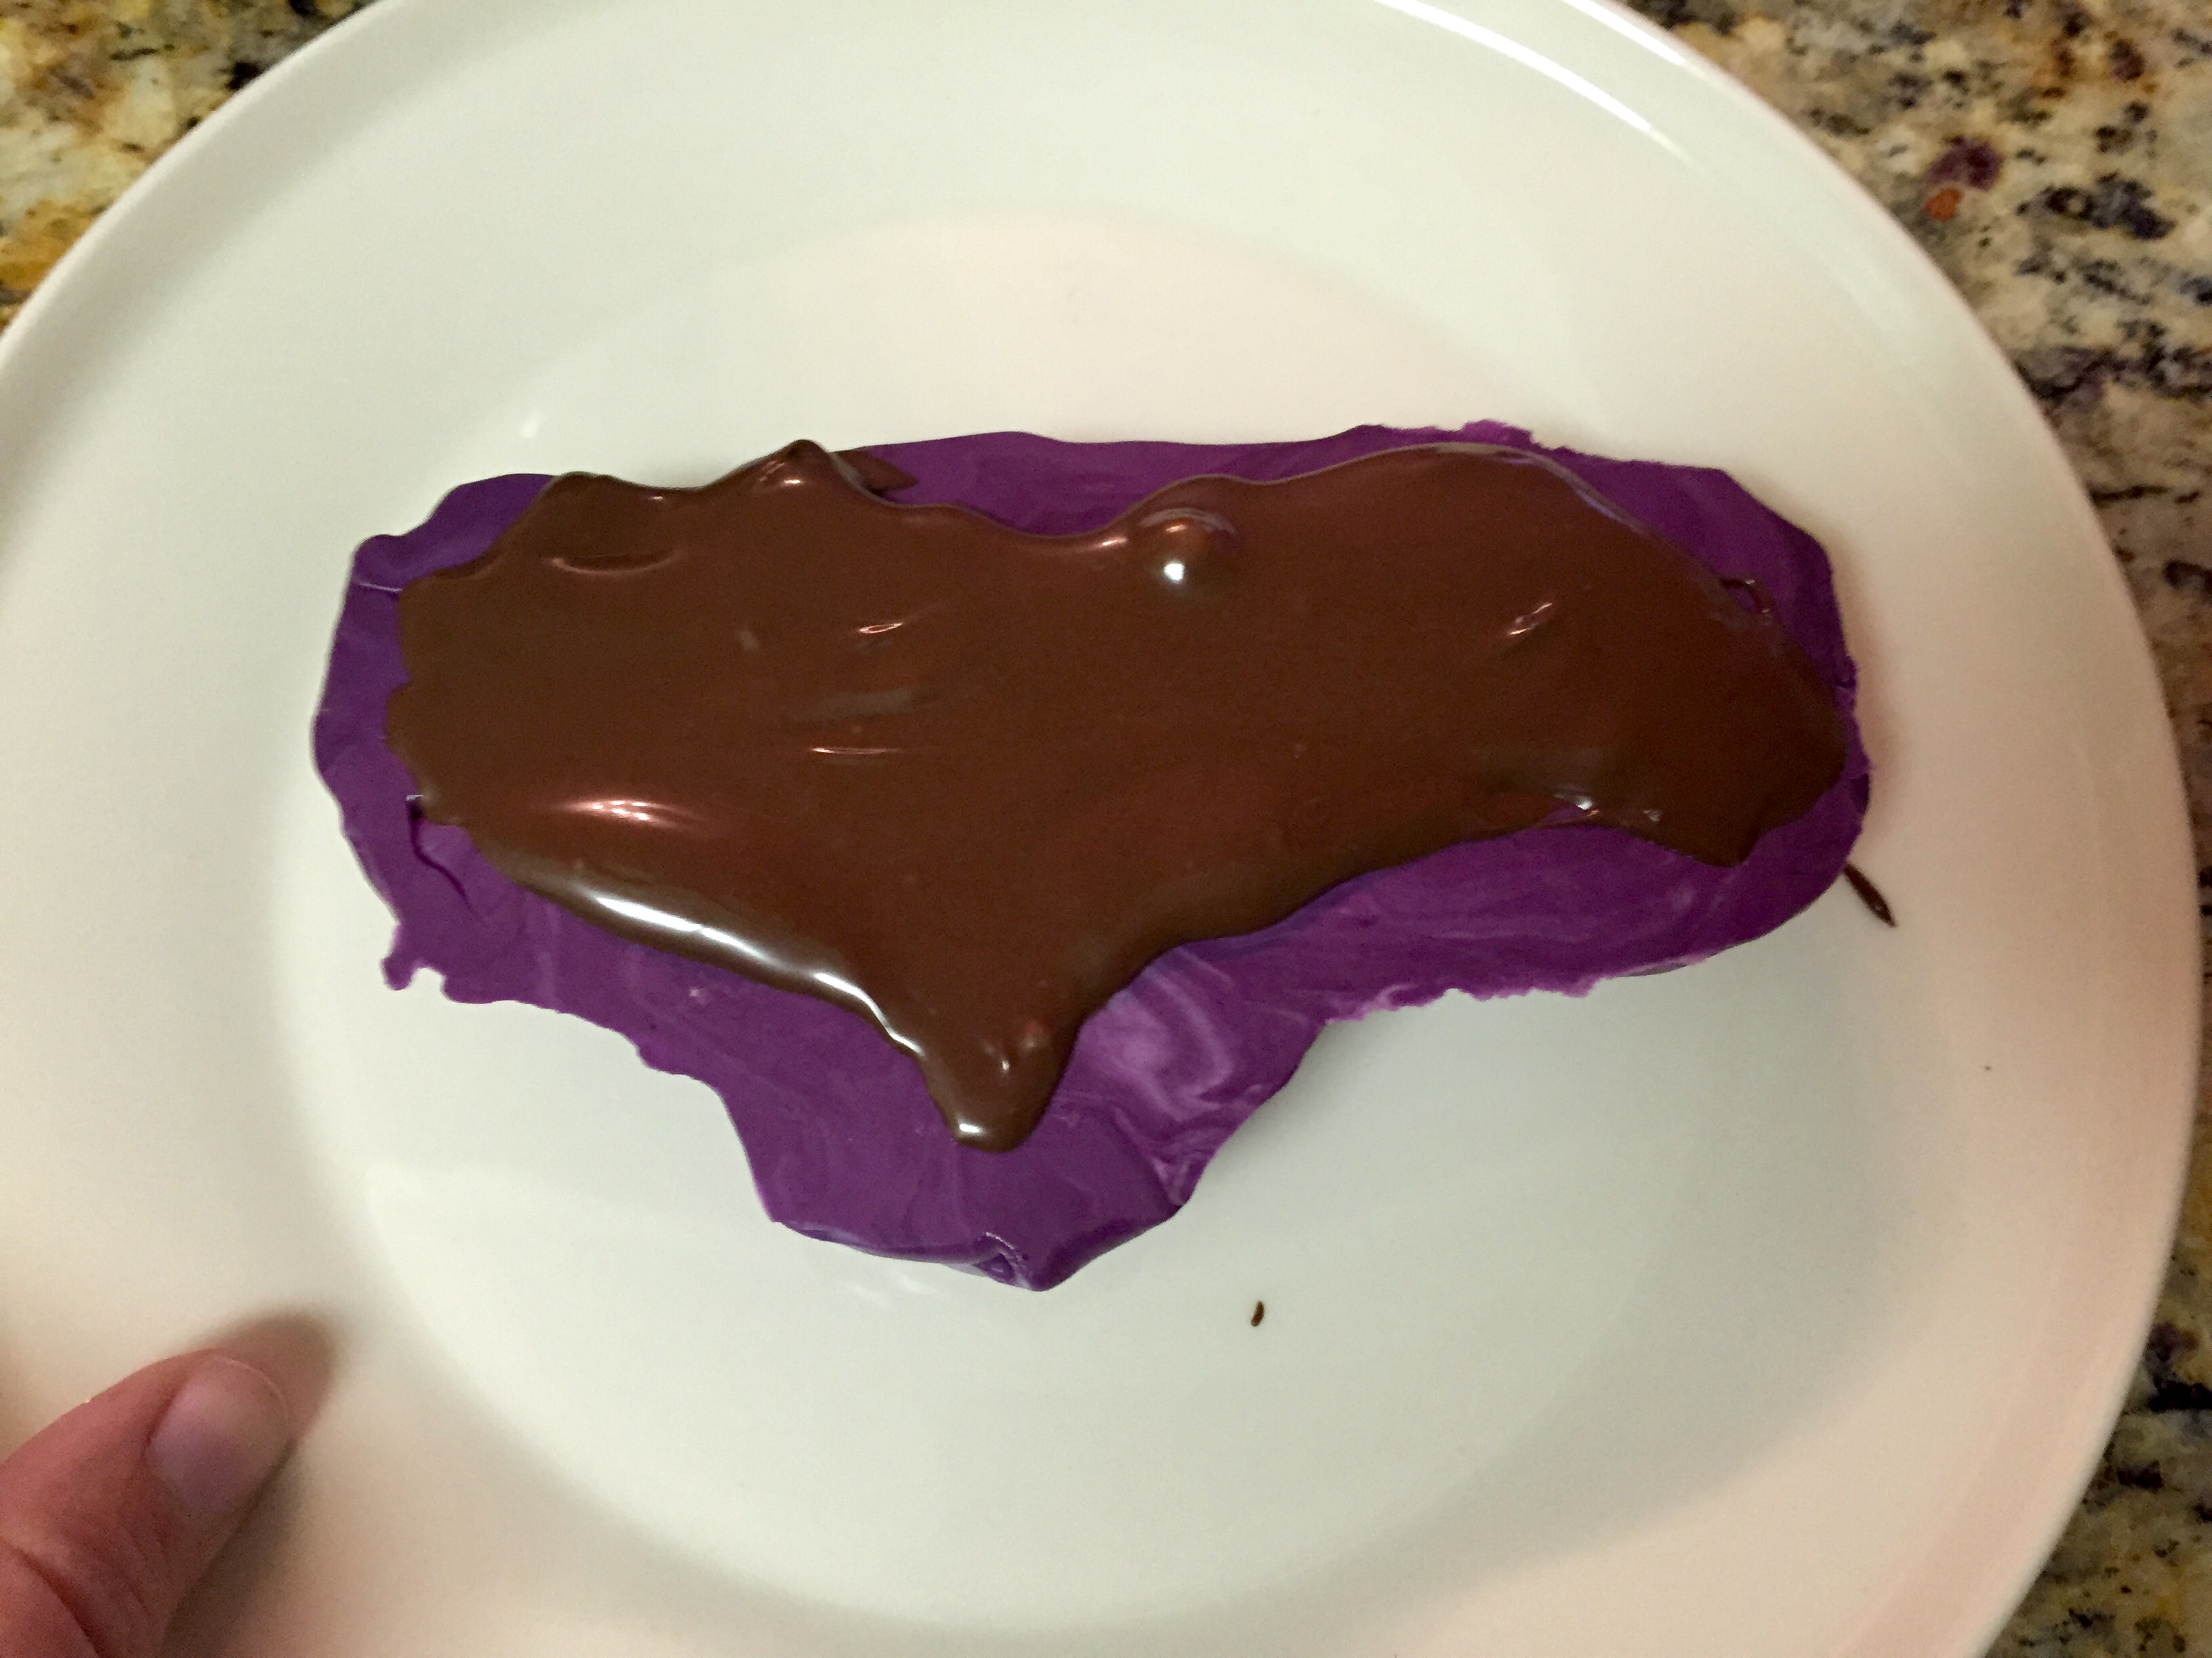
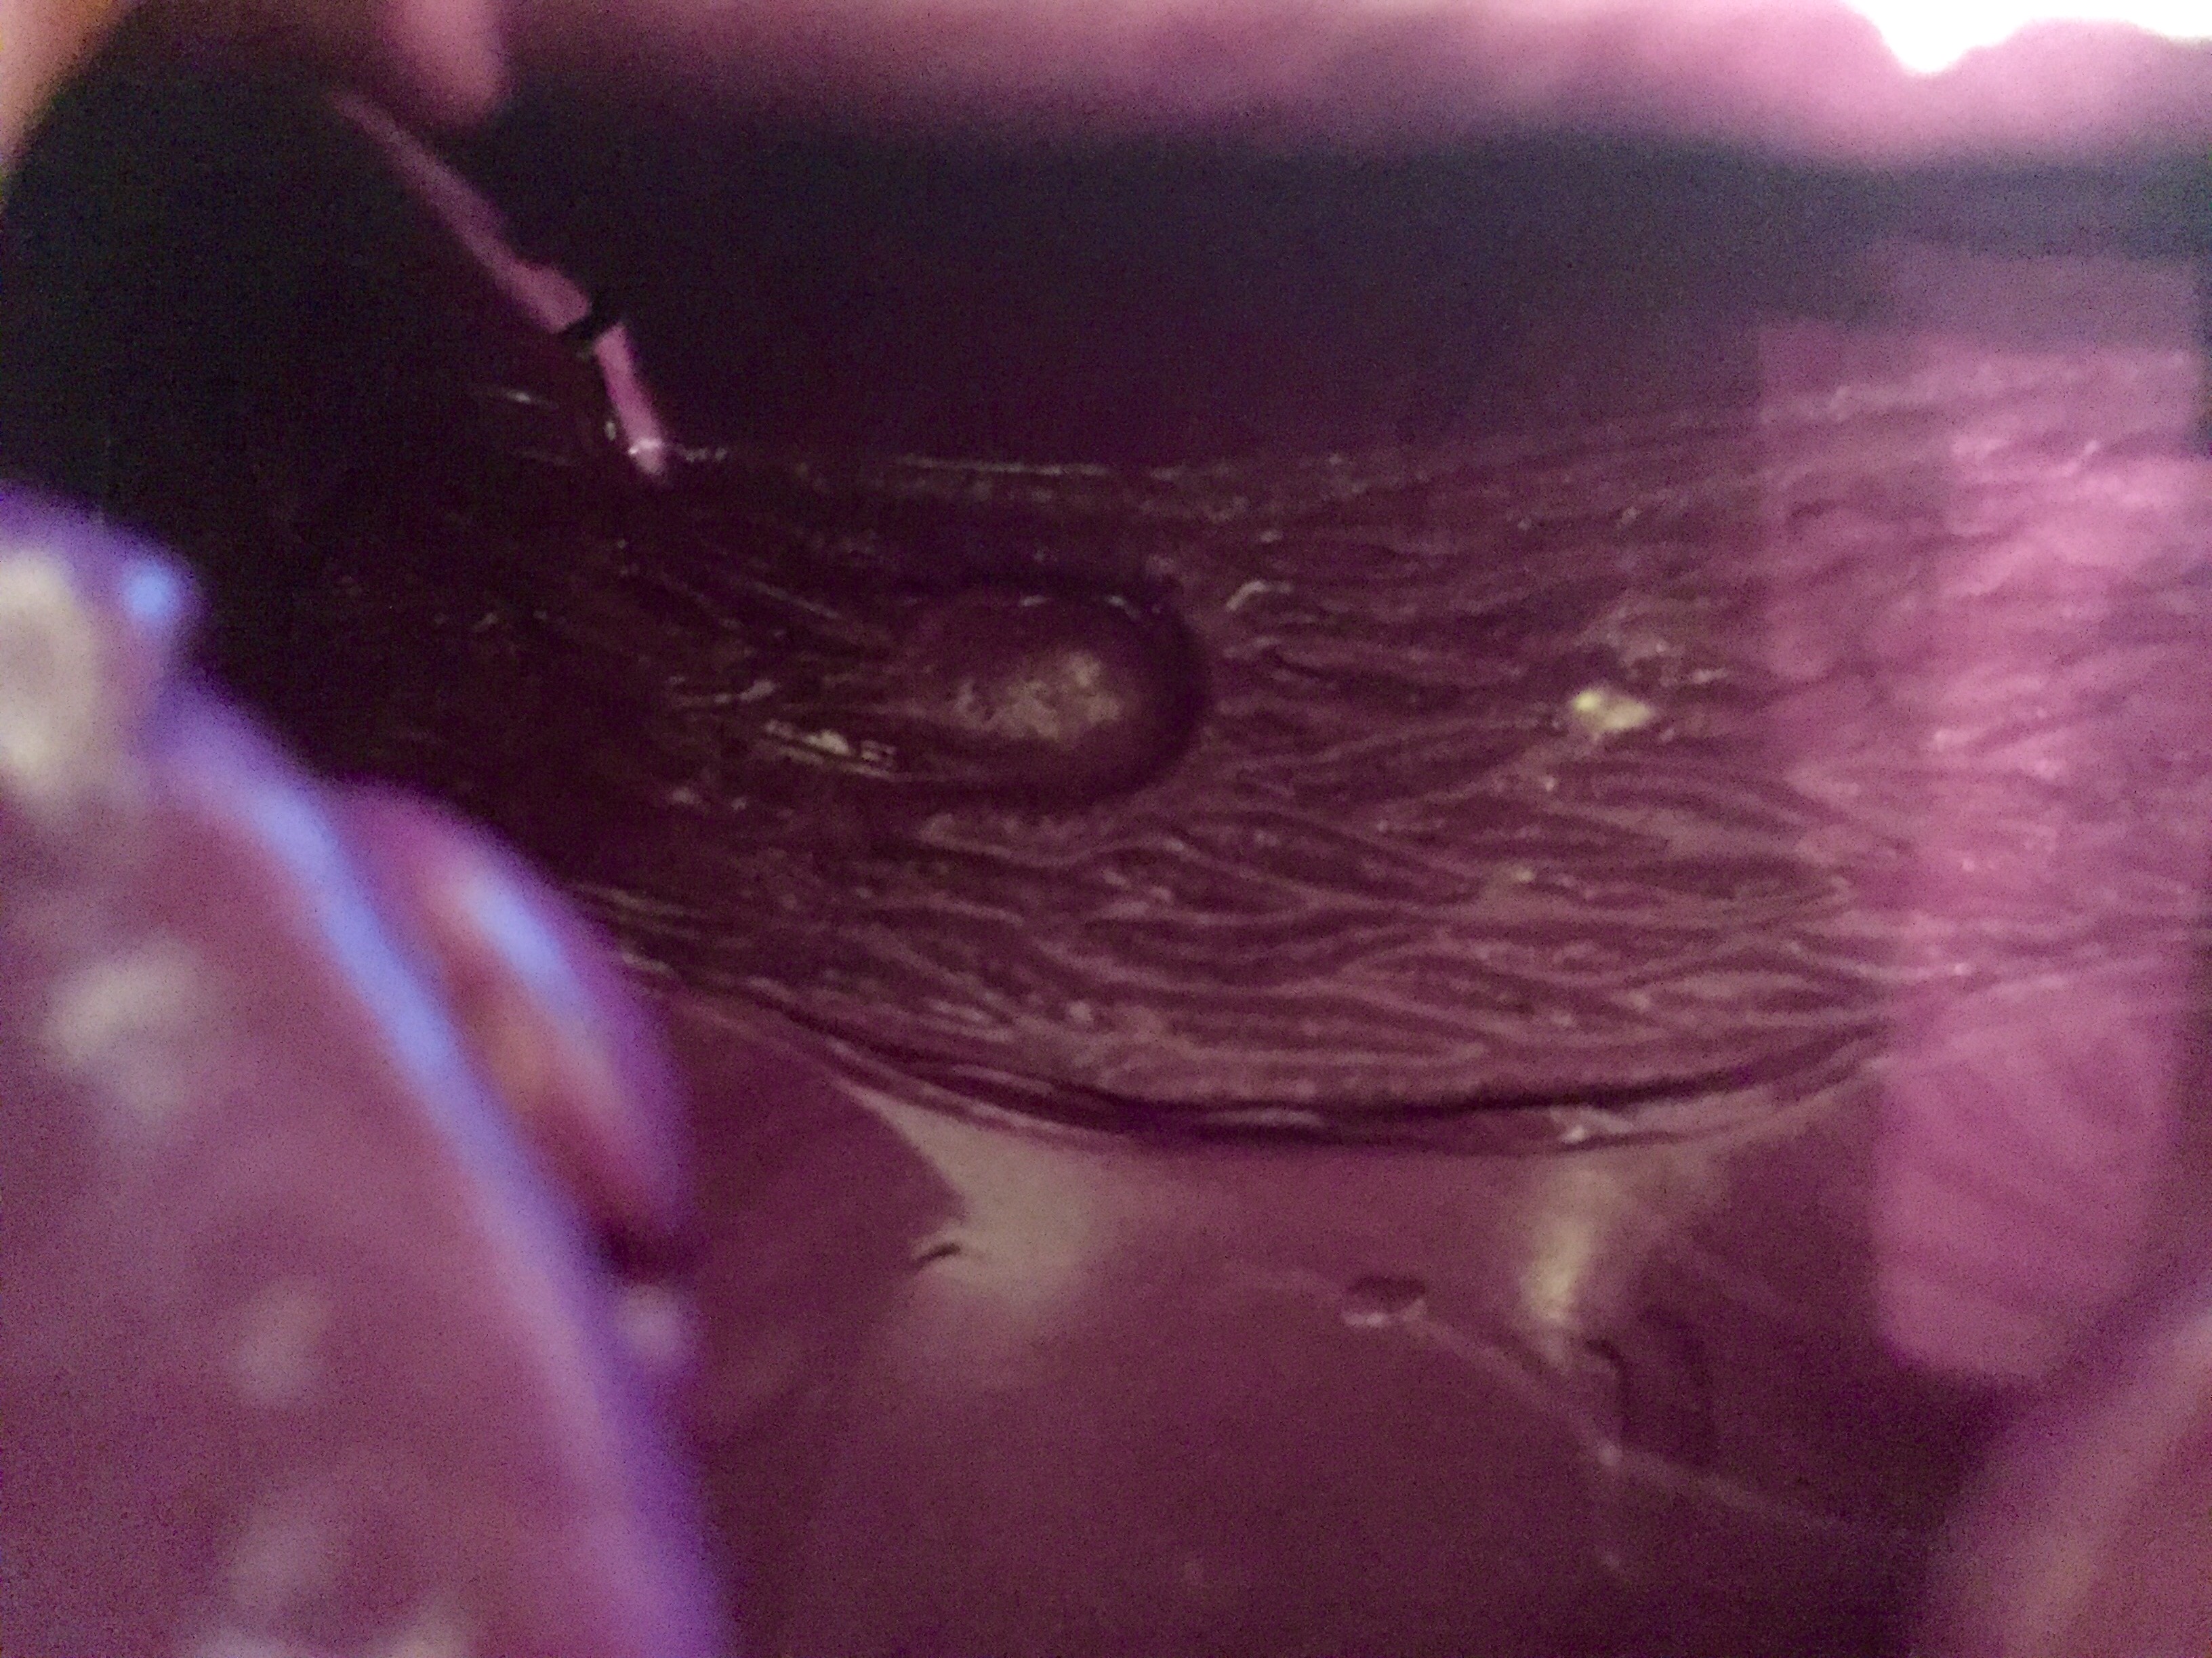
Evidence of tear in the chocolate mold, as I make the futile attempt to try to clean up the overflowed edges.
Site of the tear in the mold.
Silicone Mold Attempt #2


Chocolate Casting Attempt #2 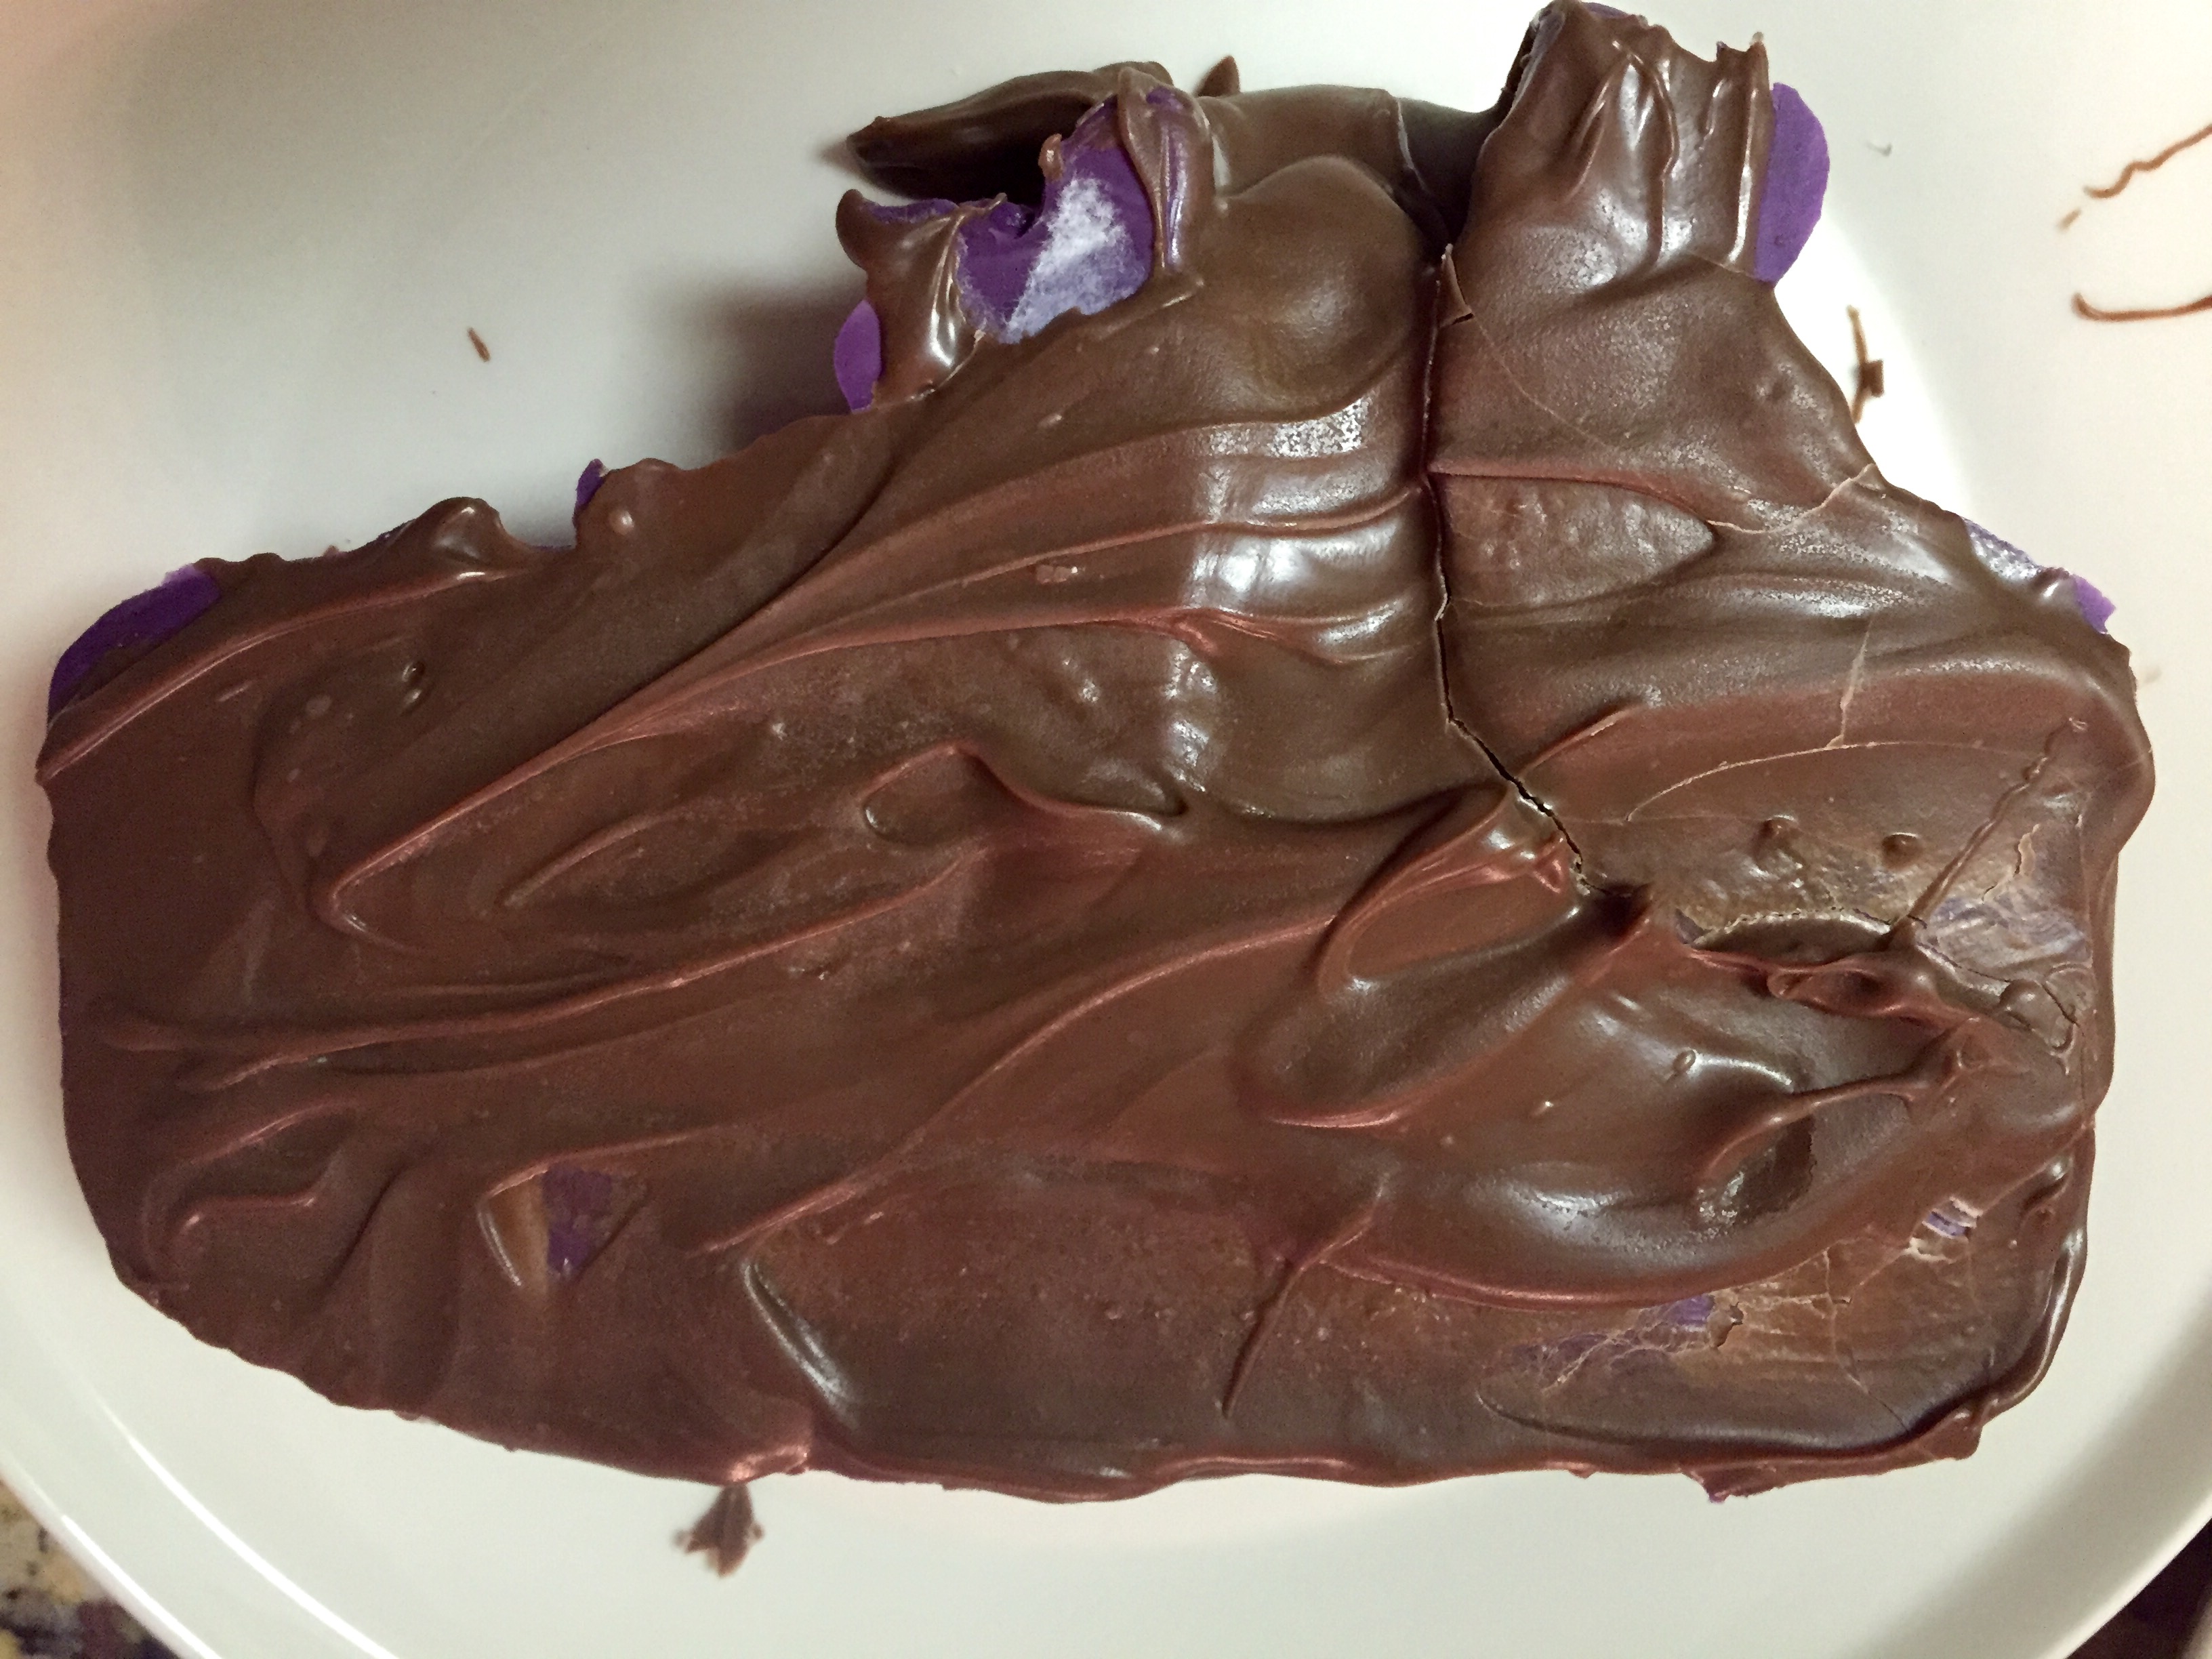


Chocolate Casting Attempt #3
Trying to clean off the mold to ensure that the full detail is produced with attempt #3 
Attempt #3 uses white chocolate, so the cane handle doesn’t take as much resemblance to a fancy poop. Again, lightly moving and taping one full to get out air bubbles and make sure the chocolate reaches each part of the mold.
In attempt #3, I let the chocolate harden 100% at room temperature rather than expediting the process using refridgeration. The chocolate expanded much more with this method than it did when I used 100% refrigeration (attempt #2) and 50% room temperature + 50% refrigeration. This meant that there was a lot of excess around the mold prior to it completely hardening.
I’ve read a few articles online about what to expect with metal, and it seems the key to making silicone molds that harden well and beautifully is using talc or cornstarch to line the mold + pre-heating the mold so that there isn’t such a heat differential between the metal and the mold.

Casting detail


